
Hood Strut Replacement

Materials Required
- Flathead Screwdriver
- Lubricating Grease (Optional)
Overview
Over time the gas struts that support the hood wear out, causing them to fail in supporting the weight of the hood. This DIY guide will help you fix this issue in minutes.

WARNING
When replacing hood struts to one side at a time to avoid error. The hood struts are attached at either side of the hood at two points, the top (white arrow) and bottom (red arrow).

Open Hood
Open the front hood by pulling the hood latch towards you. An audible noise will be heard when the hood has been properly unlocked.

Loosen Top Retention Clip
Loosen the top retention clip by using a flathead screwdriver to lift it up into the unlocked position.
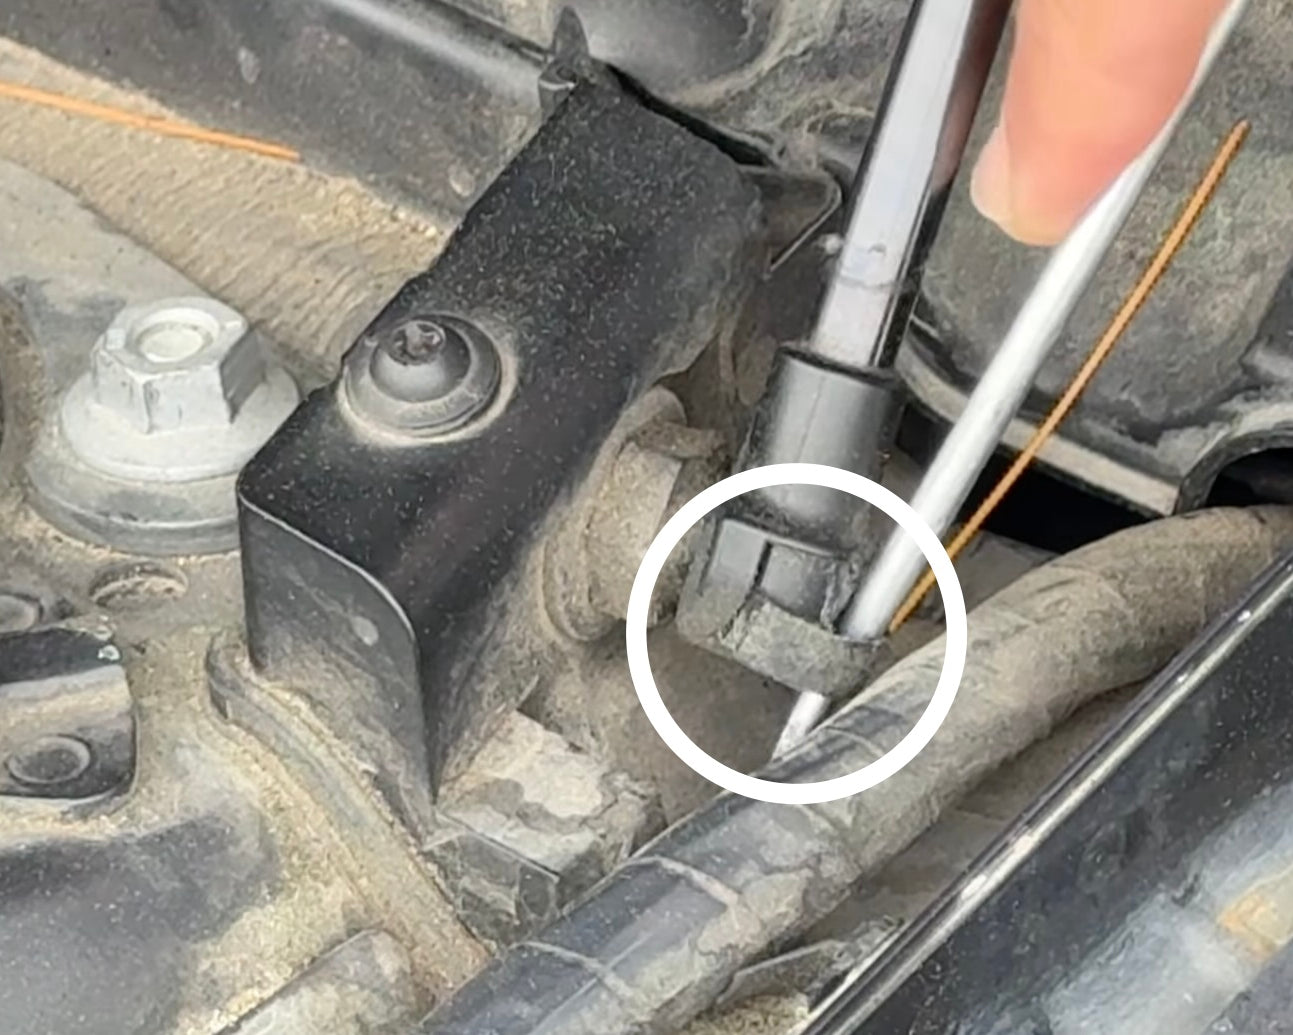
Loosen Bottom Retention Clip
Loosen the bottom retention clip by prying the clip up into the locked position.

Remove Old Strut
While placing one hand on the hood to support it, pull the old hood strut from the hood pivoting points.

Apply Lubricating Grease
Apply lubricating grease to the inside pivoting point of the new hood strut. High-quality struts such as these ones we offer come pre-greased and ready to install right out of the box.
Install New Hood Strut
Install the new hood strut by pressing the ends into the pivoting points (white and red arrow). You do not need to loosen the metal retention clips first, just press the strut ends into the pivot points.

Replace Next Strut
With one strut replaced, repeat the same steps to replace the other one.

Test New Hood Struts
With both struts replaced, test them by opening and closing the hood a few times, ensuring they support the weight of the hood.
Install Complete
Good job replacing your worn or faulty hood struts! Maintaining your vehicle will be much safer now that the hood's weight is properly supported.