
How To Replace Brake Rotor Screws on BMW - Prevent Siezed, Stripped, Stuck Brakes

Materials Required
- Tire Iron
- 6MM Allen Socket
- Ratchet
- Floor Jack
Overview
The brake rotor retention screw secures the brake rotor to the wheel hub assembly during servicing. Over time, this screw can seize, rust, or get stuck, often leading to stripping when removal is attempted. A stripped screw can make it difficult—or even impossible—to remove the rotor. In this guide, we’ll be replacing the screw preemptively to avoid these issues and ensure smooth, hassle-free brake servicing.

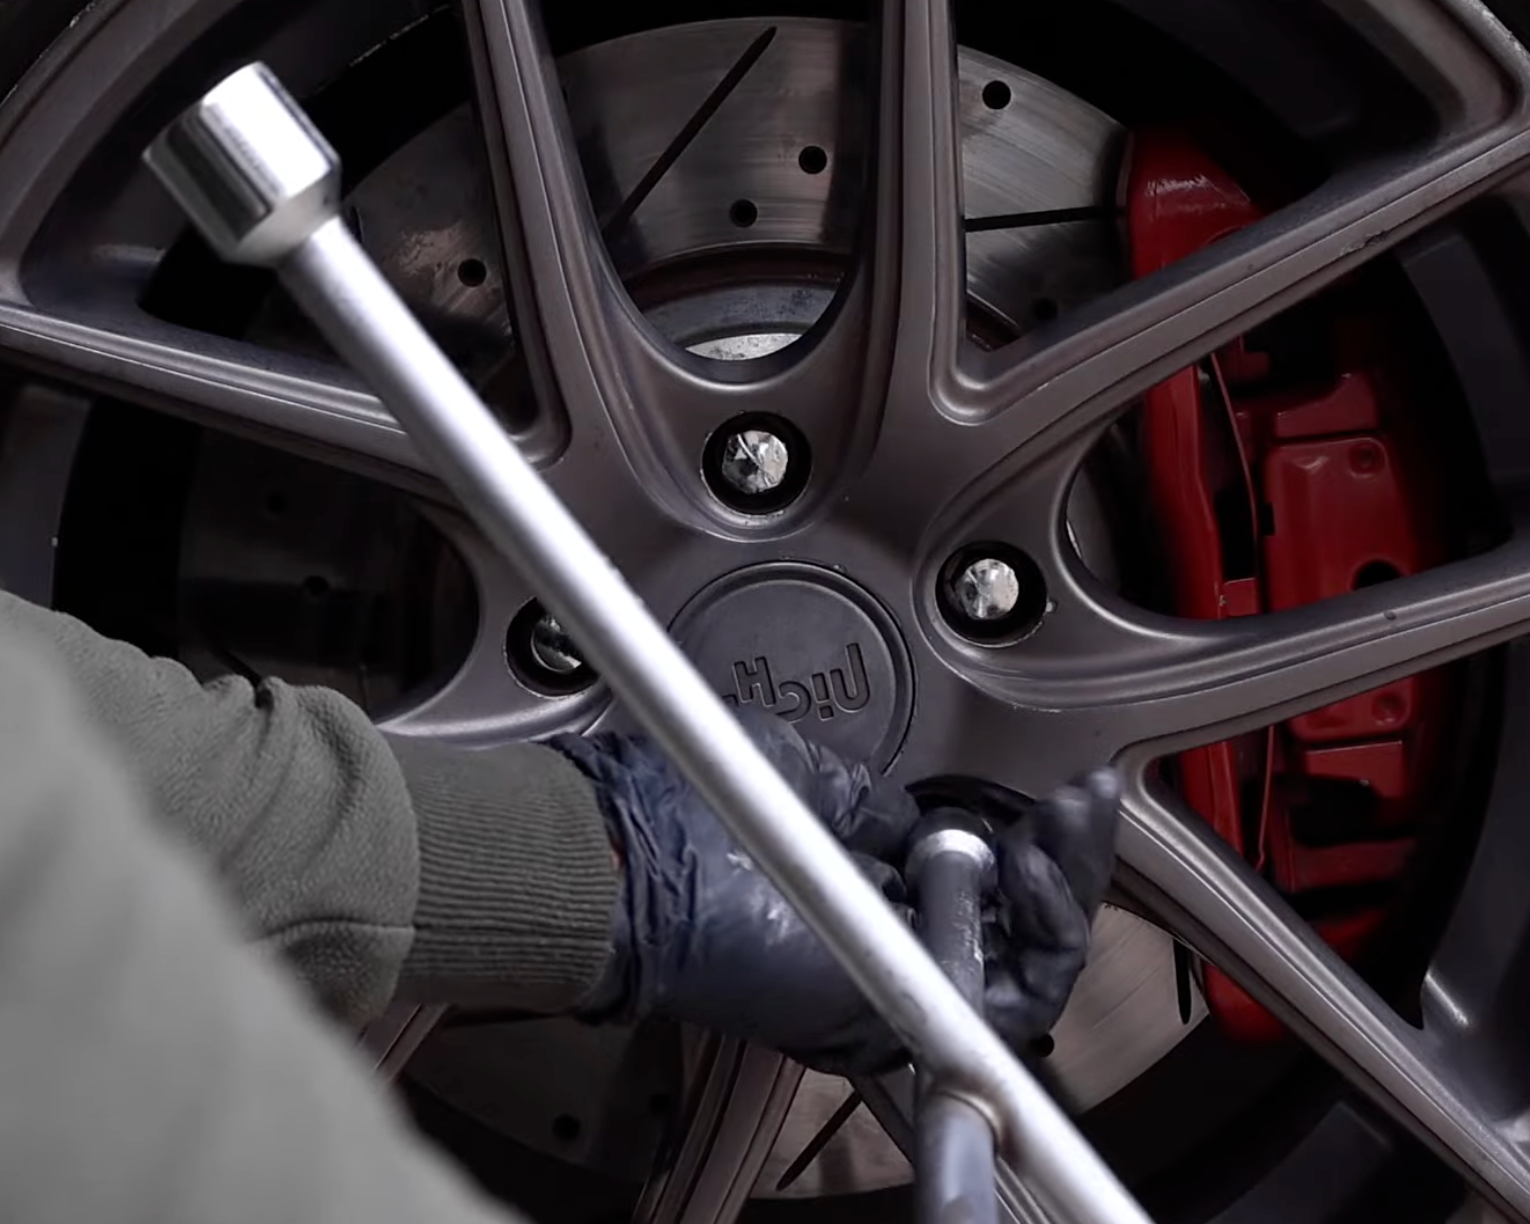
Loosen Lug Nut
With the vehicle still on the ground, loosen the lug nuts just enough to break the torque, but do not fully remove them yet.

Lift Vehicle
Using a floor jack on the certified jack points, carefully lift the vehicle until the front wheel is fully off the ground.
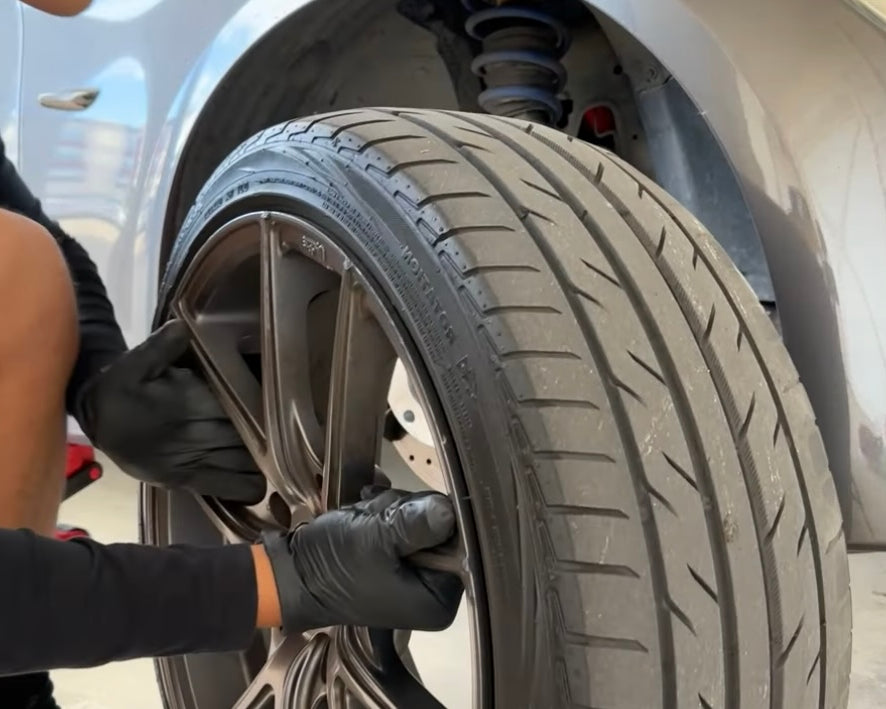
Remove Wheel
Remove the lug nuts completely and pull the wheel free from the hub assembly being extremely careful not to put any part of your body underneath the car.

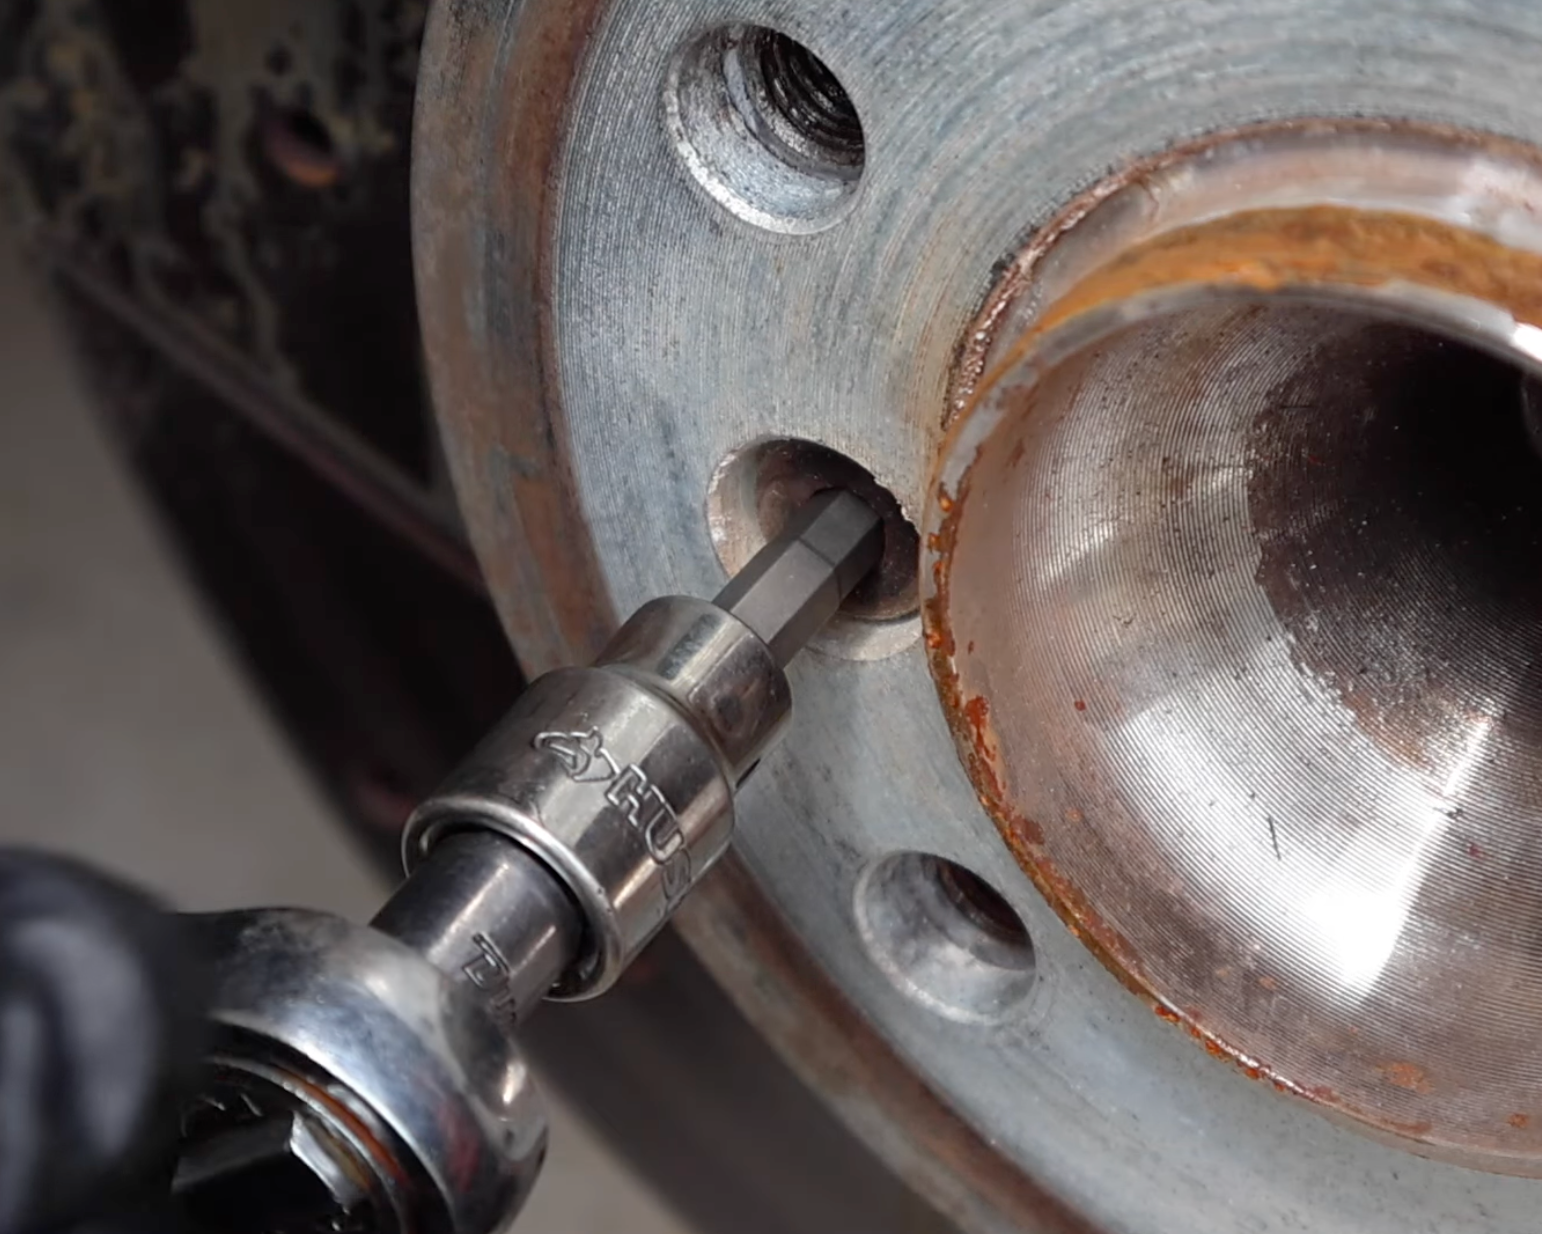
Locate Rotor Screw
With the wheel removed from the assembly, locate the rotor retaining screw positioned between the lug nut holes. This screw will now need to be removed.

NOTE
Since this rotor screw hasn’t been removed in years and shows visible rust, we can assume the threads are seized. Rather than attempting removal right away, we’ll first prep the screw to avoid stripping it. Apply penetrating oil and allow it to soak before loosening. If you rush this step and the screw strips, you may not get another chance—so it’s worth taking the extra precaution.
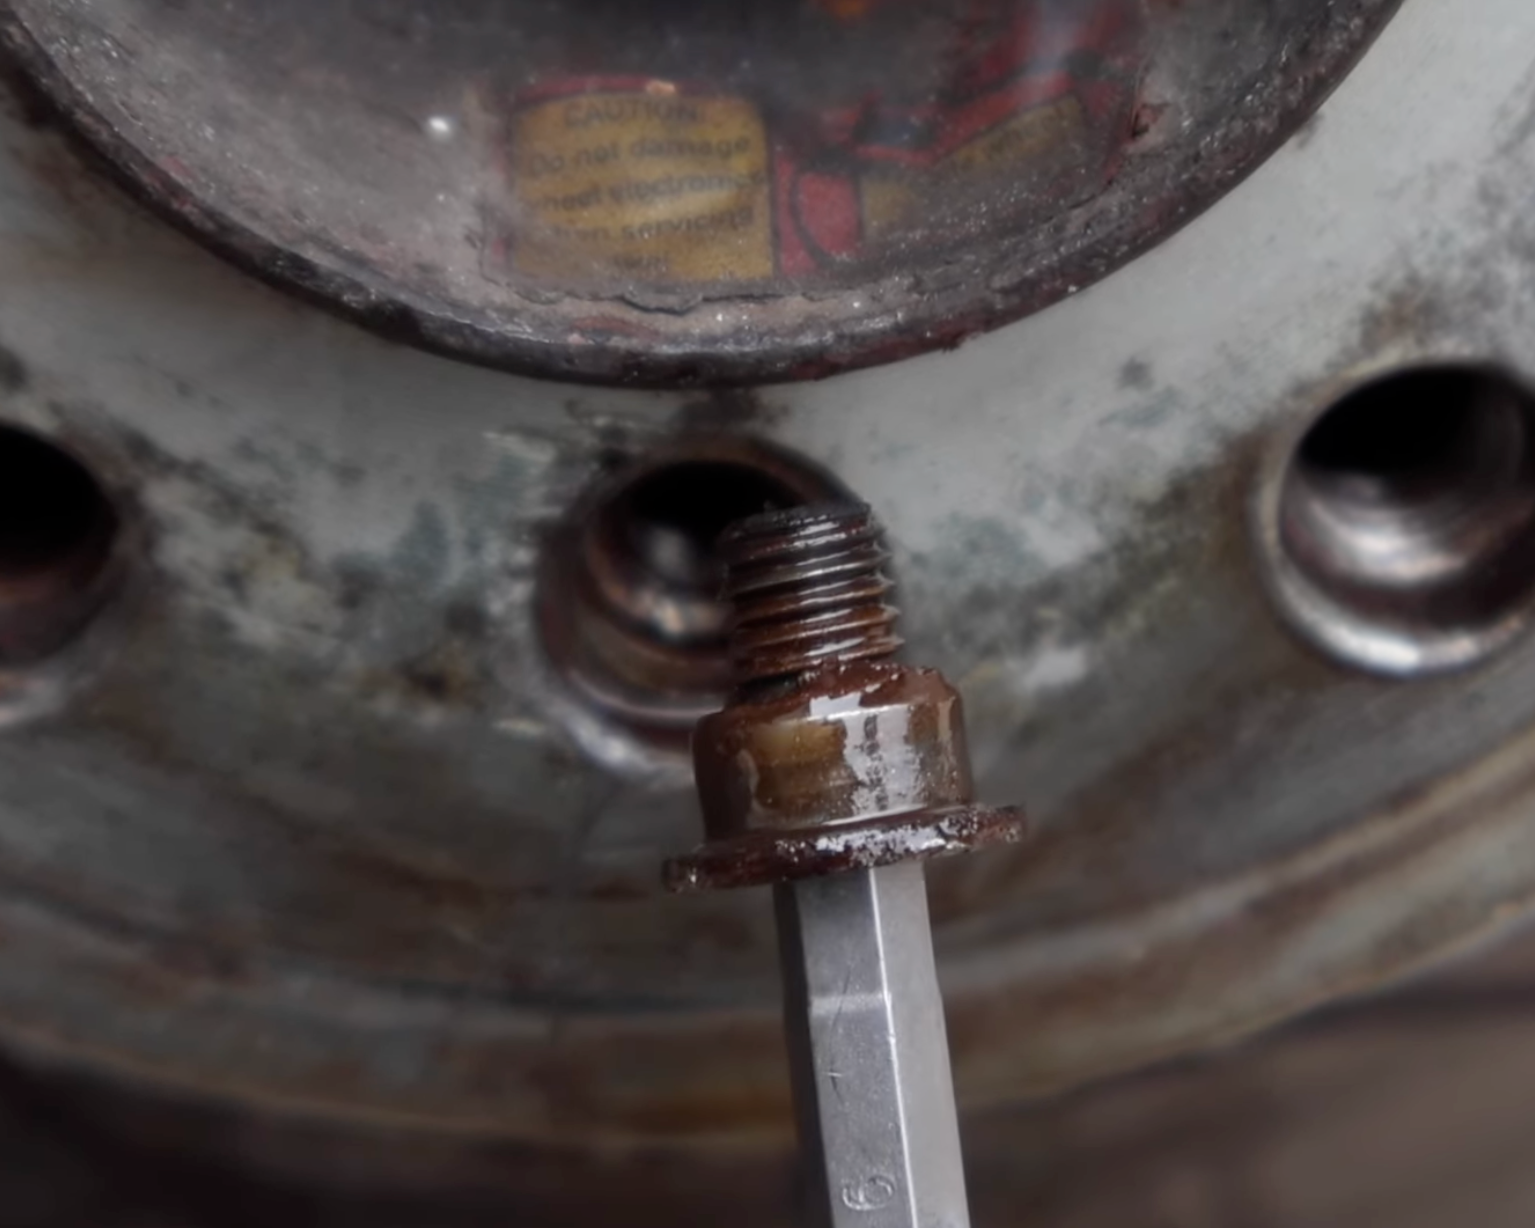
Loosen Screw
Loosen the brake rotor screw by turning it counterclockwise with a 6mm Allen socket.

Remove Screw
Remove the screw completely from the rotor assembly.

Inspect Screw
Inspect the condition of the rotor screw, as it can reveal underlying issues within the brake system. In this case, the screw is completely covered in surface rust and debris. Judging by its condition, it could have seized over time, potentially leading to costly repairs. Fortunately, this screw was replaced just in time to prevent further damage.

Inspect New Screw
The new screw we’ll be installing is crafted from a lightweight yet durable material, ensuring long-lasting performance. It also features deeper grooves, allowing the Allen socket to seat more securely and reducing the risk of stripping during installation or removal. For added reliability, you can upgrade to our BAVMODS® rotor screw set — click here to purchase.

NOTE
It is highly recommended to apply anti-seize lubricant to the threads of both the new screw and the wheel hub assembly. This precaution ensures the screw can be easily removed in the future without the risk of seizing.

Apply Anti-seize
Apply anti-seize to the threads, ensuring a generous but controlled coat. The goal is to cover the threads evenly so the compound works into them without pooling or dripping.

Hand-Thread New Screw
Hand-thread the new screw into place. Do not use a ratchet at this stage, as we want to avoid cross-threading. Continue threading by hand until the screw is fully seated and flush with the rotor surface.

Hand-Torque New Screw
Using a ratchet, torque the new screw until it is fully snug, but do not overtighten. Over-torquing can cause the screw to snap. Once it feels hand-tight and secure, stop.

Re-Install Wheel
With the new rotor screw installed, reinstall the wheel onto the wheel hub.

Torque Down Lug Nuts
With the vehicle still off the ground, hand-tighten the lug nuts as much as possible to secure the wheel. Ensure the wheel is seated evenly and stable before lowering the vehicle back down.

Lower Vehicle Safely
With the lug nuts fully tightened by hand, carefully lower the vehicle back down to the ground.
Finish Torquing Lug Nuts
Finish torquing the lug nuts to 88.6 ft-lbs using a torque wrench.
Repair Complete
Good job replacing your rotor screws! This may be a small preventative task, but it makes future brake jobs much easier and eliminates the risk of the screw seizing during service.