
Fuel Injector Replacement

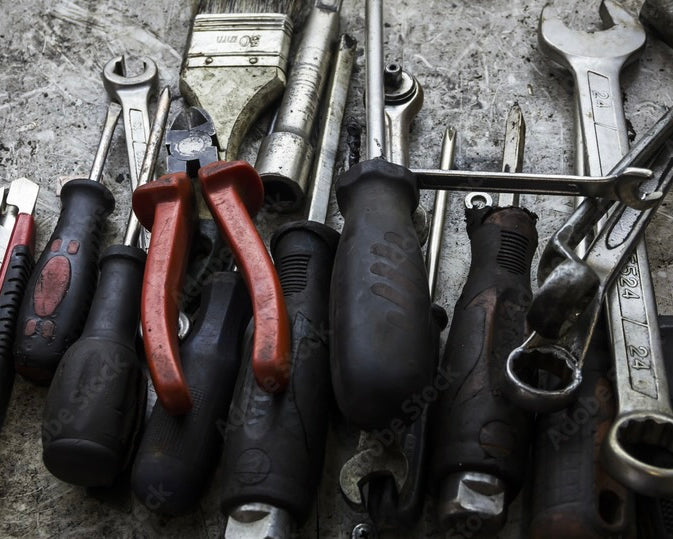
Materials Required
- 5/8 Spark Plug Socket
- Extension
- Ratchet
- 5MM Allen Key
- 8MM Socket / Wrench
- E14 Socket
- Flathead Screwdriver
- Anti-Seize
Start w/ Cold Engine
Ensure you conduct this DIY on a vehicle with a cold engine.
Disconnect Battery
Disconnect the vehicle's battery to ensure safety while conducting this job.

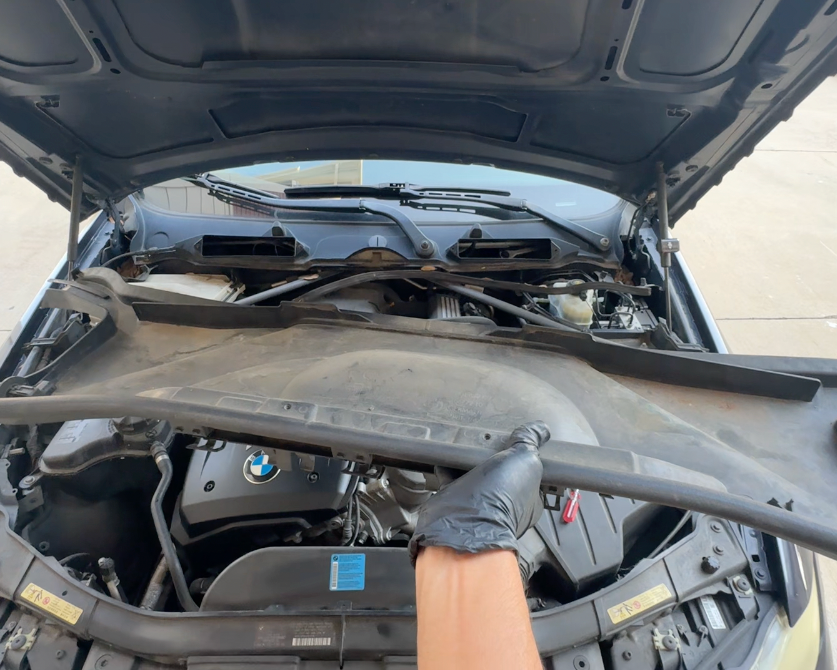
Open Hood
Open your vehicle's hood by pulling the latch.
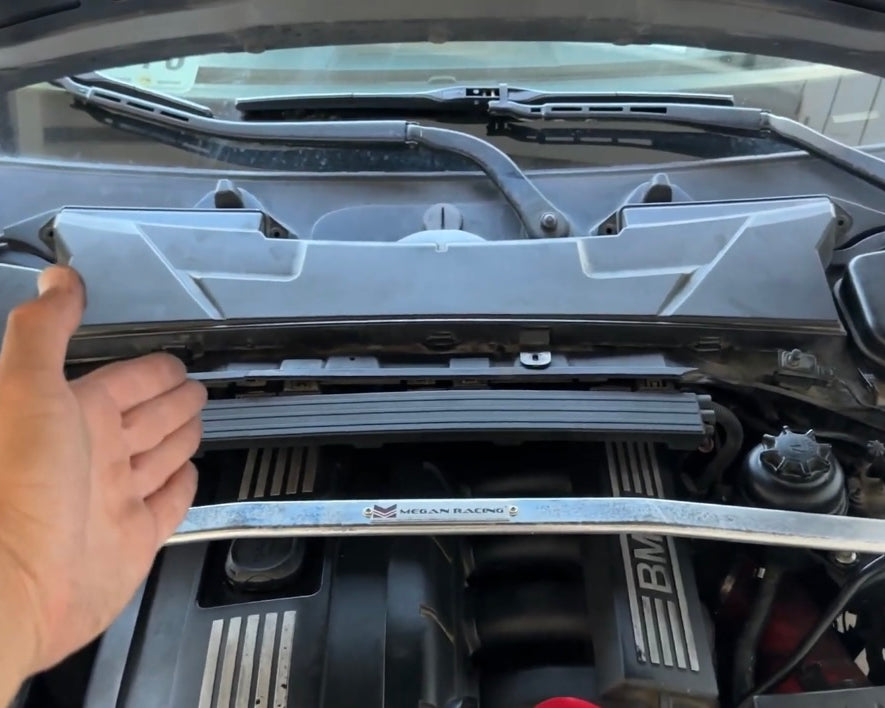
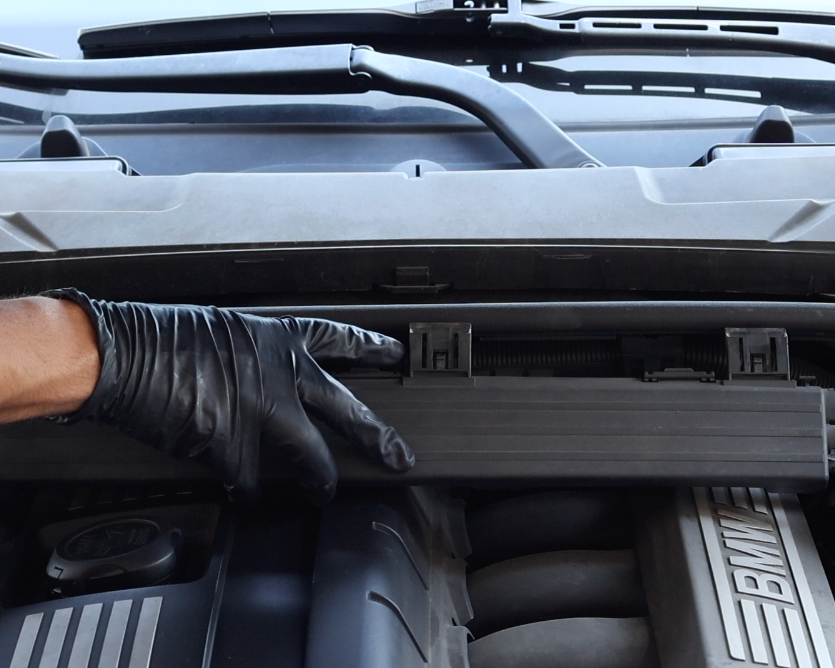
Remove Cabin Air Filter Cowl
Remove the cabin air filter, HVAC cowl and all covers in the way of accessing the ECU. You should only need an 8MM socket for this.
Unlatch Engine Wiring Harness
Unlatch the engine wiring harness by firmly pulling the three latches free of the HVAC cowling.
Remove Engine Cover Screws
Remove the three screws that secure the engine cover.

Release Rubber Seal
Release the rubber seal retention grommet from the ECU and brake fluid reservoir cowl cover.

Remove ECU Cowl Cover
Remove the ECU cowl cover by gently prying the two retention clips on the side free until the cover can be removed from the engine bay.
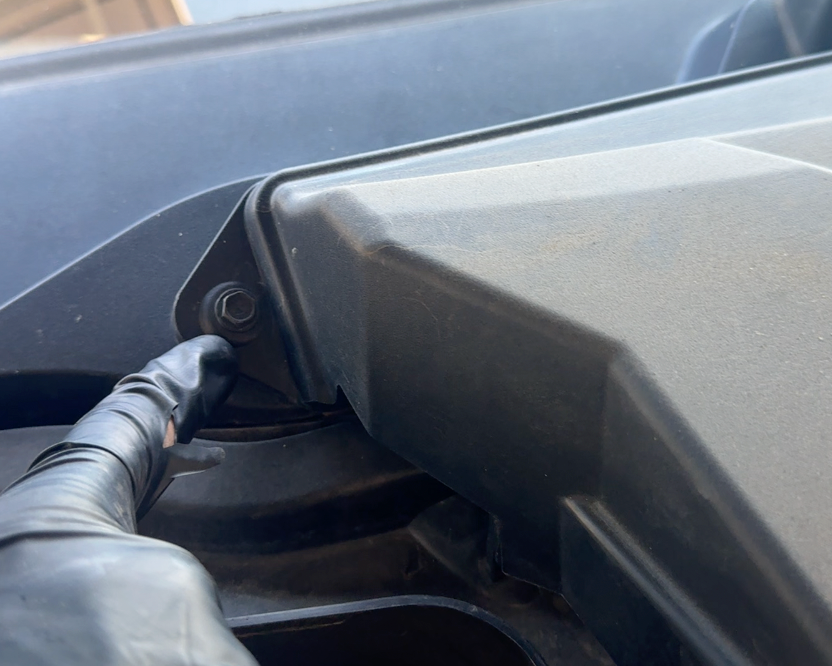
Remove 8MM Cowl Screw
Remove the 8MM cowl screw located underneath the cover.
Remove Brake Fluid Reservoir Cowl Cover
Remove the brake fluid reservoir cowl cover, the same way as the ECU one.

Remove 8MM Cowl Screw
Remove the 8MM cowl screw underneath the brake fluid cover using a socket / wrench.
Remove 4 Cabin Air Filter Screws
Remove the 4 8MM cabin air filter screws using a socket / wrench.

Remove Cabin Air Filter
With all 4 screws removed, carefully lift the cabin air filter out of place.
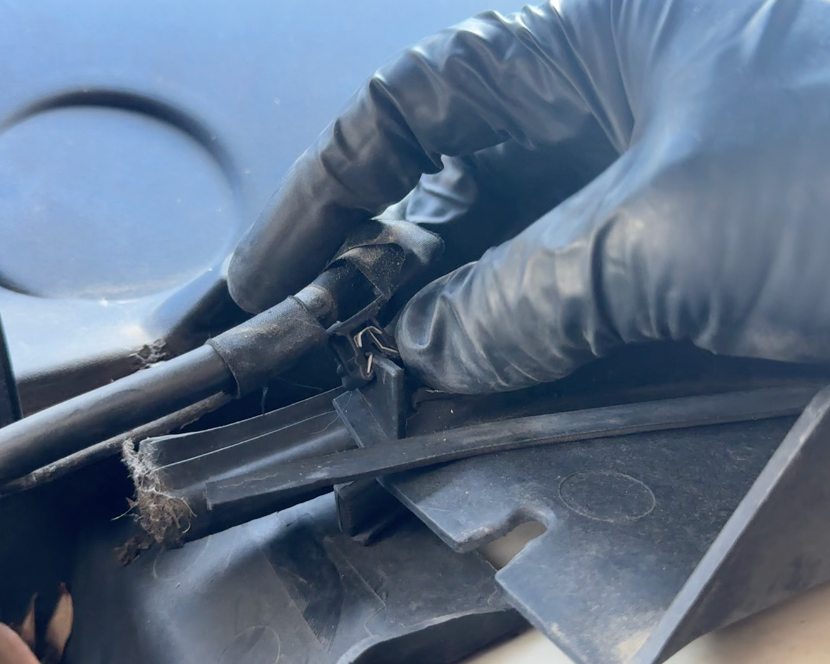
Unlatch Windshield Washer Line from Cowl
Unlatch the windshield washer line from the cowl by pulling the metal retention clip off of it's resting place.
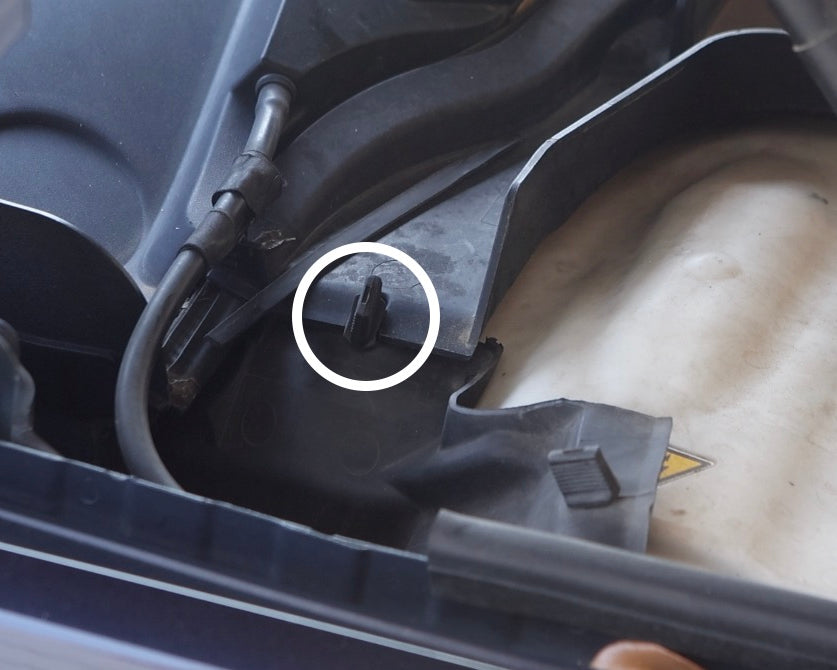
Release Rubber Grommet from Cowl
Release the rubber grommet (white circle) from both sides of the HVAC cowl by simply pulling it free.

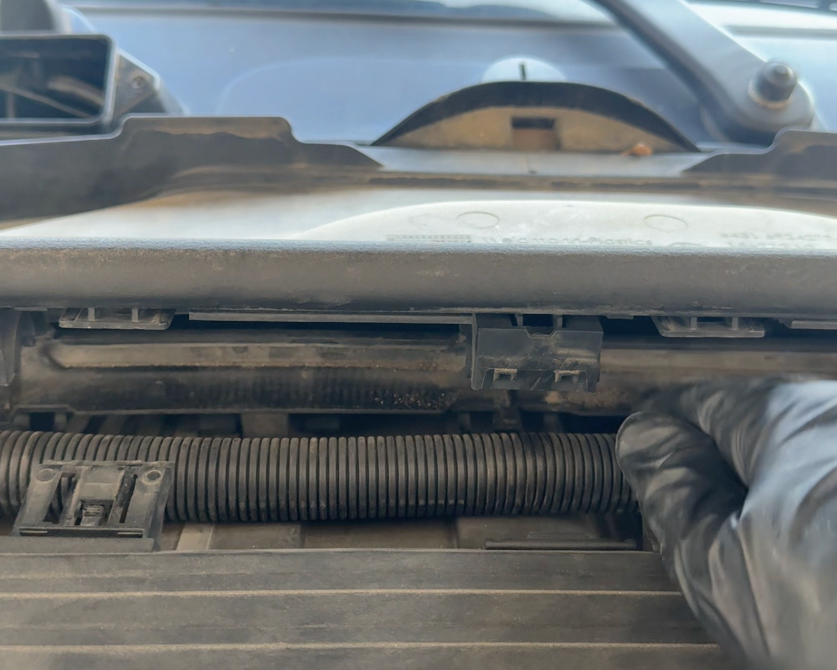
Disconnect HVAC Connector(s)
Release the electrical connector fixed to the HVAC cowl by pressing in the retention clip and pulling it free. Depending on the year, make and model, your vehicle may have 2 of these connectors. 1 will be located as shown, the other closer to the brake fluid reservoir.

Unclip Engine Wiring Hose
Unclip the 3 sets of clips holding the engine wiring hose in place to the bottom side of the HVAC cowling.
Remove Wiring Hose from Cowl
Pull the HVAC wiring hose free from the underside of the cowl.
Remove Cowl
With all connecting points free and loosened, carefully remove the HVAC cowl ensuring you do not hit it into any of vehicle
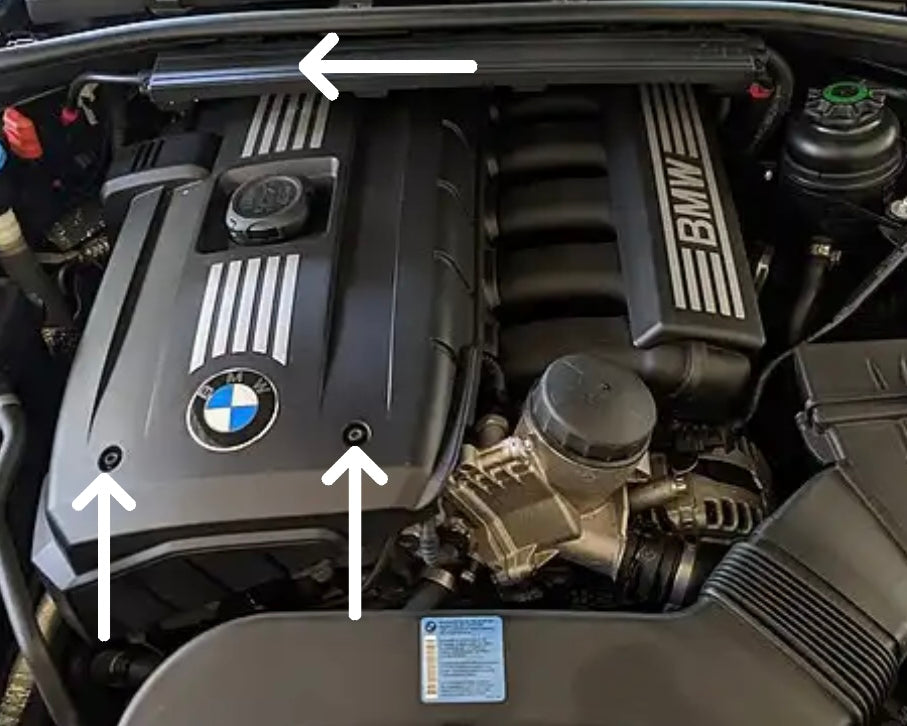
Remove Front Engine Cover Screws
Remove the front 2 engine cover screws using a 5MM allen key. (The sizing for these screws may very depending on year, make or model.)

Remove Rear Engine Cover Screw
Remove the rear 1 engine cover screws using the same 5MM allen key.
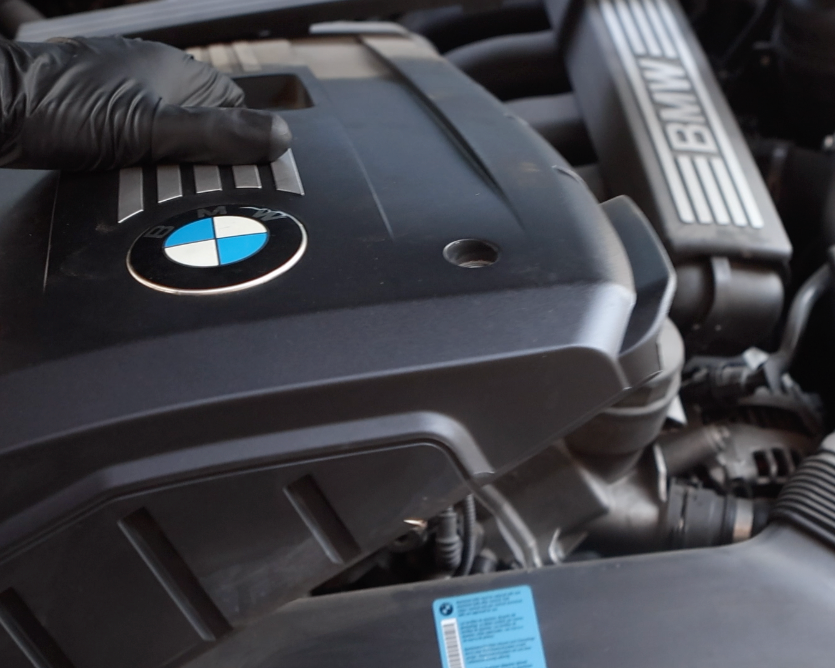
Remove Engine Cover
With all 3 screws removed, the engine cover can now be carefully lifted out of place.

Unscrew Fuel Rail Vent Cap
Unscrew the fuel rail vent cap and place it off to the side. No tools are required for this.

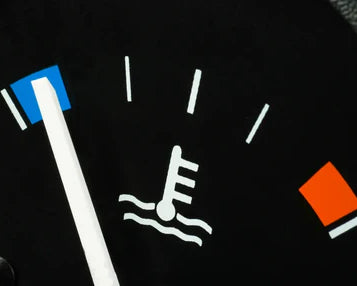
NOTE
Before working on the fuel delivery system, the excess fuel inside of the rail will need to be vented out.

Vent Fuel
To vent, squeeze a small screwdriver against the attached nipple until all excess fuel sprays from the nipple. Placing a microfiber towel underneath is highly recommended.
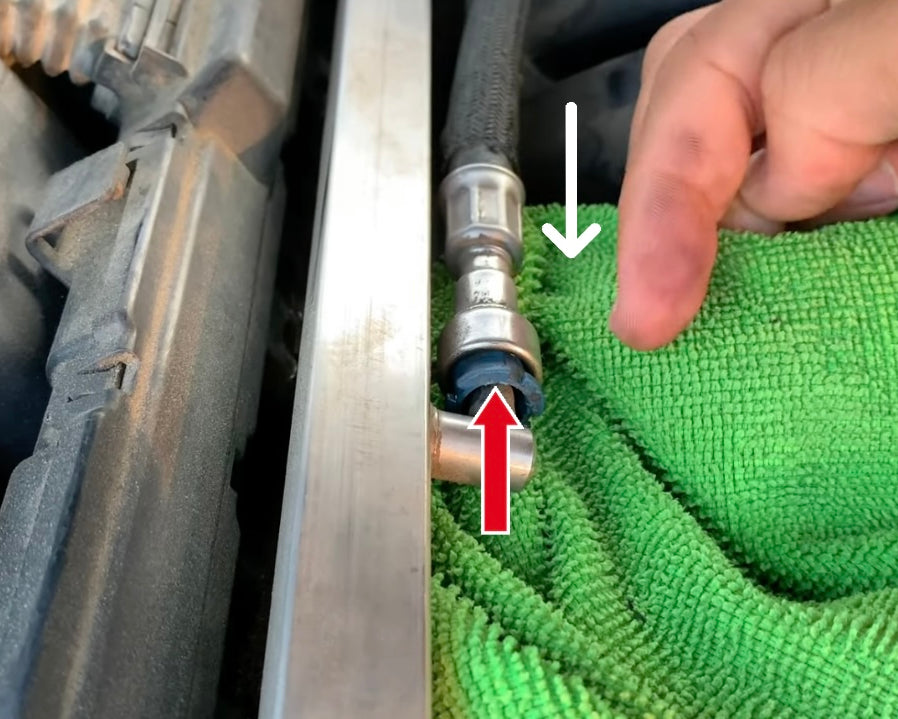
Remove Fuel Line
Remove the fuel line by pulling it forward toward you (white arrow) while pushing down on the blue retention clip (red arrow) at the same time.

Unclip Fuel Rail Harness
Unclip the fuel rail harness from the injectors by grabbing the front portion and carefully but firmly pulling up diagonally to the left (white arrows). Once one connector is unseated, pull up on the rest of them bit by bit until the entire harness is unclipped.

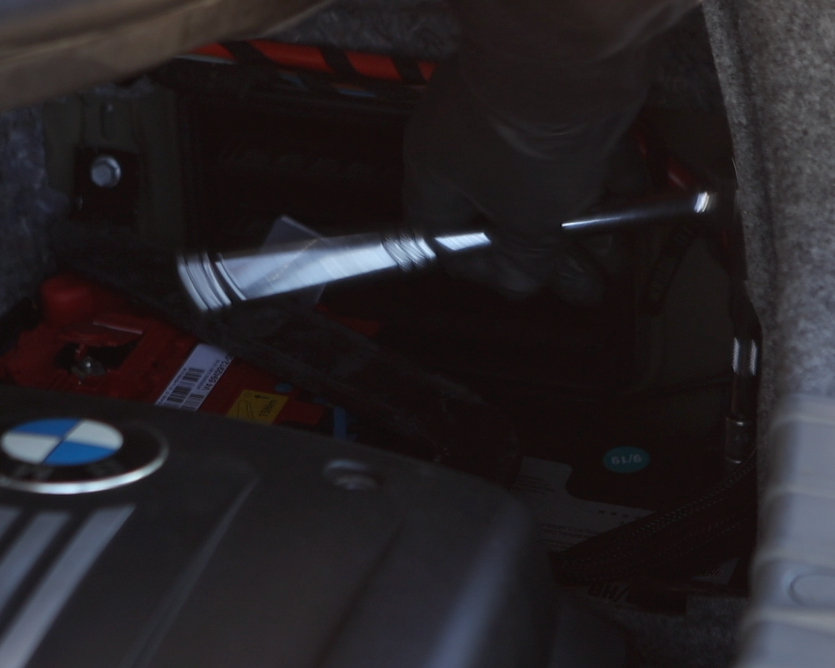
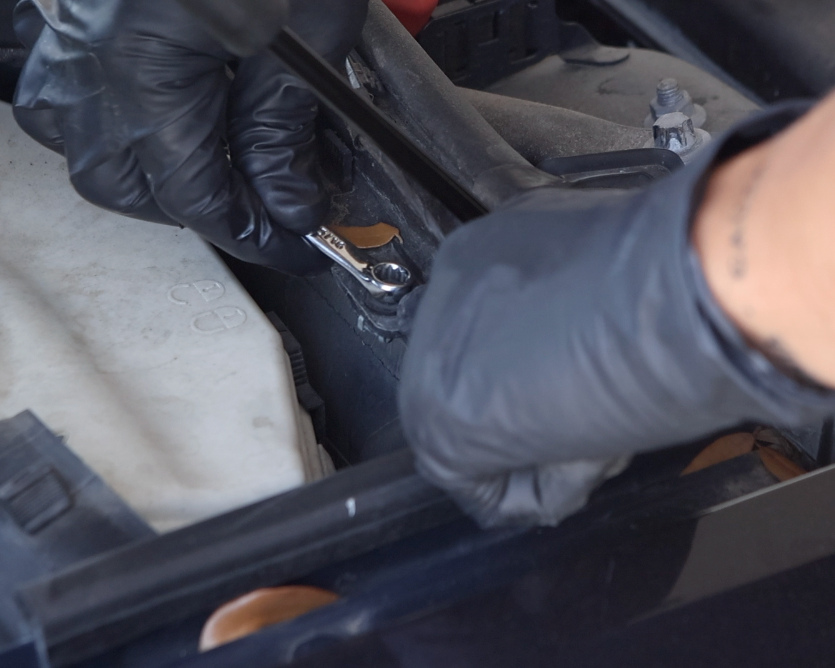
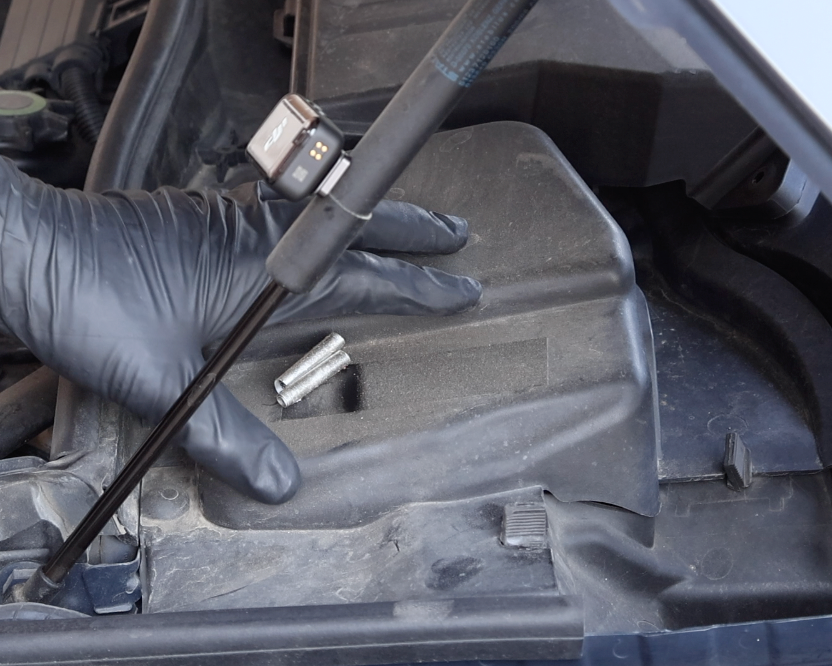
Remove Fuel Rail Bolts
Remove the four 10MM fuel rail bolts, ensuring you're careful not to drop them. Using a ratchet with a small extension makes this step easier.
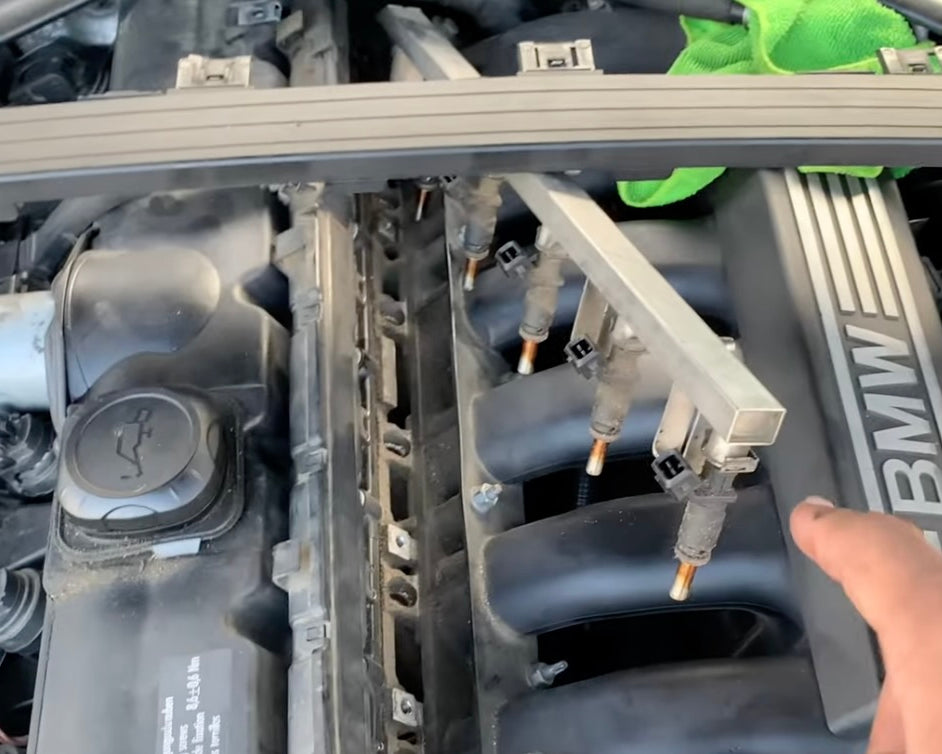
Remove Fuel Rail
Carefully remove the fuel rail from the engine cylinder ports by grabbing and pulling up on it. Don't try removing the rail all in one go, instead release injector by injector.

NOTE
It's highly recommended to replace all of the injectors at once. These injectors have 170,000 miles on them and are showing severe signs of wear and should be replaced preventatively.

Remove Injector Clip
Using a flathead screwdriver, remove the metal clip from the fuel injector by prying it free of the ring it holds on to.

NOTE
Slide the clip back (white arrow) to remove it from the injector.
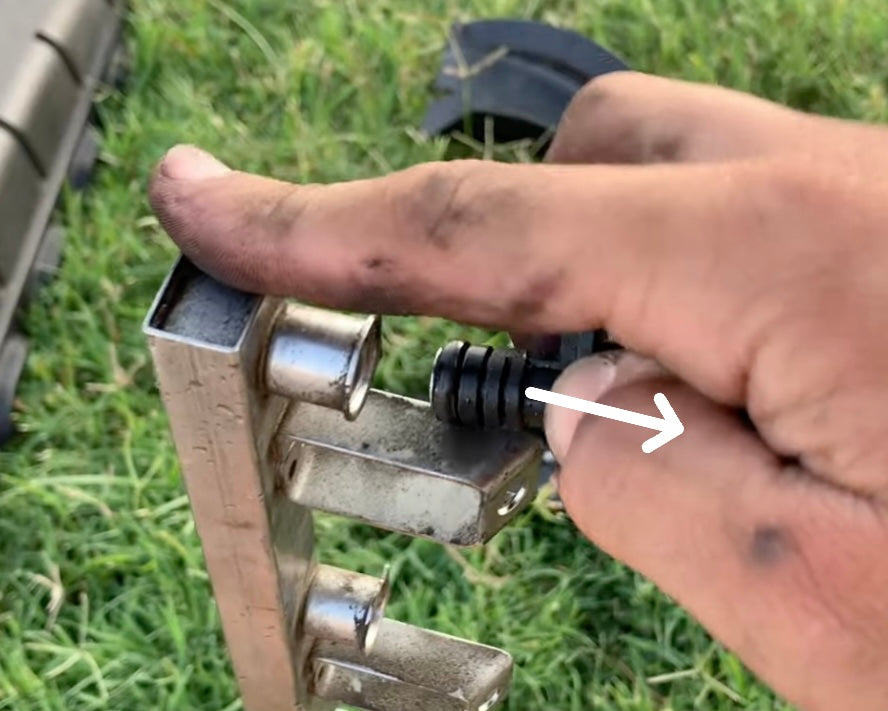
Remove Injector from Rail
Remove the fuel injector from the rail by simply pulling it in the direction of the white arrow.

Remove Injector from Rail
Remove the fuel injector from the rail by simply pulling it in the direction of the white arrow.
NOTE
When installing new fuel injectors, it's optional to apply non-corrosive lubricating grease to the fuel injector o-rings for ease of install.

Install New Fuel Injector(s)
Install the new fuel injector(s) by pushing the assembly down into the fuel rail.

Align Injector Plugs
Align all of the injectors on the fuel rail so the connector plugs are all facing the same direction and fully aligned.

Install Fuel Rail
Install the fuel rail into the engine by carefully aligning the injectors and pressing it down into place.

Press Fuel Rail Down
Press the fuel rail down until the tabs on it are fully flush with the screw holes on the engine.
Install Fuel Rail Bolts
Re-install the four 10MM fuel rail bolts, ensuring you're careful not to drop them. Hand-torque the screws to roughly 7-10 ft-Ibs. Be careful not too over-tighten.

Install Fuel Rail Harness
Install the fuel rail wiring harness by aligning the connectors and firmly pressing them down onto the injector until an audible click can be heard. Ensure each of the six connectors clicks into place on the injectors.

Install Fuel Line
Install the fuel line back on to the rail by sliding it back over the retention ring. Once installed, carefully pull back and forth on the line to verify it's fully latched.

Install Fuel Rail Vent Cap
Re-install the fuel rail vent cap by screwing it back onto the rail.
Re-Installation
Now that the vehicle is running properly, the cabin air filter, engine cover and all other components removed or disconnected can be re-installed.

Reconnect Battery
Reconnect your BMW's battery.
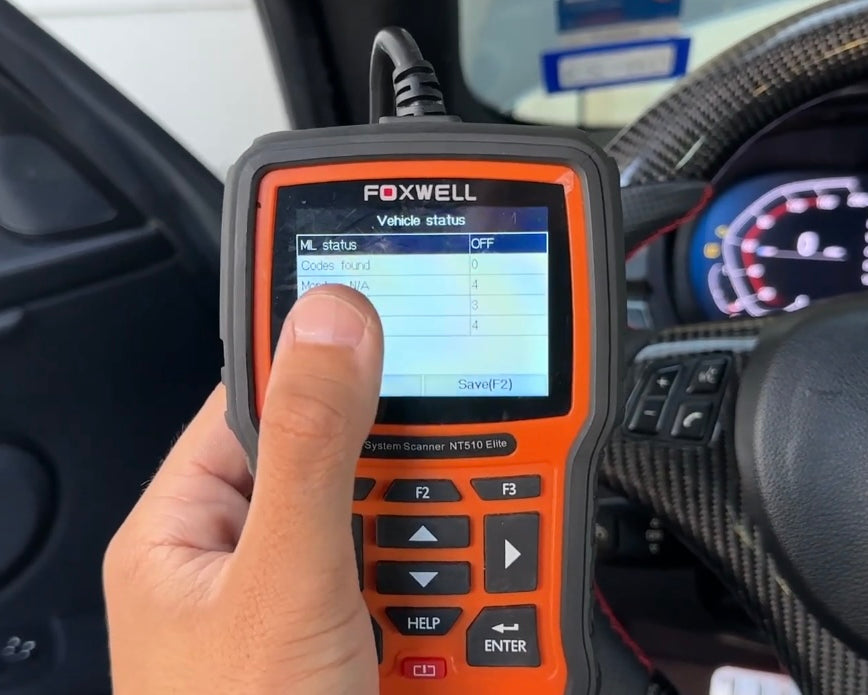
Clear Engine Codes
Using a BMW scan tool, clear all engine codes and confirm any cylinder misfire related codes are gone.

Prime Fuel Pump
To prime the fuel pump, insert the keyfob into the ignition, press the push-start button to power on all accessories and wait 3-5 seconds. This is 1 prime cycle. Repeat 3-5 times minimum.
Test Start Car
Test start the car to ensure the new fuel injectors work properly and there isn't a cylinder misfire. Keep an eye out for check engine lights or rough idling. If present, connect a scan tool and troubleshoot further.
DIY Complete
Good job replacing your fuel injector(s)! Be sure to keep an eye on your dashboard for any check engine codes or rough idling.