
CIC iDrive Controller Button Replacement Guide for BMW 1 / 3 / 5 / 7 / X / Z Series


Materials Required
- New iDrive Buttons
- Plastic Pry Tools
- Flathead Screwdriver or Pick Tool
- T-20 Screwdriver

Overview
Over time, BMW iDrive buttons wear out from daily use, leaving your interior looking aged. In this guide, we’ll show you how to replace them with fresh CIC iDrive buttons—restoring both function and OEM style.
Disconnect Battery
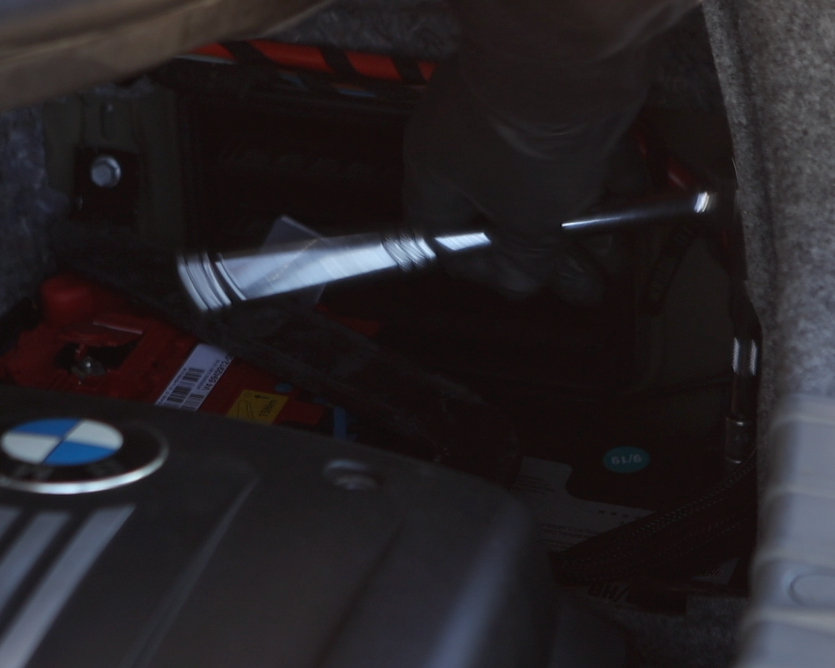
Disconnect the vehicle's battery to ensure safety while conducting this job.

Remove Shiftknob
Firmly grip the shift knob with both hands and pull upward until it releases completely from the shifter.
Caution: The knob may release suddenly—use steady force and be mindful not to hit yourself when it comes free.

Unclip Gearshift Trim
Grip the gearshift trim firmly and pull upward until it unclipped from the center console assembly. Work evenly around the edges to release all clips.

Disconnect Electrical Connector 1
Locate the blue electrical connector attached to the LCD indicator panel. Grip the connector securely and pull it apart to disconnect it.

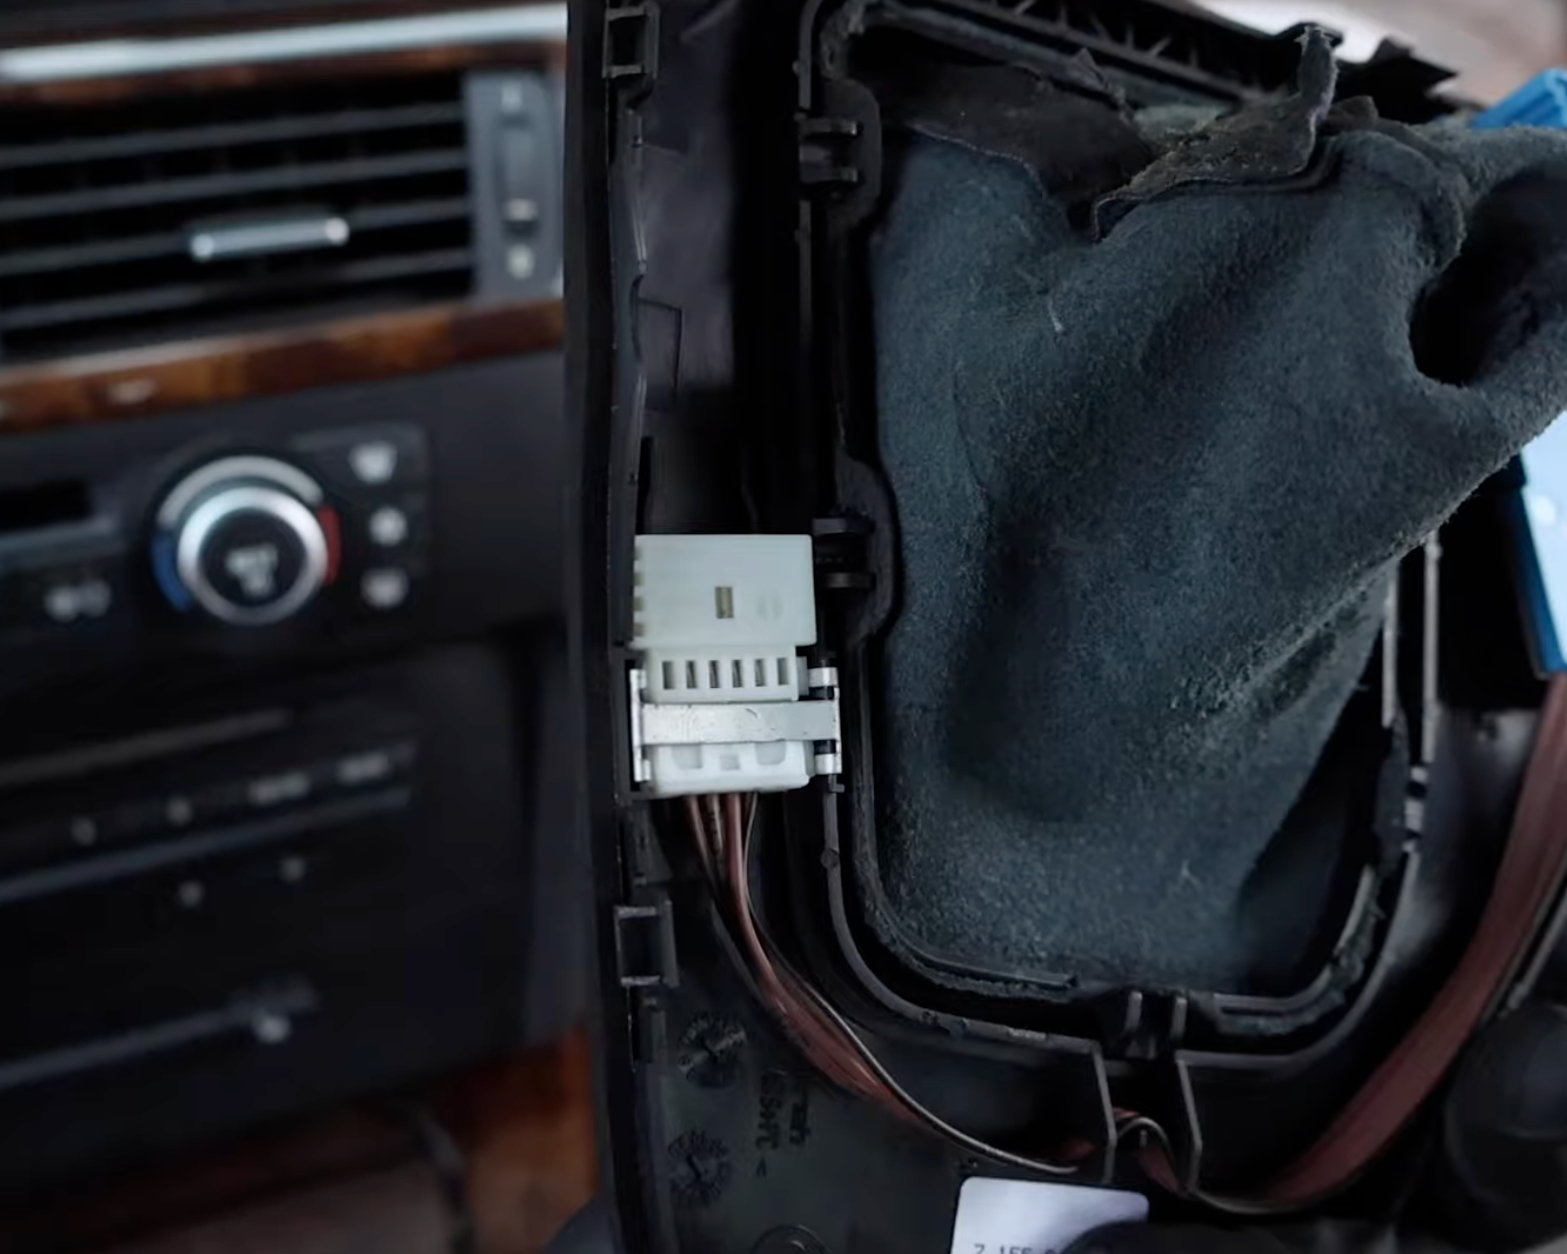
Disconnect Electrical Connector 2
Locate the white electrical connector attached to the trim panel. Grip the connector securely and pull it apart to disconnect it.

Remove Gearshift Trim Panel
With both electrical connectors unplugged and the trim unclipped, carefully lift the trim panel out and set it aside in a safe place.

Begin Removing Center Console Trim
Start by using a plastic pry tool to gently lift up the rear section of the center console trim. This will give you access to the iDrive controller.

Lift Center Console Trim
With the rear clips released, firmly grip the center console trim and begin unclipping the front section. Lift the trim upward to expose the CIC controller’s electrical connector.

Unplug iDrive Controller Electrical Connector
Firmly pull the single electrical connector from the iDrive controller until it is fully unplugged.
Locate iDrive Controller Screws
The iDrive controller is secured with six T20 screws. Lift the center console trim and you’ll see the six screws facing downward around the controller.
Loosen / Remove Retention Screws
Loosen and remove the six T20 retention screws, keeping firm control so they are not dropped into the console. When removing the final screws, hold and support the iDrive controller from underneath to prevent it from falling.

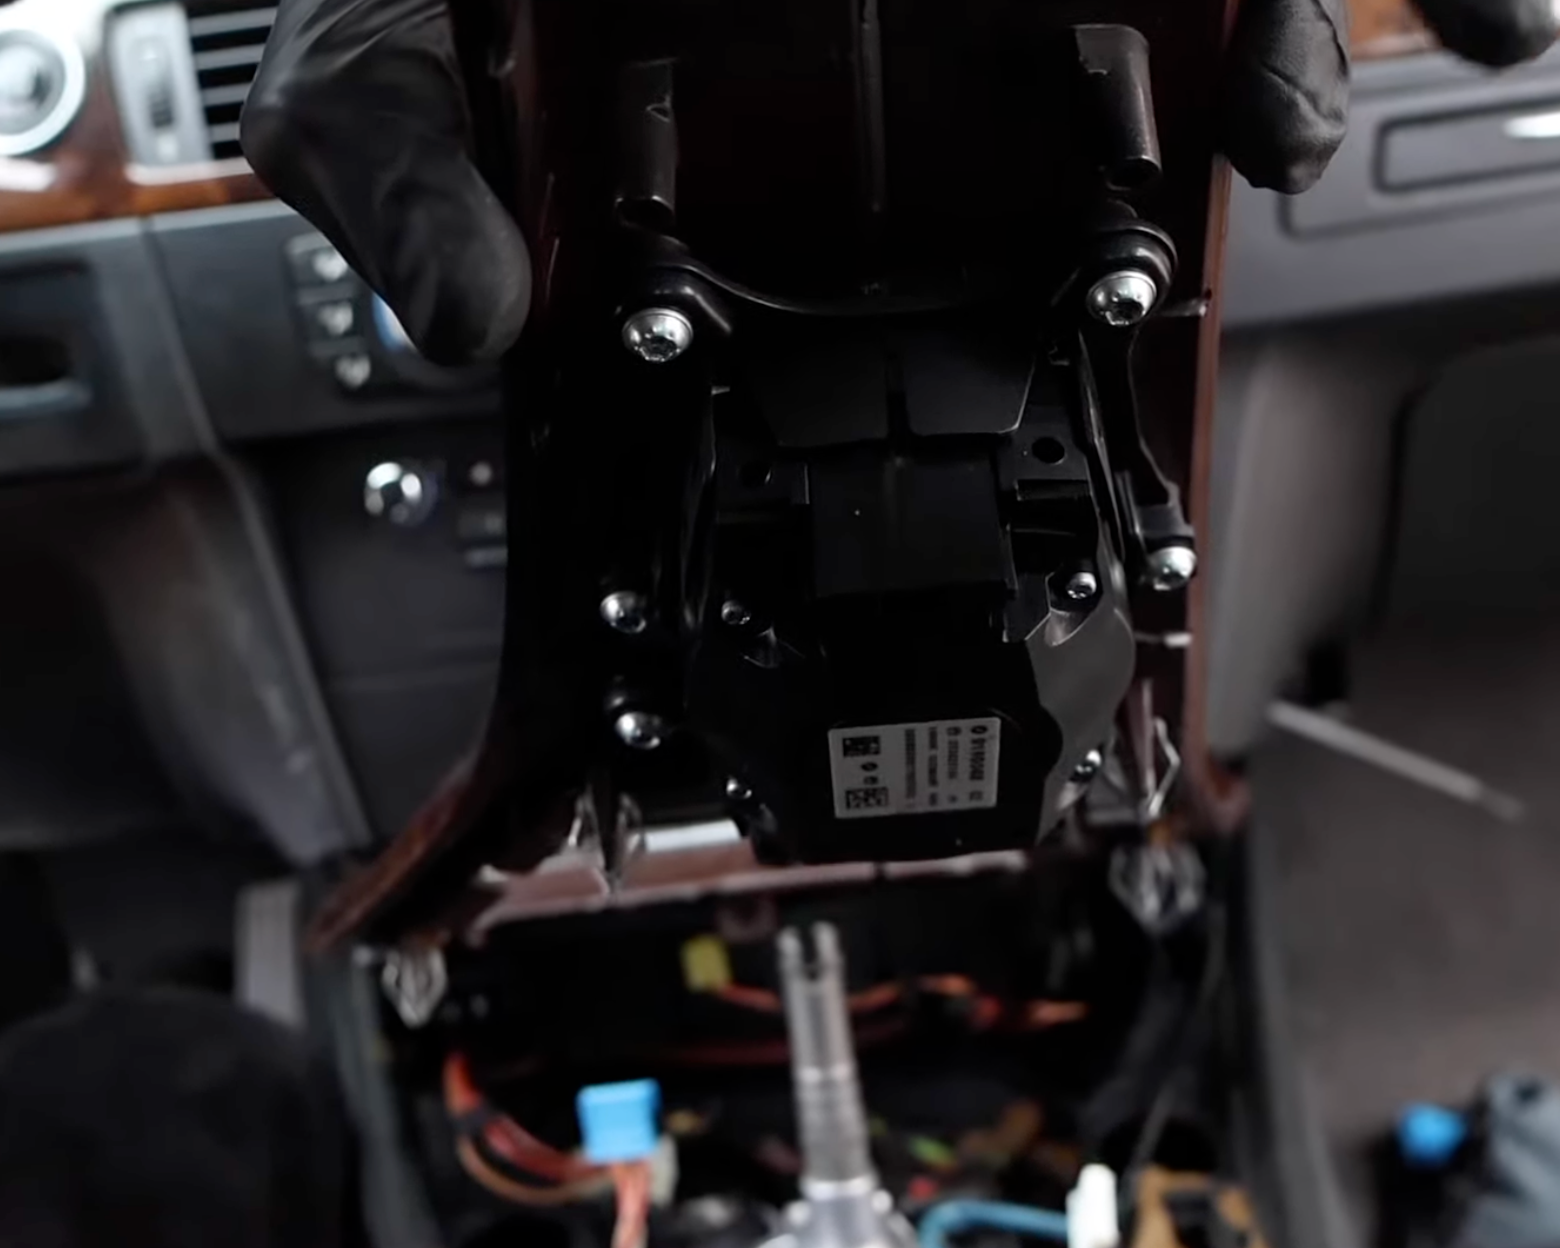
Remove iDrive Controller Assembly
With all six screws removed, carefully lift the iDrive controller assembly out of the center console. We can now begin disassembling it to remove and replace the worn buttons.
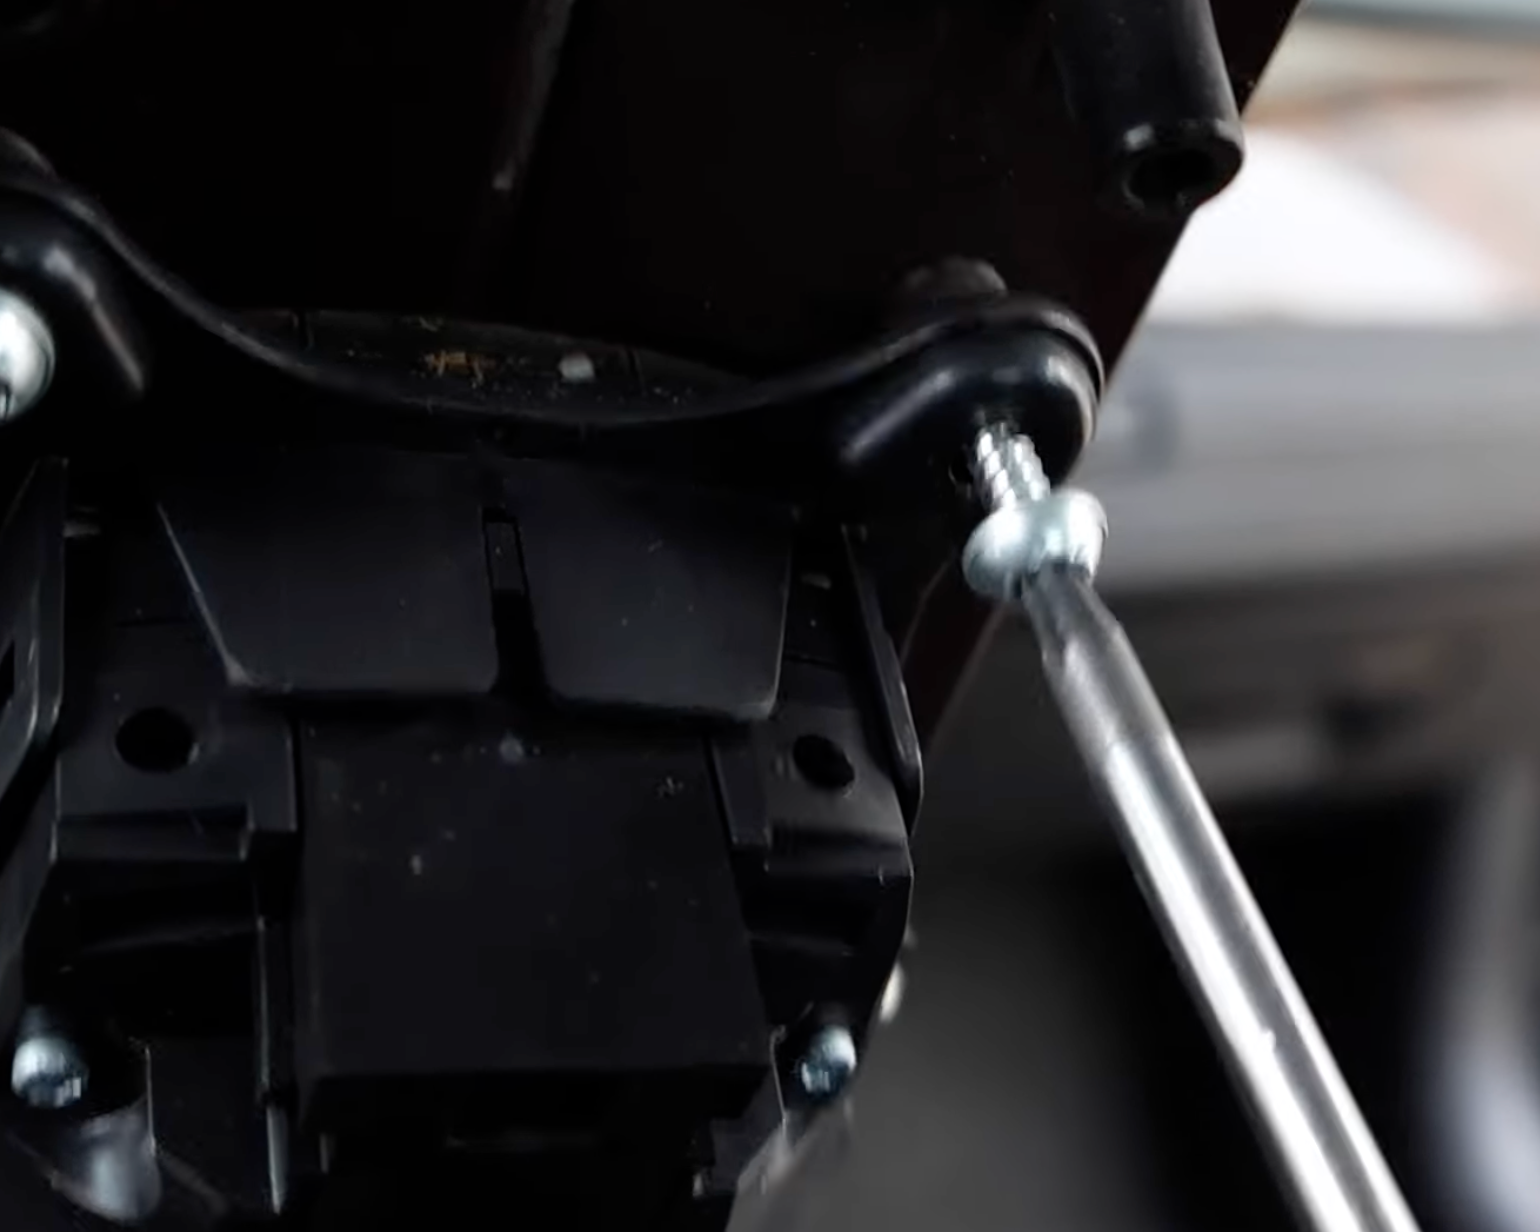
Release Mounting Bracket Tabs
Using a plastic pry tool, carefully release all of the retention tabs securing the mounting bracket to the iDrive controller assembly.

Remove Mounting Bracket
With all retention clips released, lift the mounting bracket away from the iDrive controller and remove it completely.

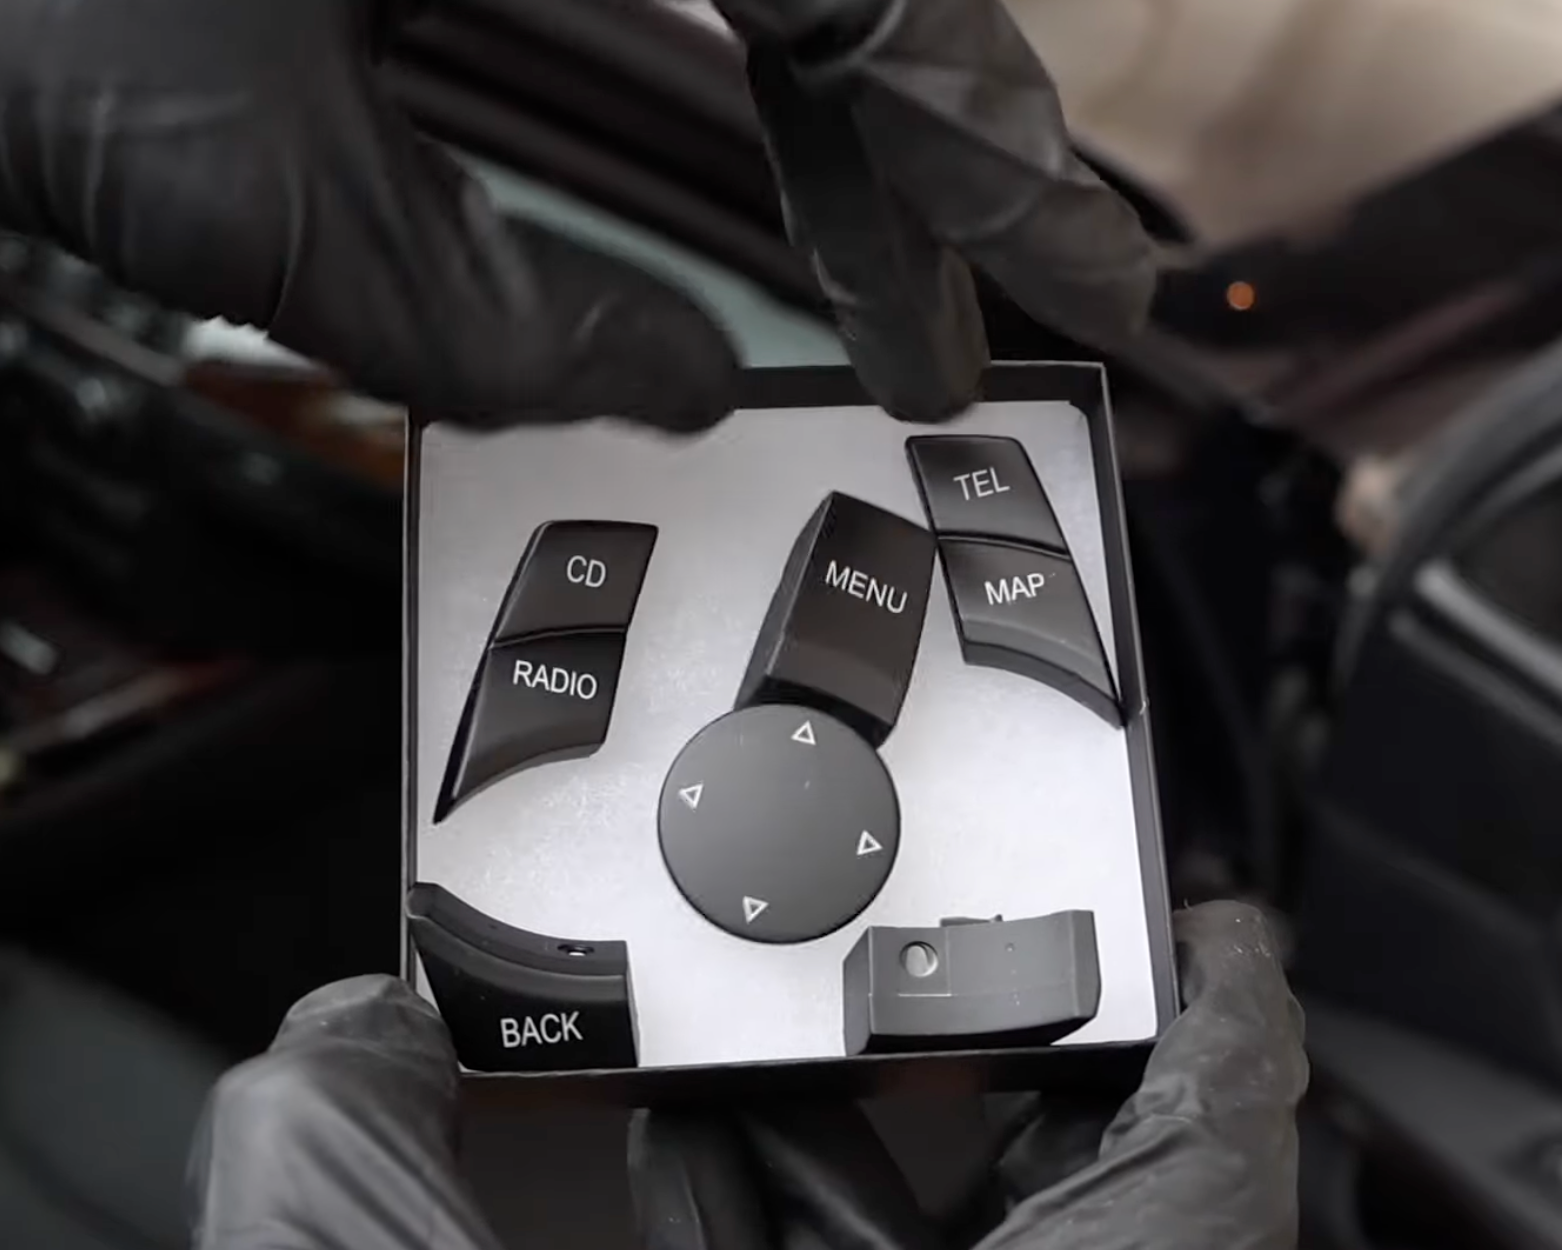
Remove Front Buttons
To remove the front buttons, simply grip them and pull outward while gently wiggling back and forth. No tools are required. If a button feels difficult to remove, use a plastic pry tool to carefully lever it off.

NOTE
Be careful not to drop or lose the white button sleeves located beneath each button. These sleeves must be transferred and reinstalled with the new buttons.

NOTE
The rear buttons are secured with small retention tabs on either side. Using a flathead screwdriver, gently press in the tabs to release them, then lift the button upward. Unlike the front buttons, these cannot be pulled straight off—the tabs must be depressed first.

Remove Rear Buttons
With the retention tabs loosened and depressed, simply lift and remove the rear buttons from the iDrive controller.

Remove Menu Button
Just like the other front buttons, grip the Menu button and gently but firmly pull upward while wiggling it back and forth until it snaps free.

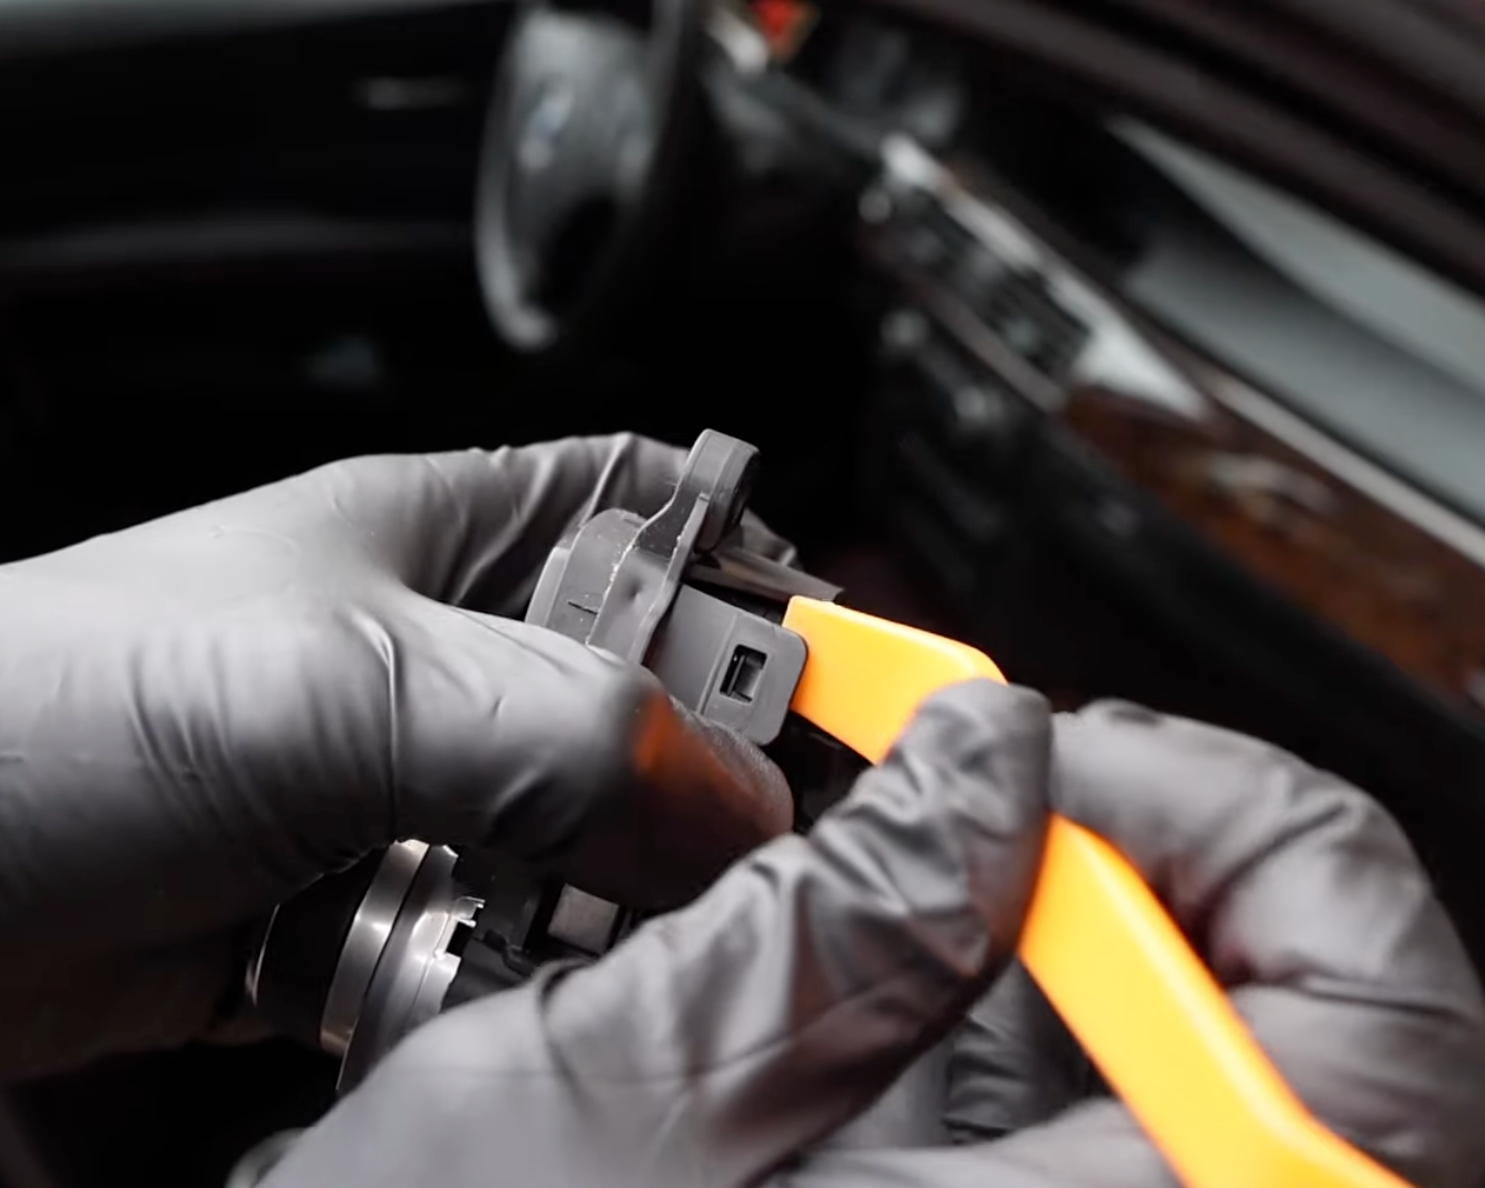
Remove iDrive Knob Center Cover
Using a small flathead screwdriver or pick tool, carefully pry up the center cover of the iDrive knob. Take care not to scratch the silver bezel around the knob. Make sure you get a solid wedge underneath before prying upward—once positioned, the cover can be lifted off and removed easily.

Clean iDrive Knob Assembly
With the entire iDrive knob disassembled, use a microfiber towel to thoroughly clean the assembly. This helps the buttons click more firmly and ensures smoother operation, while also extending their lifespan by preventing them from becoming sticky over time.
Inspect New Buttons
Our replacement iDrive buttons are designed as a direct fit for BMW CIC iDrive systems. They install seamlessly, providing a factory-quality finish at a fraction of OEM prices.

Reinstall White Button Sleeves
Reinstall the white button sleeves into their correct grooves to ensure proper button function. Double-check that each sleeve is seated correctly before securing the buttons—otherwise, the buttons may need to be removed again, which could cause damage.

Install New Buttons
With the button sleeves in place, align the new buttons with the iDrive knob and press firmly downward until they snap securely into position. Test each button to confirm proper function before continuing reassembly.

Reinstall iDrive Knob Center Cover
Align the center iDrive knob cover so that the arrows point perfectly up, down, left, and right. Once aligned, press it down firmly until it snaps into place and sits flush.

Reinstall Mounting Bracket
Align the mounting tabs with the iDrive controller and firmly press all clips together until they snap securely into place.
Reinstall iDrive Controller
Align the iDrive controller—with the new buttons installed—into the center console, ensuring it is oriented correctly before securing.

Reinstall Retention Screws
Reinstall the six T20 screws removed earlier and tighten them until they are fully flush. For best fitment, tighten the screws in a star pattern to ensure the assembly seats evenly.

Reconnect Electrical Connector
Reinstall the electrical connector to the iDrive controller until it clicks into place.
Reconnect Gearshift Trim Panel Electrical Connectors
Reconnect the two electrical connectors that were previously unplugged from the gearshift trim panel, ensuring each one clicks securely into place.

Seat Center Console Trim
Fully seat the center console trim before reinstalling the gearshift trim panel. This will make installation easier and prevent the trim from popping back out of place. For best fitment, press the trim forward toward the radio and then downward until it locks in securely.

Reinstall Gearshift Indicator Panel
With both electrical connectors reinstalled, firmly press down on the gearshift indicator panel until it snaps into place and all clips are fully secured.

Reinstall Shiftknob
Slide the shift knob back over the shift lever and press it down firmly until seated. You may need to give the top of the knob a firm tap to lock it securely into place.
Reconnect Battery
Reconnect your BMW's battery.

Verify iDrive Functionality
Power on the vehicle’s electronics and confirm the iDrive system works by activating each button and scrolling the knob. If any function does not respond, the electrical connector may not be seated correctly and should be rechecked.

Repair Complete
Great job replacing your MAP sensor! After installation, keep an eye out for any misfire codes or signs of a vacuum leak, as these could indicate the sensor was not seated or sealed correctly.