
BMW Intake & Exhaust Camshaft Sensor Replacement Guide - NXX Engines


Materials Required
- Pick Tool
- E8 Socket
- Tiny Ratchet
- 10MM Wrench
- Flathead Screwdriver
- Microfiber Towel

Overview
The camshaft sensors help monitor the position of the intake and exhaust camshafts, providing critical timing data for proper engine operation. Over time, these sensors can short circuit or fail, leading to rough idling, hard starts, and engine misfires. These issues are easily identified by scanning with an OBD2 scanner, which will display camshaft sensor fault codes. Today, we’ll be replacing both the intake and exhaust sensors to restore smooth engine performance.
Start w/ Cold Engine
Ensure you conduct this DIY on a vehicle with a cold engine.
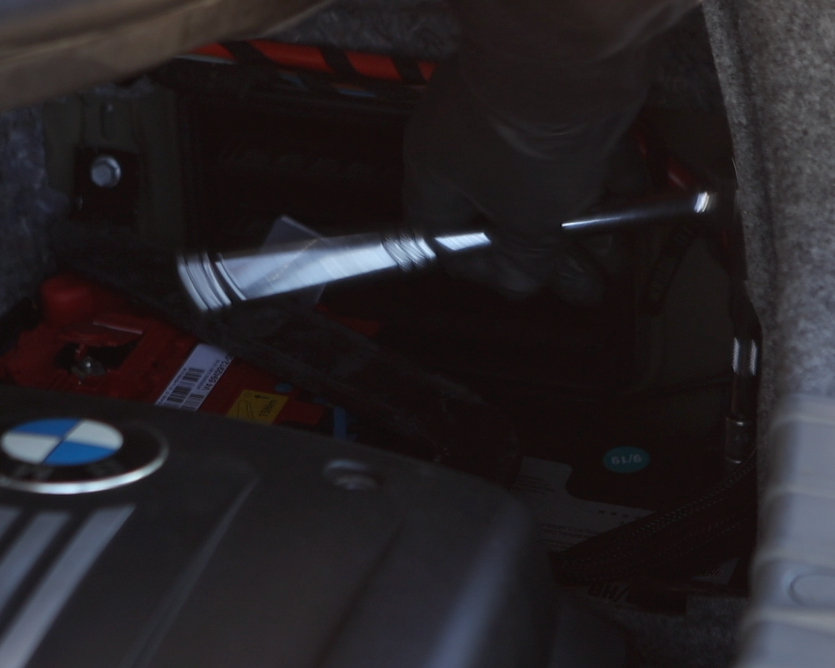
Disconnect Battery
Disconnect the vehicle's battery to ensure safety while conducting this job.

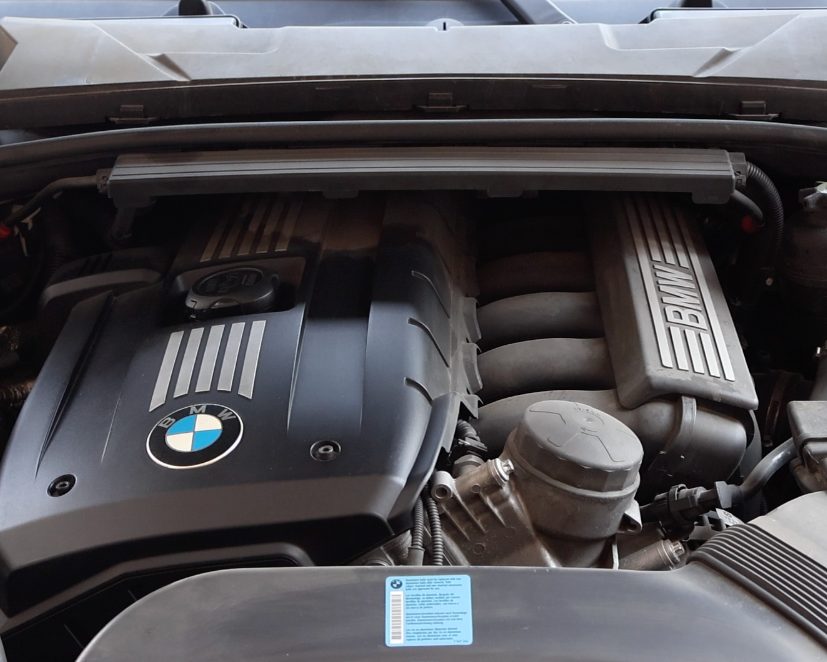
Open Hood
Open your vehicle's hood by pulling the latch.
Remove Air Snorkel Screws
Remove the two T15/T20 Torx screws securing the air snorkel.

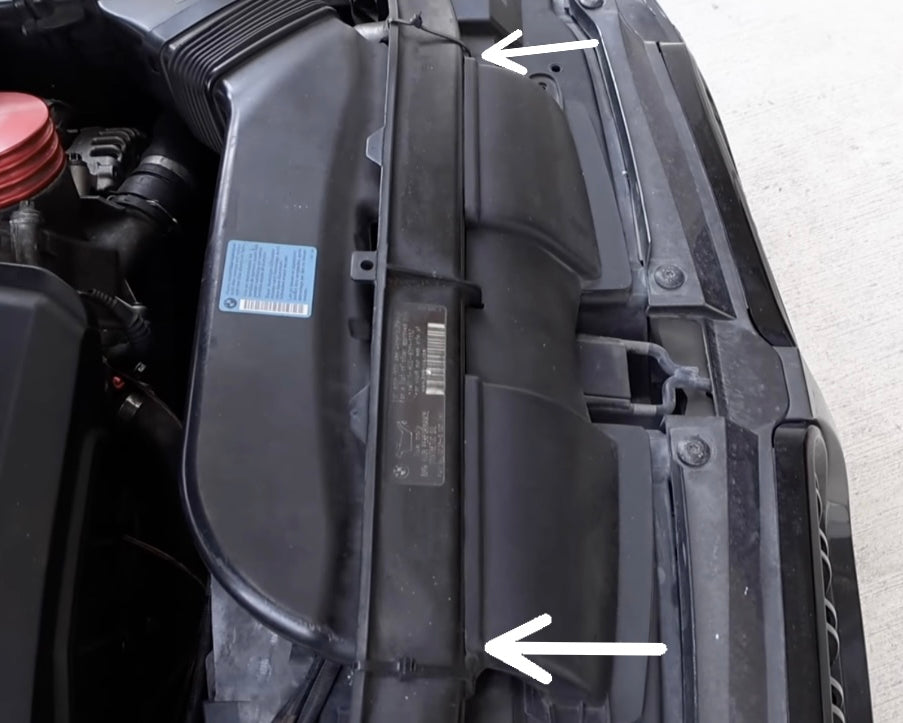
Unlatch Air Snorkel
Unlatch the air intake snorkel by using a flathead screwdriver to separate the two retention tabs (white circles).

Remove Rear Air Box Snorkel
Remove the rear airbox snorkel from the airbox assembly. This will create the necessary clearance to access and remove the camshaft sensors.

Loosen Intake Camshaft Screw
Using an E8 shallow socket with a small ratchet, access the space that was previously blocked by the snorkel. Begin loosening the E8 screw securing the intake camshaft sensor. Keep in mind this screw is installed upside down, so make sure you are turning it in the correct direction to loosen.

NOTE
Since the bolt is upside down, you’ll need to turn the ratchet clockwise to loosen it. The bolt itself will rotate clockwise as it comes out.

Remove Screw
With the screw fully loosened, carefully remove it from the engine bay, taking extra care not to drop it.

Pry Intake Camshaft Sensor
Using a flathead screwdriver, gently pry the camshaft sensor out of the engine block. Make sure the screwdriver is wedged in securely, and work your way around the circumference of the sensor to avoid cracking or snapping it. Keep the electrical connector plugged in during removal so the sensor stays supported and doesn’t fall into the engine bay.

Unplug Electrical Connector
With the sensor fully removed, you can now disconnect the electrical connector.

Inspect Old Sensor
Inspect the old sensor for signs of underlying issues. In this case, the sensor is completely coated in oil sludge, and the gasket is swollen—indicating it has likely been in place since the vehicle was new. The presence of dust and dirt also suggests that the undertrays may have been removed at some point, allowing debris to be blown upward into the engine bay.

Prepare New Sensor
It’s now time to install the new sensor. Always verify that you have the correct part for your exact BMW model and VIN before installation.

NOTE
New camshaft sensors often do not include the O-rings. Be sure to purchase the correct O-rings separately when replacing the sensor. For N5X engines, refer to the photo above for the specific part number used on this N52. Part numbers may vary by engine and production date, so always confirm the correct fitment for your model.

Clean Mating Surface
Clean the mating surface for the intake camshaft sensor with a microfiber towel. This ensures the new sensor and O-ring seat properly, creating a secure seal.

Align and Install New Sensor
Connect the electrical connector to the new sensor first—this provides leverage and helps prevent dropping it into the engine bay. Then carefully align the sensor with the intake slot, ensuring the bolt hole on the engine block lines up with the hole in the sensor housing. Press the sensor housing in fully until it sits flush on all sides, with no gaps. Use your hand to push it in firmly around the entire 360° circumference before installing the bolt. The sensor must be completely seated for a proper seal.

Reinstall Intake Screw
Reinstall the E8 intake screw through the sensor into the engine block, taking care not to drop it. Tighten the screw by hand until snug—do not overtighten, as this can damage the sensor housing.
Recommended: 5.4Nm Torque.

Locate Exhaust Camshaft Sensor
The exhaust camshaft sensor is more difficult to access since it sits on the underside of the cylinder head and is harder to see. A simple way to locate it is by following the dual red and yellow/green wires that connect to the sensor. You’ll feel the upside-down sensor secured with the same E8-size bolt as the intake side.
Repeat Process
Repeat the same process for the exhaust camshaft sensor: remove the E8 bolt, use a flathead screwdriver to gently pry the sensor out, and disconnect it. Clean the mating area and install the new sensor. The part numbers are interchangeable for both the intake and exhaust sensors, so just be sure you have two new O-rings on hand for proper installation.
Re-Installation
Re-install the air intake hose, air snorkel and all other components.
Reconnect Battery
Re-Installation
Clear Engine Codes
Using an OBD2 scanner, clear any pre-existing engine codes.

Test Start Engine
To ensure there are no issues with the new air filter and no vacuum leaks are present, test start the vehicle.
DIY Complete!
Good job replacing your camshaft sensors! Keep an eye out for any check engine lights or signs of oil or vacuum leaks, as these could indicate improper installation.