
Intake Manifold Gasket Replacement


Materials Required
- 10MM Socket
- 8MM Socket
- Ratchet
Start w/ Cold Engine
Ensure you conduct this DIY on a vehicle with a cold engine.
Disconnect Battery
Disconnect the vehicle's battery to ensure safety while conducting this job.

Open Hood
Open your vehicle's hood by pulling the latch.
Remove Cabin Air Filter Cowl
Remove the cabin air filter, HVAC cowl and all covers in the way of accessing the ECU. You should only need an 8MM socket for this.
Unlatch Engine Wiring Harness
Unlatch the engine wiring harness by firmly pulling the three latches free of the HVAC cowling.
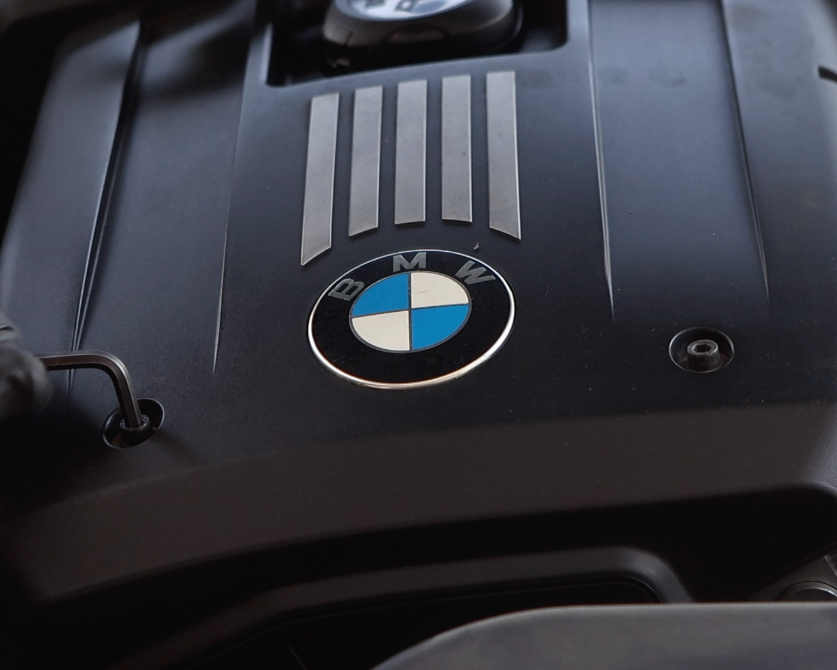
Remove Engine Cover Screws
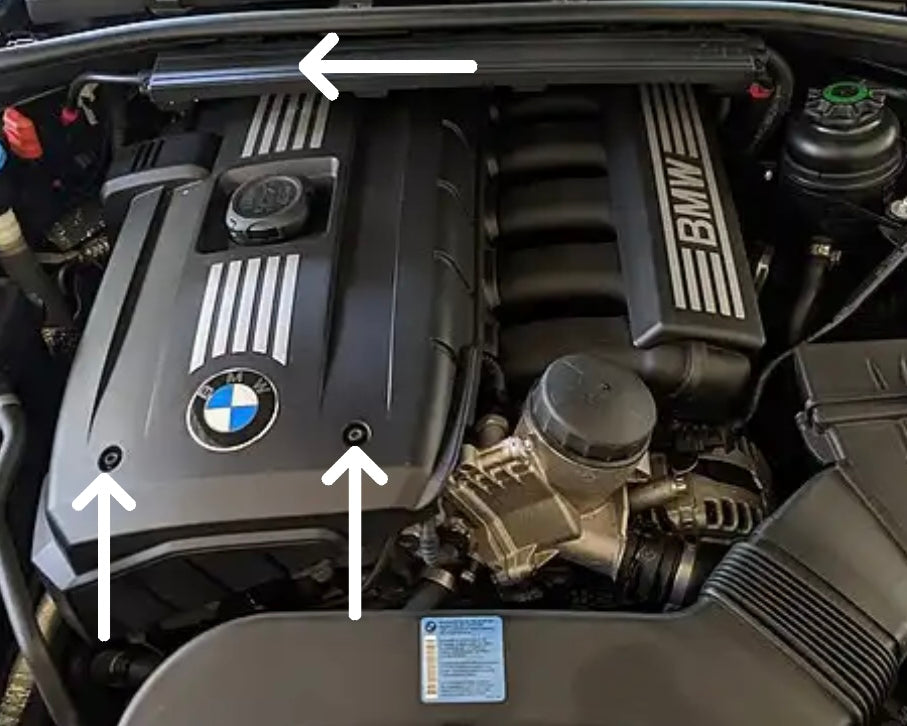
Remove the three screws that secure the engine cover.

Release Rubber Seal
Release the rubber seal retention grommet from the ECU and brake fluid reservoir cowl cover.

Remove ECU Cowl Cover
Remove the ECU cowl cover by gently prying the two retention clips on the side free until the cover can be removed from the engine bay.
Remove 8MM Cowl Screw
Remove the 8MM cowl screw located underneath the cover.
Remove Brake Fluid Reservoir Cowl Cover
Remove the brake fluid reservoir cowl cover, the same way as the ECU one.

Remove 8MM Cowl Screw
Remove the 8MM cowl screw underneath the brake fluid cover using a socket / wrench.
Remove 4 Cabin Air Filter Screws
Remove the 4 8MM cabin air filter screws using a socket / wrench.

Remove Cabin Air Filter
With all 4 screws removed, carefully lift the cabin air filter out of place.
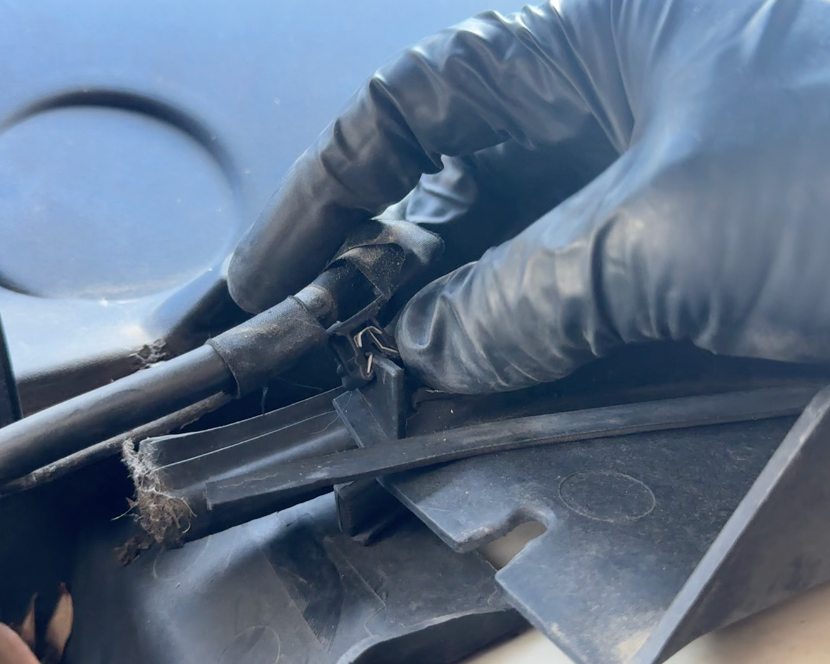
Unlatch Windshield Washer Line from Cowl
Unlatch the windshield washer line from the cowl by pulling the metal retention clip off of it's resting place.
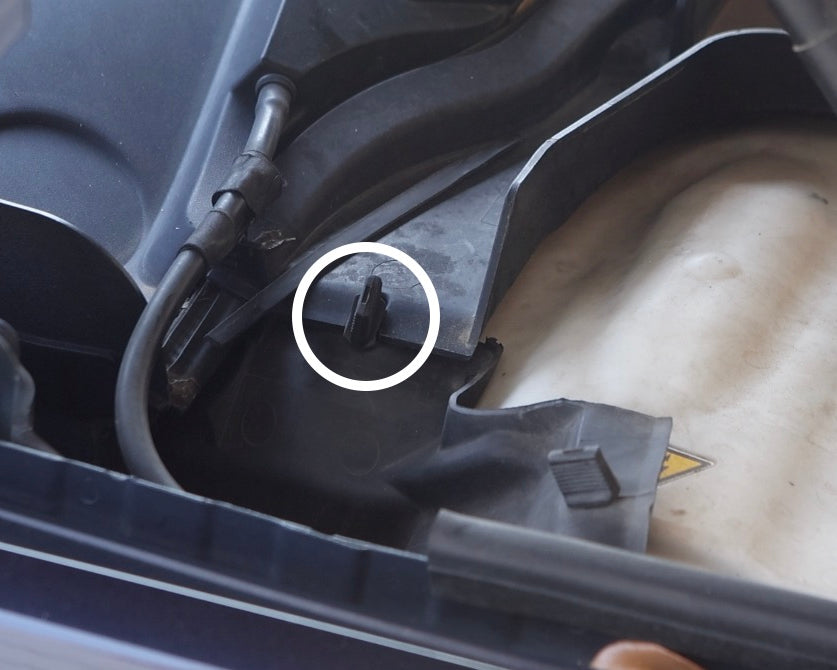
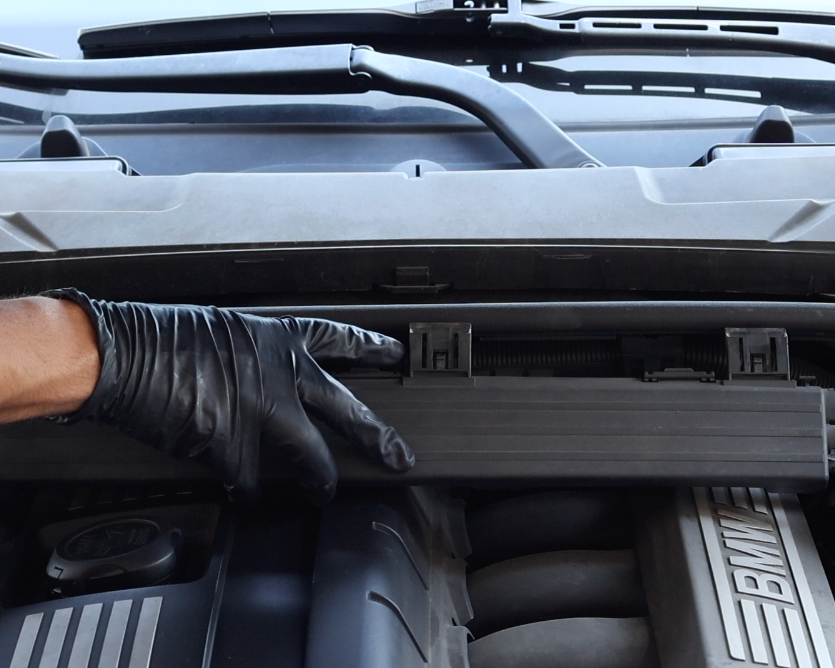
Release Rubber Grommet from Cowl
Release the rubber grommet (white circle) from both sides of the HVAC cowl by simply pulling it free.

Disconnect HVAC Connector(s)
Release the electrical connector fixed to the HVAC cowl by pressing in the retention clip and pulling it free. Depending on the year, make and model, your vehicle may have 2 of these connectors. 1 will be located as shown, the other closer to the brake fluid reservoir.

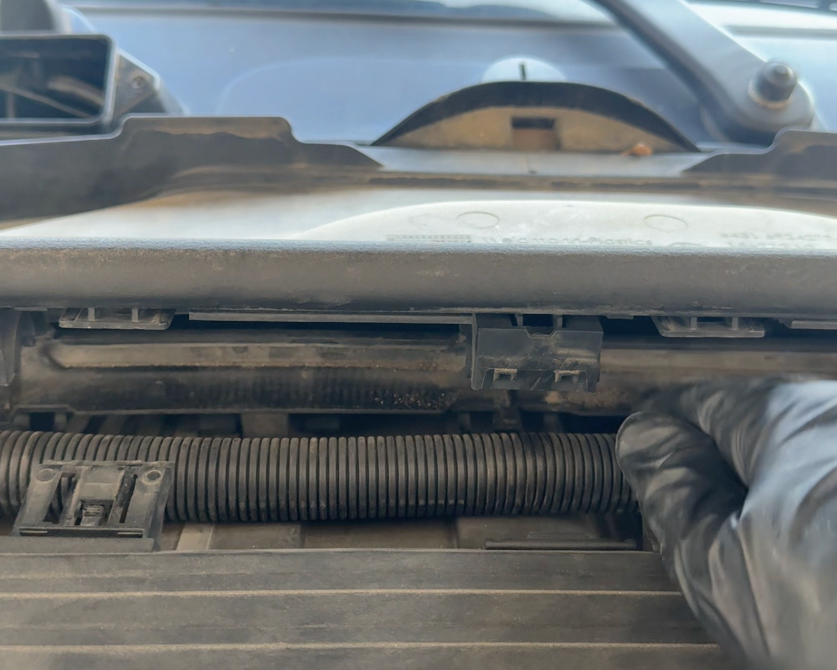
Unclip Engine Wiring Hose
Unclip the 3 sets of clips holding the engine wiring hose in place to the bottom side of the HVAC cowling.
Remove Wiring Hose from Cowl
Pull the HVAC wiring hose free from the underside of the cowl.
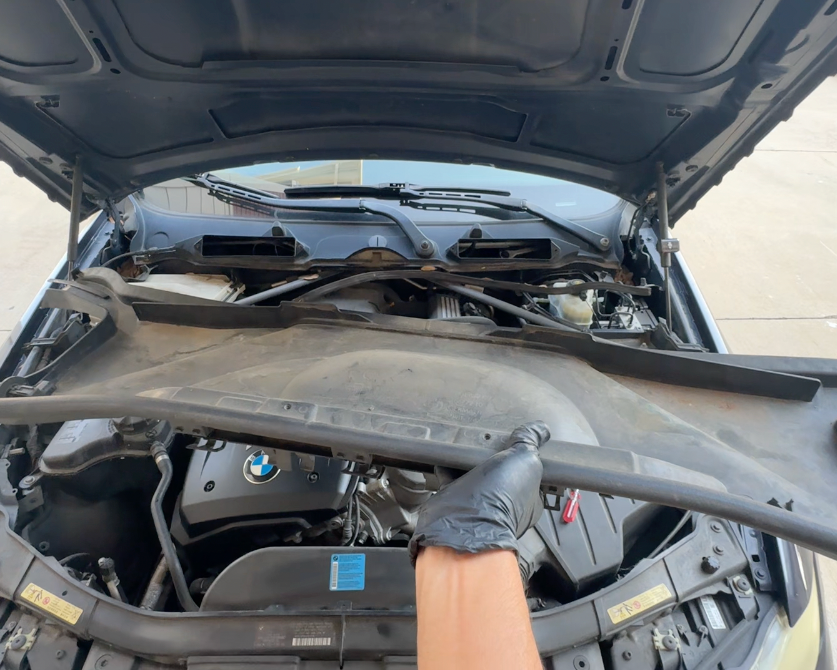
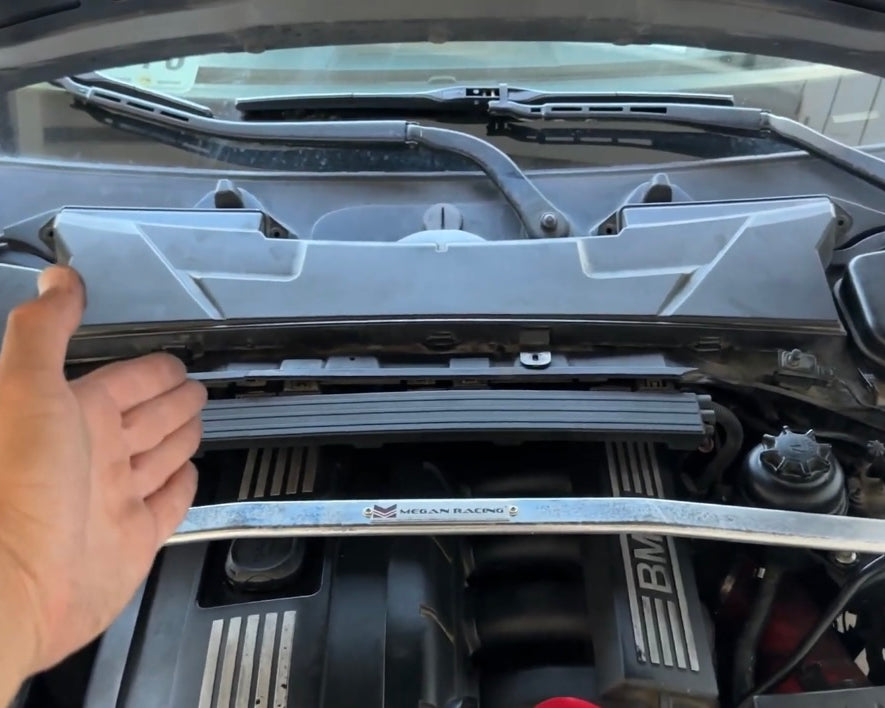
Remove Cowl
With all connecting points free and loosened, carefully remove the HVAC cowl ensuring you do not hit it into any of vehicle
Remove Front Engine Cover Screws
Remove the front 2 engine cover screws using a 5MM allen key. (The sizing for these screws may very depending on year, make or model.)

Remove Rear Engine Cover Screw
Remove the rear 1 engine cover screws using the same 5MM allen key.
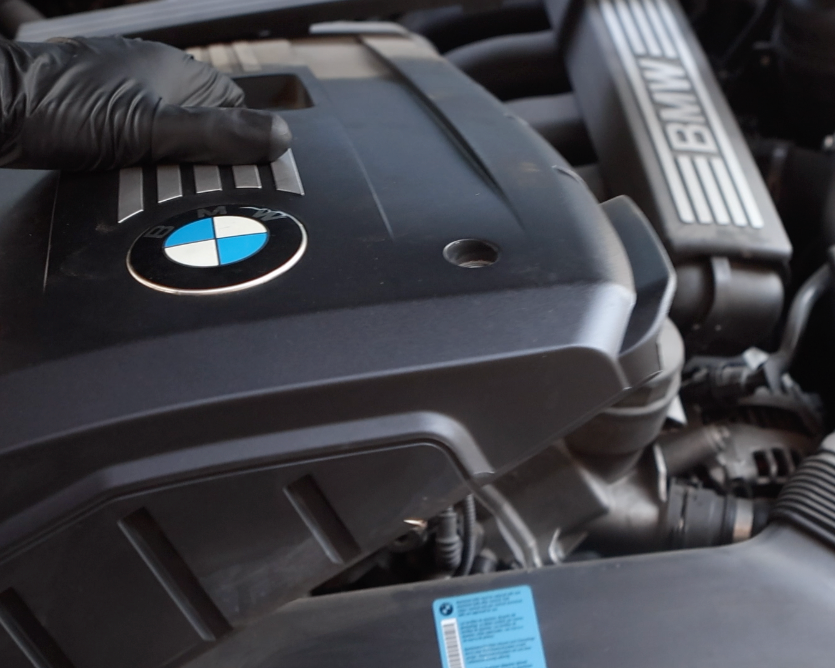
Remove Engine Cover
With all 3 screws removed, the engine cover can now be carefully lifted out of place.

Remove Air Box Screws
Remove the two 10MM air box screws using a ratchet.
Unplug MAF
Unplug the mass airflow sensor by using a flathead screwdriver to lift up on the retention tab and pulling the harness back.

Loosen Band Clamp 1
Loosen the band clamp that holds the air intake hose to the air box, with a flathead screwdriver.
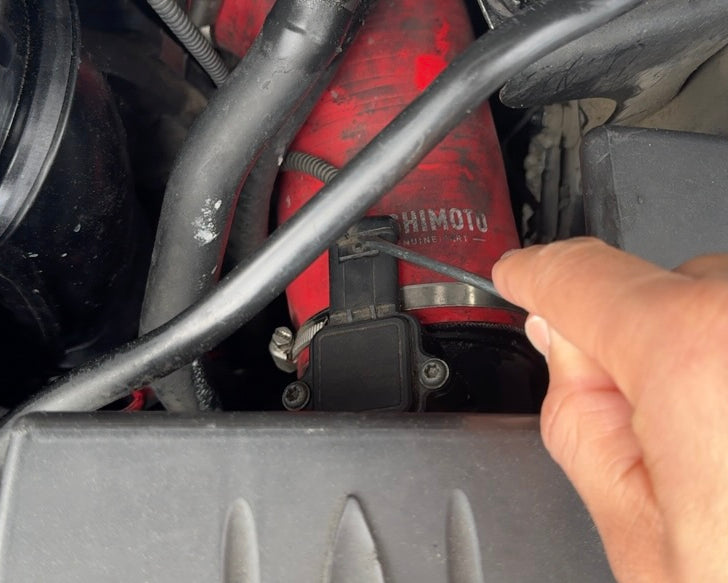
Loosen Band Clamp 2
Loosen the band clamp that holds the air intake hose to the throttle body, with a flathead screwdriver.

Remove Air Intake Hose
Remove the air intake hose from your engine bay.

Remove Air Box
With everything loosened, the air box can now be removed from the engine bay.

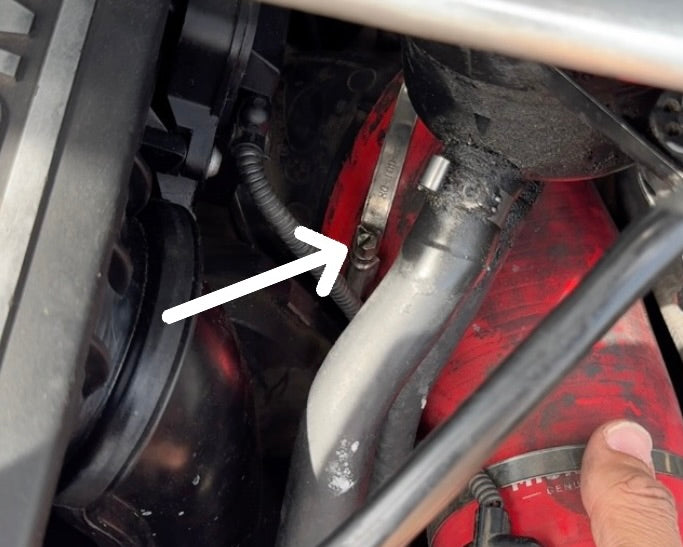
Detach Crankcase Hose
Detach the crankcase breather hose from the valve cover by depressing the retention clip and pulling it from the nipple.

NOTE
You must apply pressure on both sides of the clip (white arrows). You should feel grooves on the back and front sides (white arrows), this is where you should apply apply pressure.

Remove Manifold Screws
Remove the seven 10MM screws and nuts securing the intake manifold to the engine.

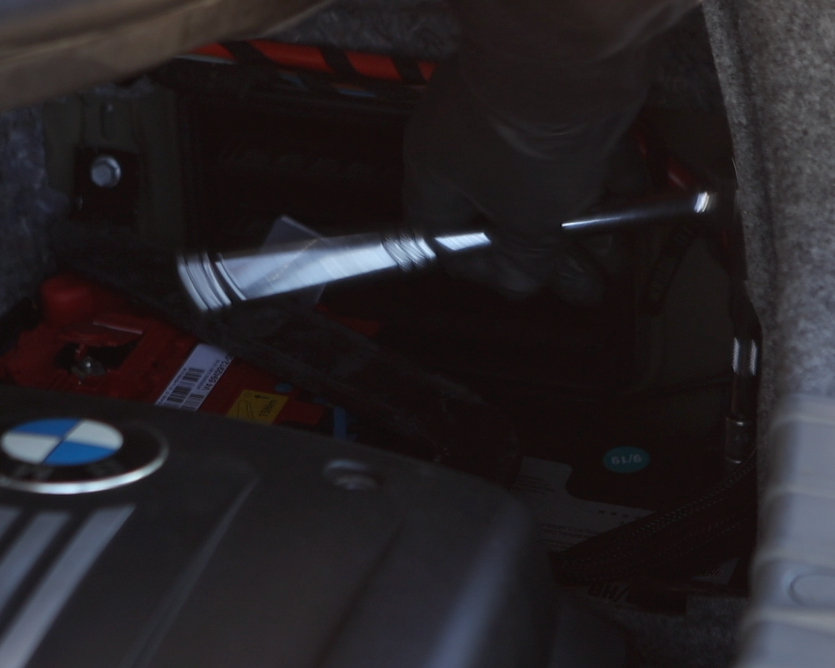
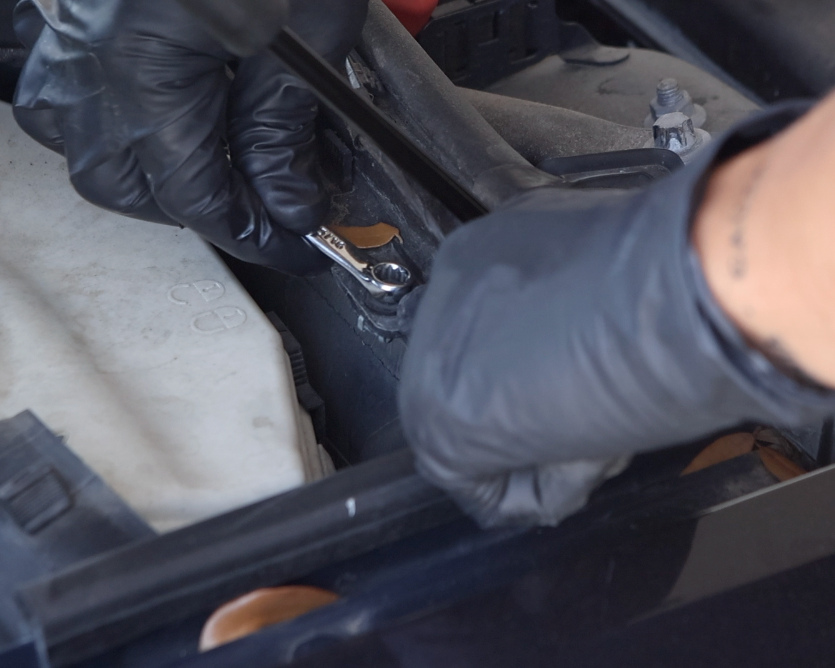
Remove Strut Support
Remove the driver-side engine strut support using an E14 and E18 socket. This will give enough room to move the intake manifold and replace the gasket.
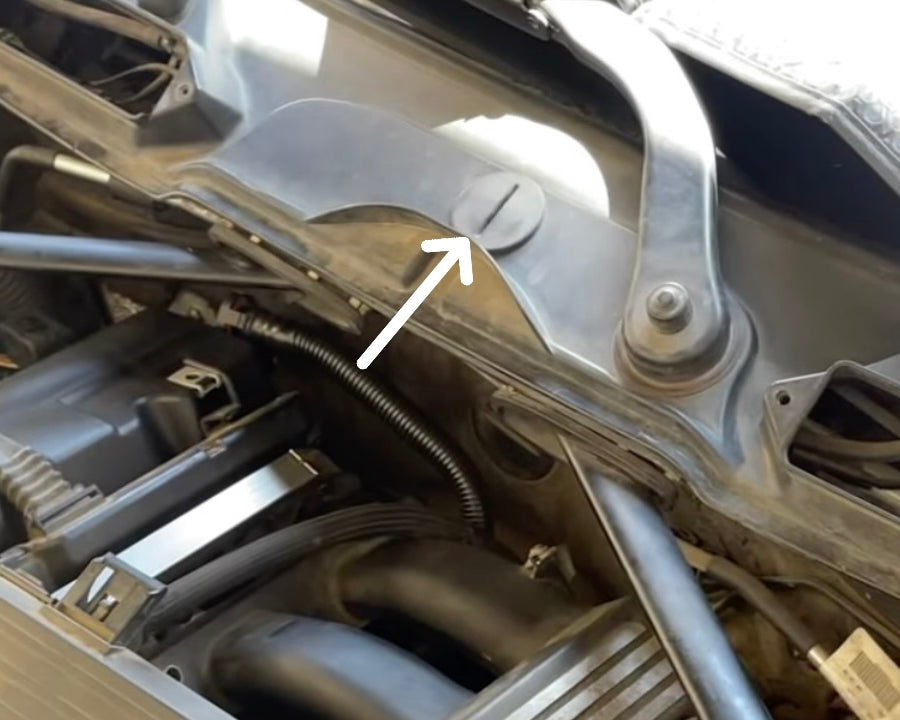
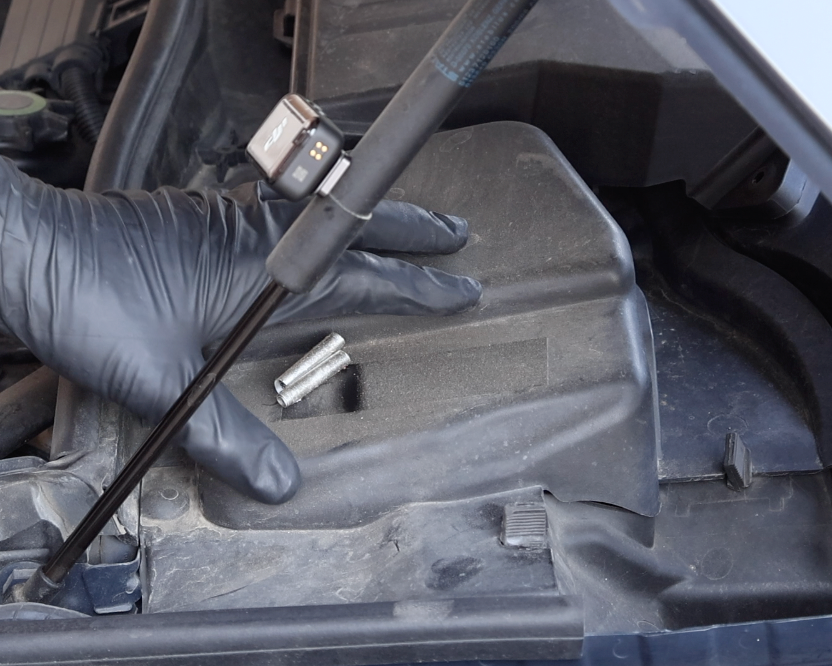
NOTE
The E18 strut support screw is located underneath the plastic cap near the windshield wiper. Use a large flathead screwdriver to turn the cap to the unlocked position.

Unclip Brake Booster Vacuum Line
To avoid putting tension on the brake booster vacuum line, unclip it by depressing the two grooved portions and carefully rotate it off to the side.

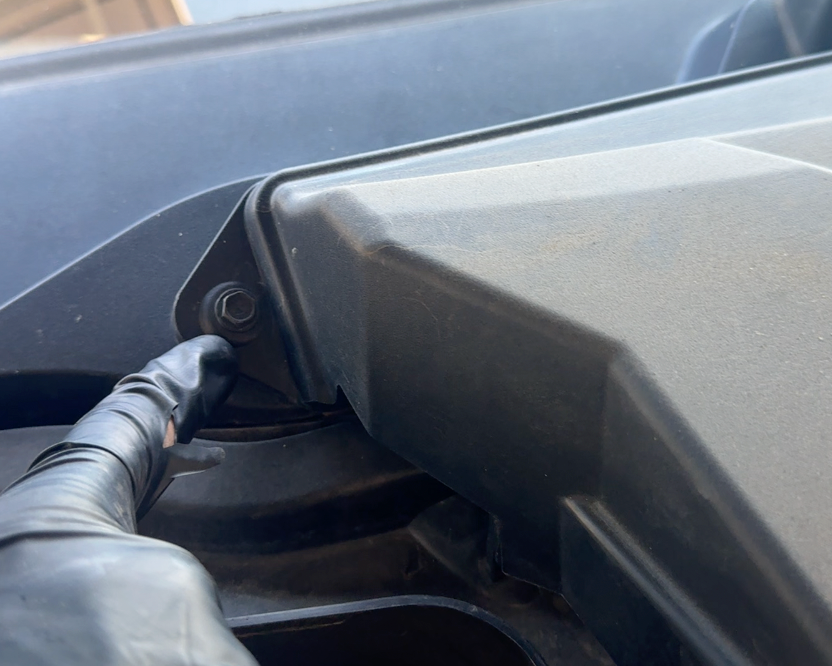
Remove Power Steering Reservoir Nuts
Remove the two 10MM nuts that hold the power steering reservoir to the chassis.

Relocate Reservoir
Place the power steering reservoir off to the side, to allow the intake manifold to move freely.

Disconnect Intake Manifold
Disconnect the intake manifold from the engine by carefully wiggling it off of the engine face.

Remove Old Gaskets
Remove the six separate gaskets from the intake manifold. Be extremely careful not to drop them into the open engine ports.
NOTE
Clean the engine port face with a microfiber towel and a light amount of carbon cleaner. This will ensure the new gaskets create a tight seal.

Install New Gaskets
Install the six new gaskets to the intake manifold. Press them firmly into place and ensure they fit flush.
Re-Installation
Now that the vehicle is running properly, the cabin air filter, engine cover and all other components removed or disconnected can be re-installed.
DIY Complete
Good job replacing your intake manifold gaskets! Be sure to keep an eye out for any vacuum leaks.