
MAP Sensor Replacement Guide for BMW 1 / 3 / 5 / X / Z Series


Materials Required
- 10MM Socket
- 8MM Socket
- E14 Socket
- Ratchet
- New MAP Sensor
Start w/ Cold Engine
Ensure you conduct this DIY on a vehicle with a cold engine.
Disconnect Battery
Disconnect the vehicle's battery to ensure safety while conducting this job.

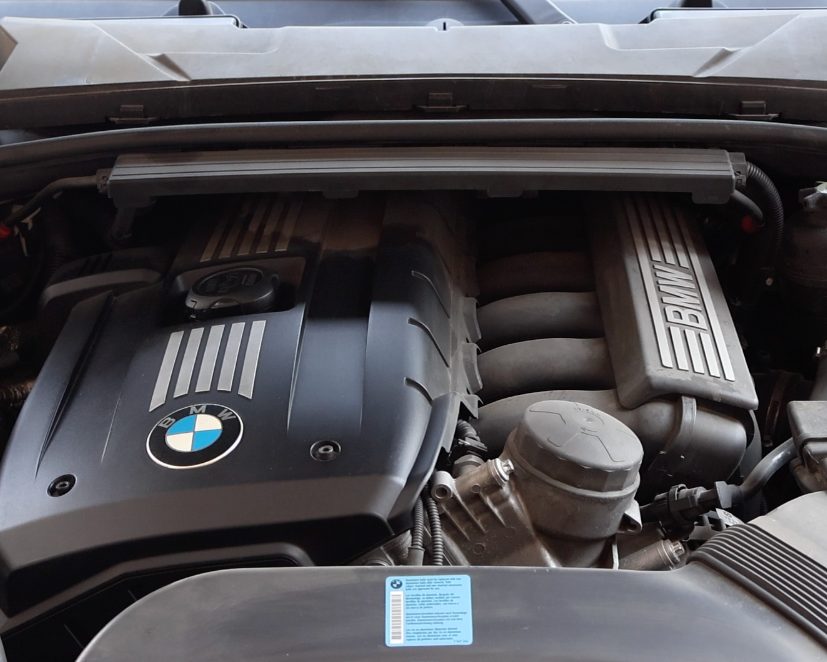
Open Hood
Open your vehicle's hood by pulling the latch.
Remove Cabin Air Filter Cowl
Remove the cabin air filter, HVAC cowl and all covers in the way of accessing the ECU. You should only need an 8MM socket for this.
Unlatch Engine Wiring Harness
Unlatch the air intake snorkel by using a flathead screwdriver to separate the two retention tabs (white circles).
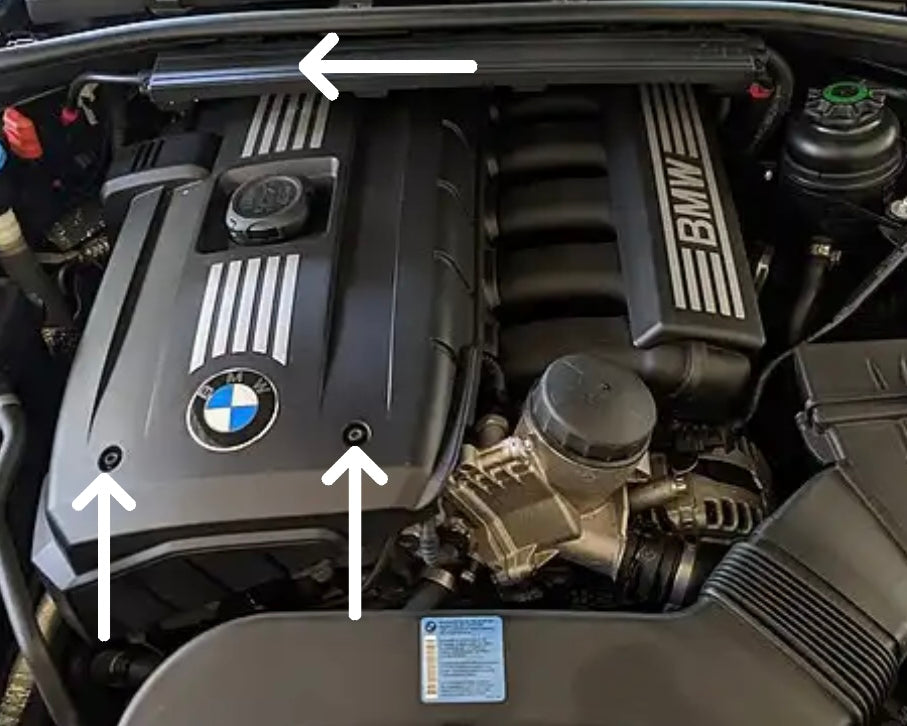
Remove Engine Cover Screws
Remove the three screws that secure the engine cover.

Release Rubber Seal
Release the rubber seal retention grommet from the ECU and brake fluid reservoir cowl cover.

Remove ECU Cowl Cover
Remove the ECU cowl cover by gently prying the two retention clips on the side free until the cover can be removed from the engine bay.
Remove 8MM Cowl Screw
Remove the 8MM cowl screw located underneath the cover.
Remove Brake Fluid Reservoir Cowl Cover
Remove the brake fluid reservoir cowl cover, the same way as the ECU one.

Remove 8MM Cowl Screw
Remove the 8MM cowl screw underneath the brake fluid cover using a socket / wrench.
Remove 4 Cabin Air Filter Screws
Remove the 4 8MM cabin air filter screws using a socket / wrench.

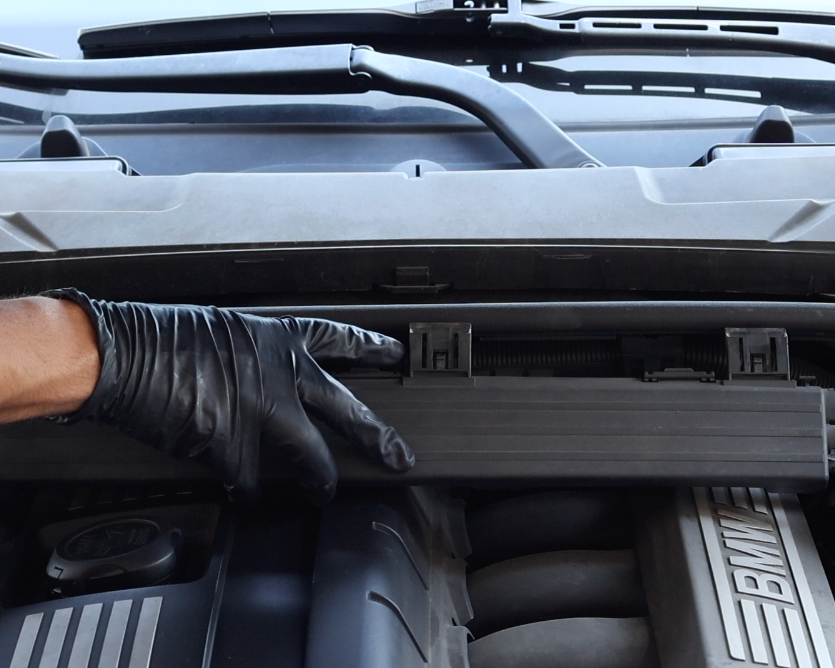
Remove Cabin Air Filter
With all 4 screws removed, carefully lift the cabin air filter out of place.
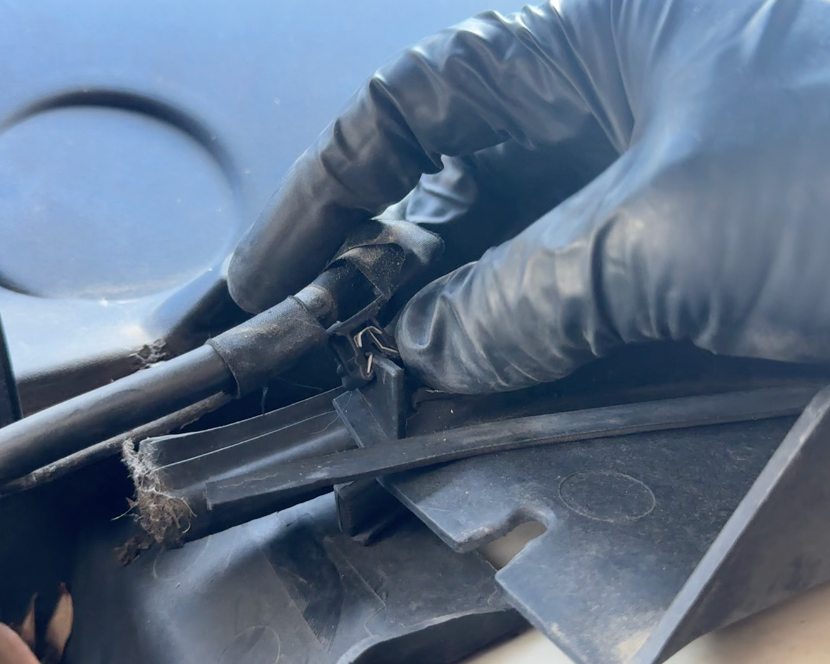
Unlatch Windshield Washer Line from Cowl
Unlatch the windshield washer line from the cowl by pulling the metal retention clip off of it's resting place.
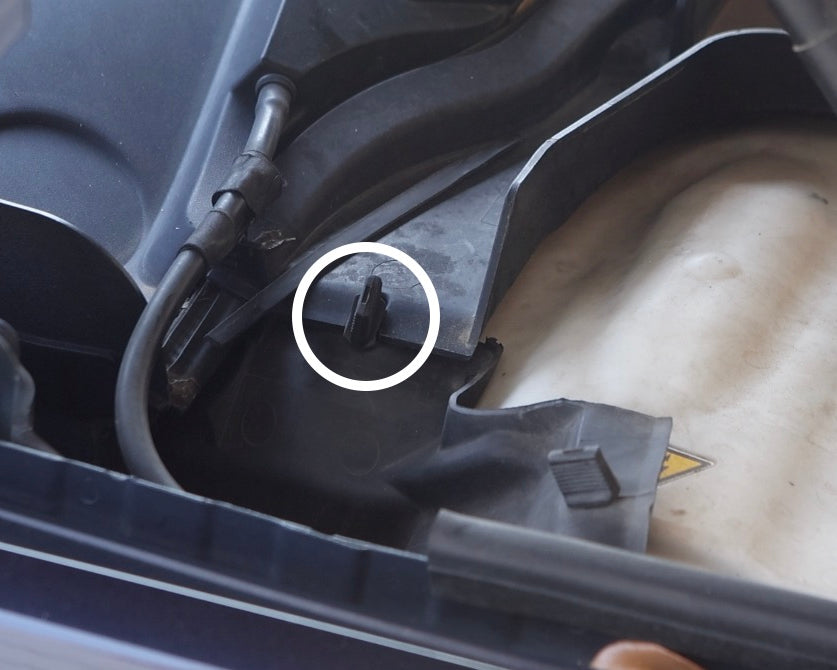
Release Rubber Grommet from Cowl
Release the rubber grommet (white circle) from both sides of the HVAC cowl by simply pulling it free.

Disconnect HVAC Connector(s)
Release the electrical connector fixed to the HVAC cowl by pressing in the retention clip and pulling it free. Depending on the year, make and model, your vehicle may have 2 of these connectors. 1 will be located as shown, the other closer to the brake fluid reservoir.

Unclip Engine Wiring Hose
Unclip the 3 sets of clips holding the engine wiring hose in place to the bottom side of the HVAC cowling.
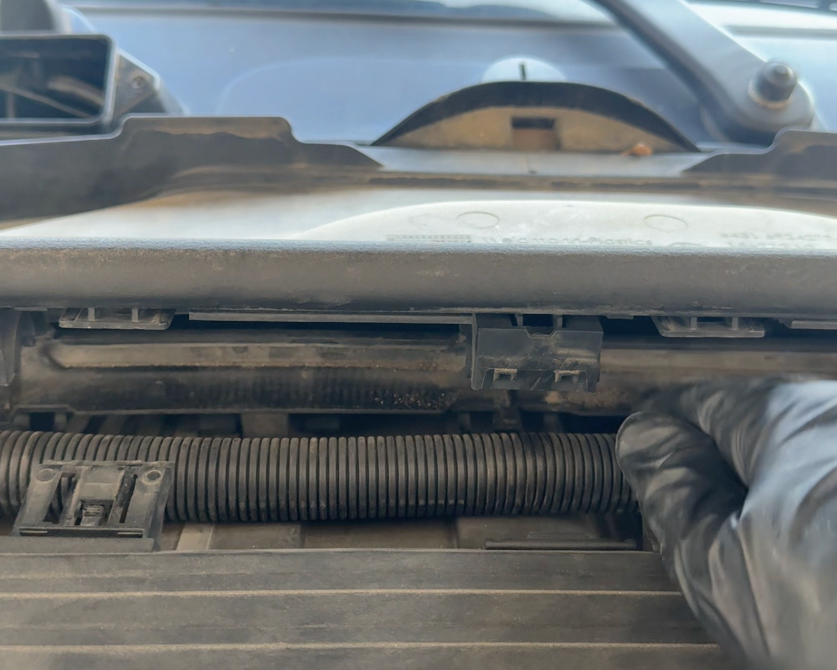
Remove Wiring Hose from Cowl
Pull the HVAC wiring hose free from the underside of the cowl.
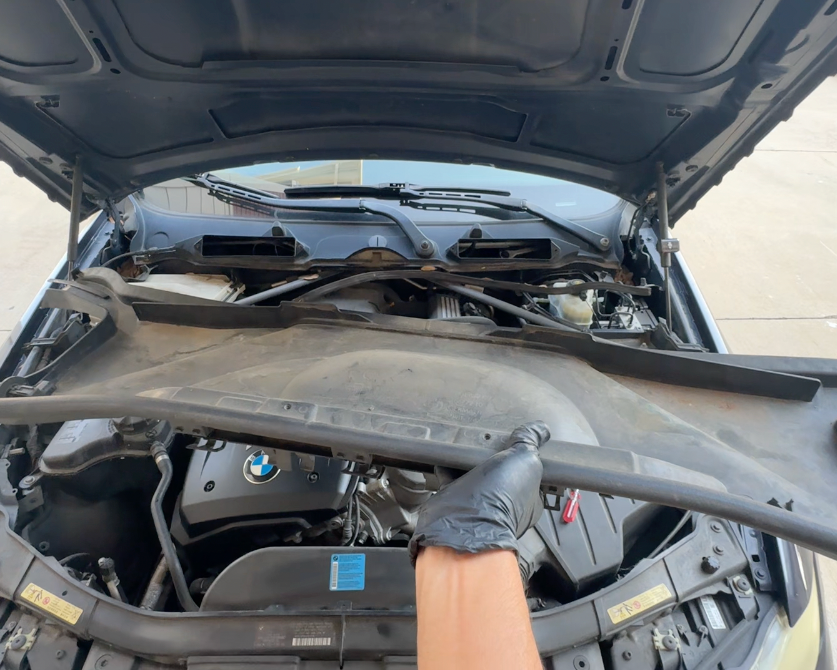
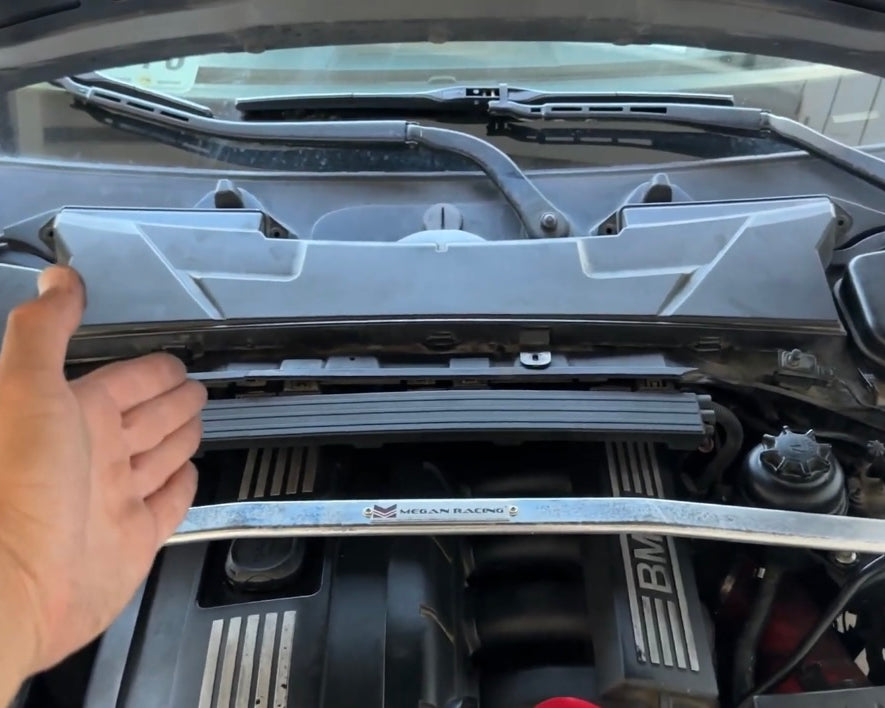
Remove Cowl
With all connecting points free and loosened, carefully remove the HVAC cowl ensuring you do not hit it into any of vehicle

Locate MAP Sensor
The MAP sensor is mounted on the rear of the intake manifold. It is secured with two bolts and connected by one electrical connector.

NOTE
The MAP sensor is partially covered by the driver-side strut V-brace, which prevents direct removal. To access and replace the MAP sensor, the V-brace must first be loosened and removed.

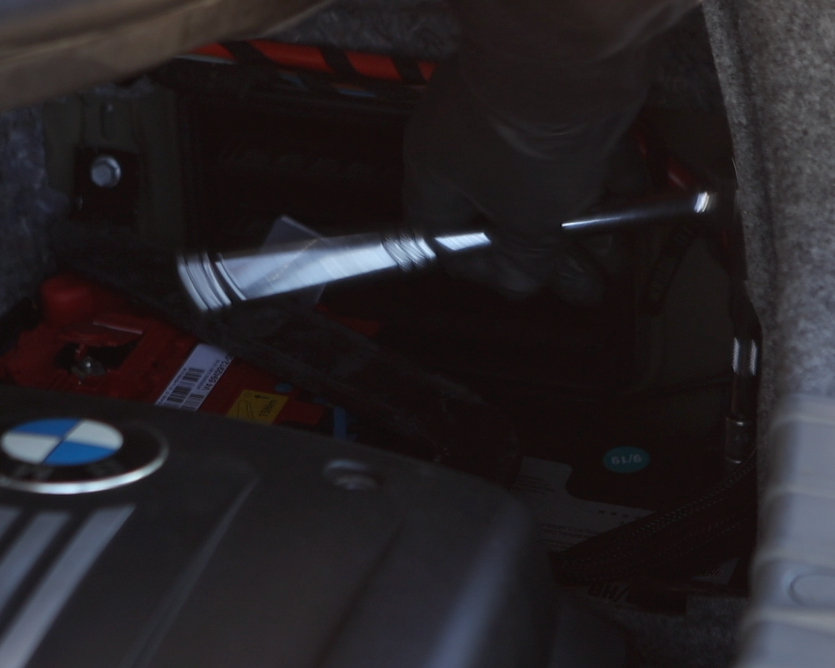
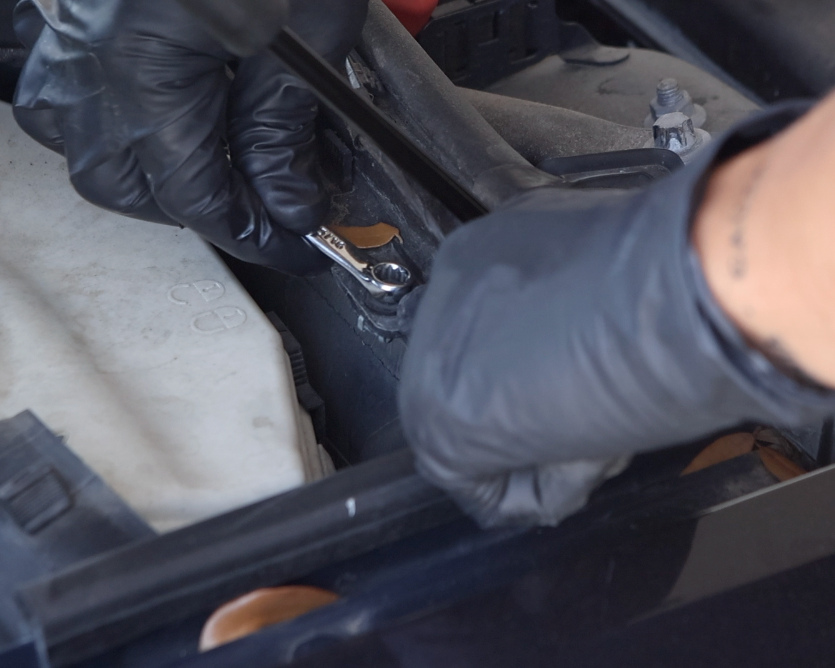
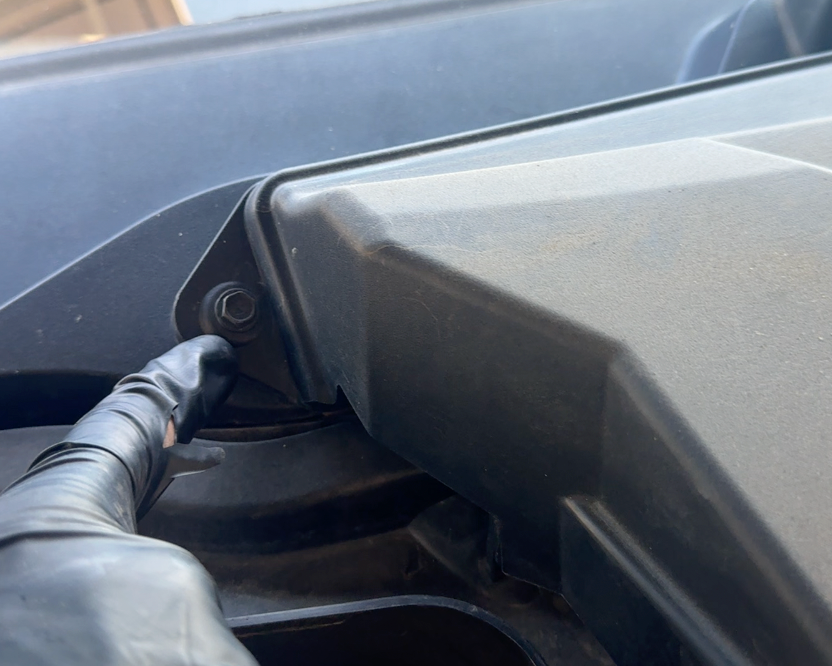
Loosen V-Brace Bolt
Using an E14 socket, loosen and remove the V-brace bolt located on the driver’s side.

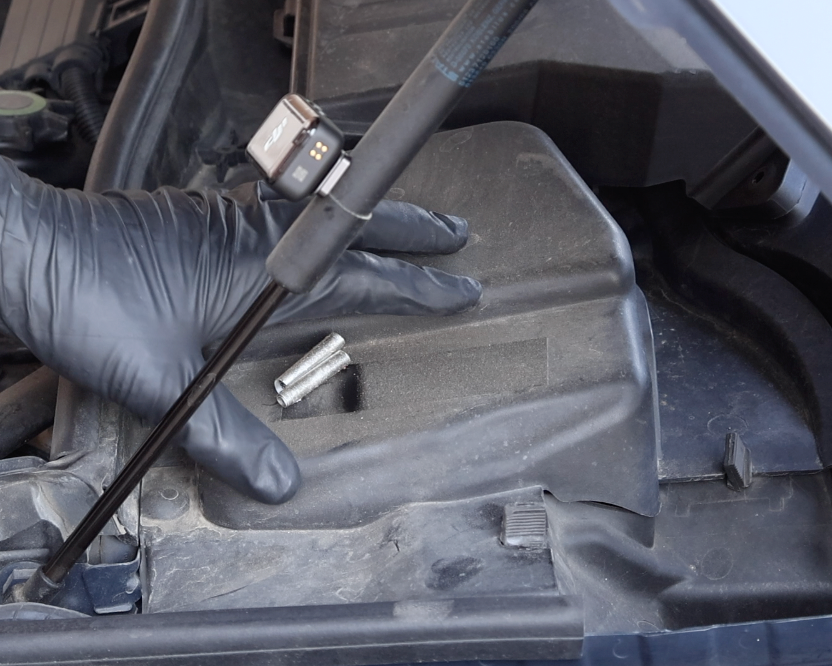
Move V-Brace Aside
With the bolt removed, simply lift the V-brace and shift it out of the way of the MAP sensor. Full removal is not necessary—just clear enough space to access the sensor.

Unplug Electrical Connector
Unplug the MAP sensor’s single electrical connector by pressing down on the retention tab located on top, then firmly pulling the connector straight off.

Remove MAP Sensor Screws
Using a T-25 screwdriver, loosen and rmeove the two retention screws holding the MAP snesor to the intake manifold.
Remove Old MAP Sensor
With both screws removed and the electrical connector disconnected, simply pull the old MAP sensor straight out from the intake manifold.

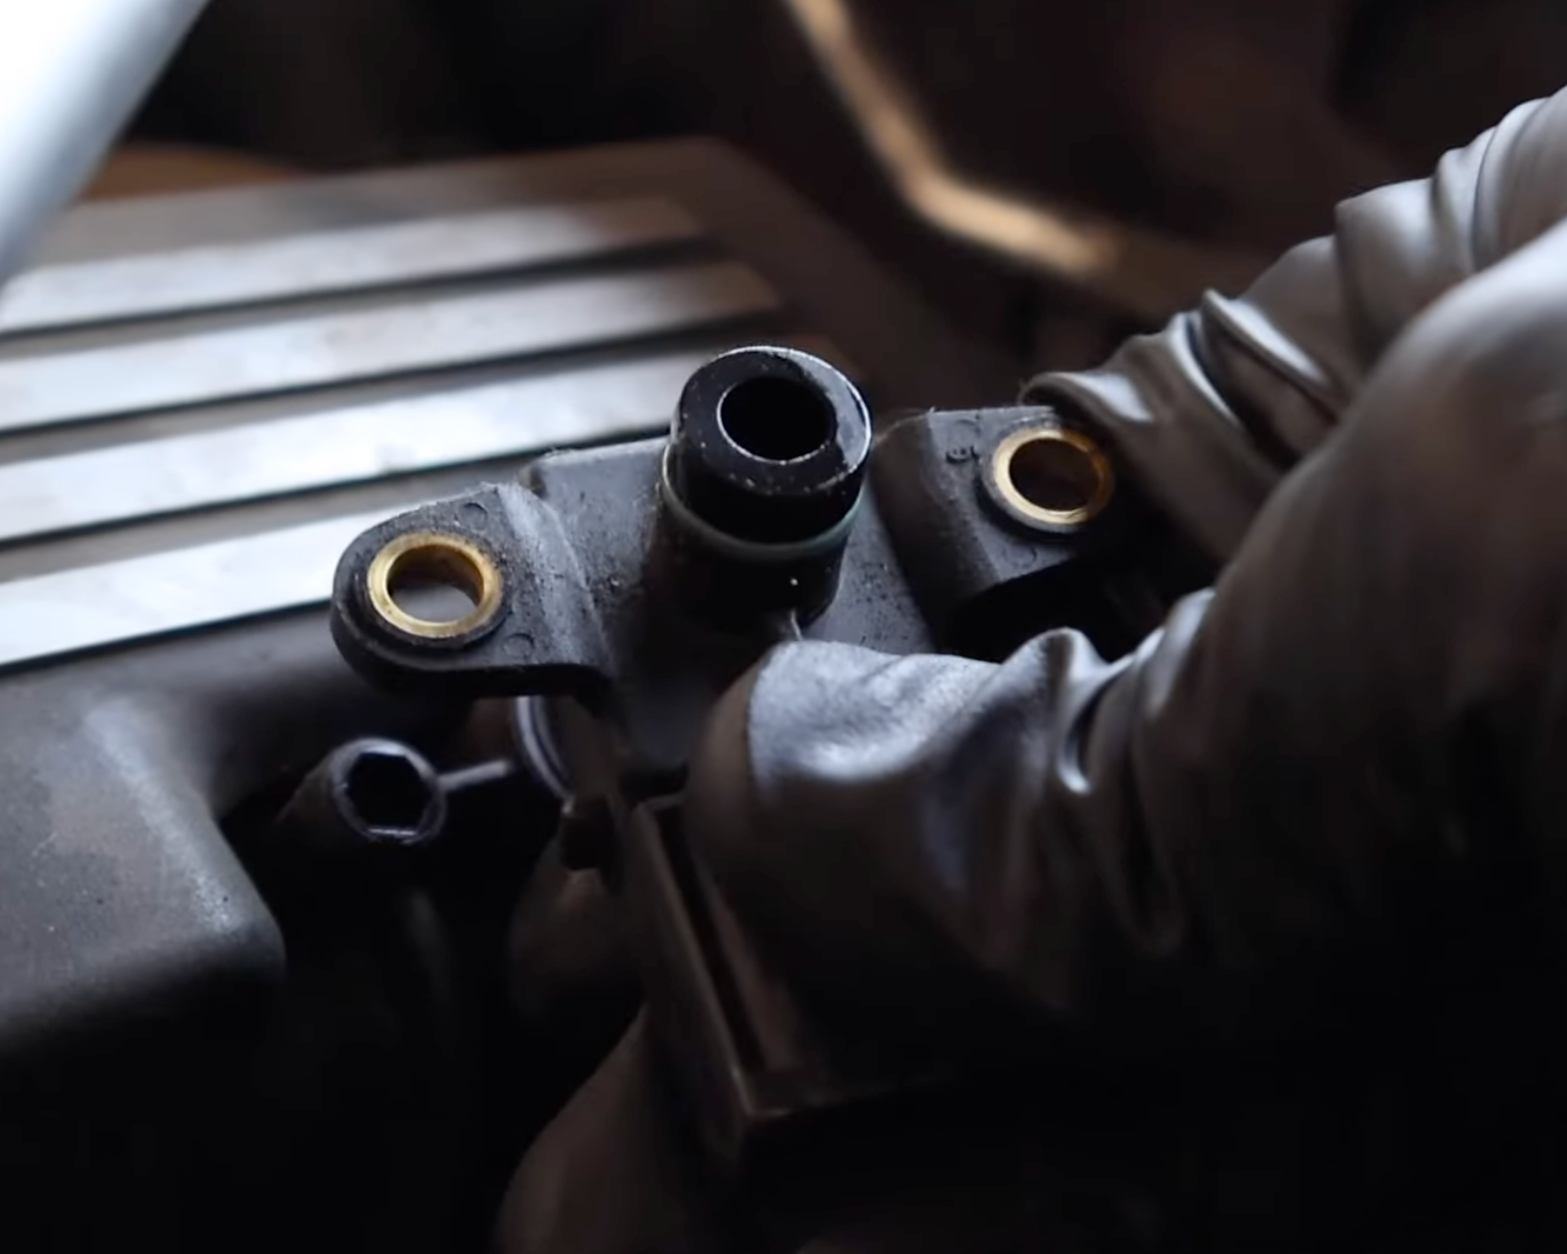
Clean MAP Sensor Port
Over time, the MAP sensor port can accumulate oil residue and debris, which may prevent the new sensor from sealing properly. Before installation, thoroughly clean the port using a microfiber towel to ensure a secure fit.

Install New Sensor
Align the new MAP sensor with the intake manifold and press it firmly into place until it snaps securely into position.

Reinstall Retention Screws
Reinstall the two T25 screws removed earlier and tighten them until they are fully flush with the intake manifold.

Reconnect Electrical Connector
Reinstall the electrical connector onto the MAP sensor and ensure it clamps down fully and sits flush in place.

Re-install V-Brace
With the new sensor installed, realign the V-brace back into position. Reinstall the E14 bolt and tighten it securely to approximately 30 ft-lbs (40 Nm).
Reconnect Battery
Re-Installation

Clear Engine Codes
Using an OBD2 scanner, clear any pre-existing engine codes.

Test Start Engine
With the new sensor installed, start the engine to ensure everything is operating smoothly and that no issues are present.
Re-Installation
Re-install all components in the vice versa of removal. i.e cabin air filter, HVAC cowl, covers etc.
DIY Complete!
Great job replacing your MAP sensor! After installation, keep an eye out for any misfire codes or signs of a vacuum leak, as these could indicate the sensor was not seated or sealed correctly.