
Serpentine Belt Replacement Guide

Materials Required
- Ratchet
- T15 Screwdriver or Socket
- T60 Socket
- Extender Handle or Breaker Bar
- New Serpentine Belt
Start w/ Cold Engine
Ensure you conduct this DIY on a vehicle with a cold engine.

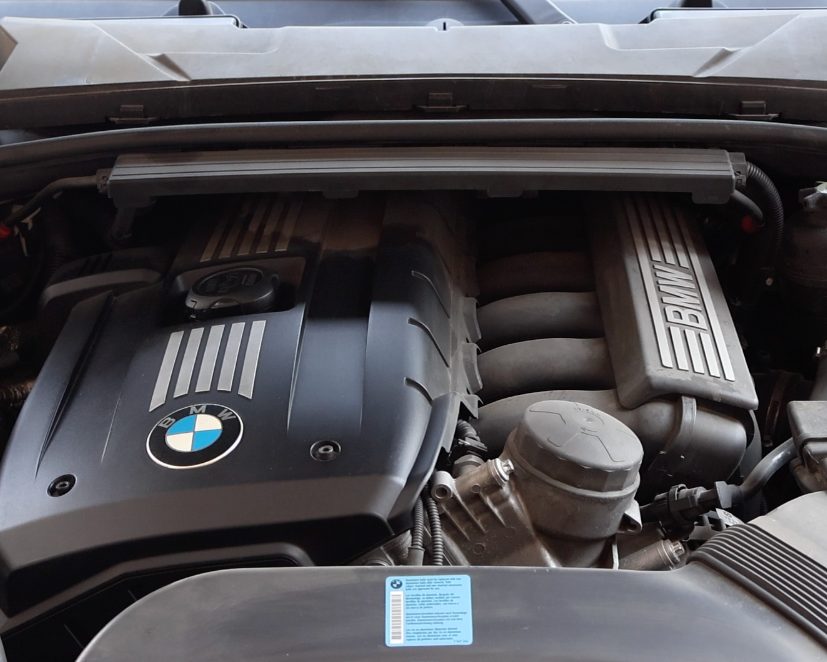
Open Hood
Open your vehicle's hood by pulling the latch.

Remove Front Air Snorkel
Remove the 2 T-15 screws holding the front air snorkel in place.

Remove Rear Air Snorkel
Pivot the rear air snorkel out of place, releasing the air box retention tabs (white arrow).

Locate Belt Tensioner
Locate the serpentine belt tensioner, inserting a ratchet with a T-60 socket into place.

Release Belt Tension
Pull down to the right on the ratchet. This will release the tension from the serpentine belt (white arrow).

Remove Serpentine Belt
Remove serpentine belt by freeing it off of all pulleys.

Inspect Old Belt
Inspect the old serpentine belt for for damage that may point to larger issues in the system.

Install New Serpentine Belt
Install the new serpentine belt into place utilizing the provided serpentine belt diagram.

Serpentine Belt Diagram
Utilize this diagram to properly route the serpentine belt into place.

Verify Belt Properly Routed
Ensure the serpentine belt is properly routed into place around all applicable pulleys and there is no overhang present.

Power On Vehicle
Power the vehicle's engine on to verify the new serpentine belt is installed properly. Listen carefully for abnormal sounds.

Visually Check Belt
Visually inspect the serpentine belt while vehicle engine is on. Ensure the belt is properly rotating with no abnormal sounds or movements.
Re-Installation
Now that the new serpentine belt is installed, simply reinstall the air snorkels and any other components that were removed during the process.
DIY Complete
Good job on the install! Enjoy your new serpentine belt and be sure to inspect your belt every 60,000 miles and replace every 90,000 miles.