
Valvetronic Motor Gasket Replacement


Materials Required
- BMW OBD2 Scan Tool
- E8 Socket
- 8MM Socket
- 10MM Socket
- Offset O2 Sensor Wrench
- Ratchet
- Non-corrosive grease (recommended)
- BMW Scan Tool (recommended)
Start w/ Cold Engine
Ensure you conduct this DIY on a vehicle with a cold engine.
Disconnect Battery
Disconnect the vehicle's battery to ensure safety while conducting this job.

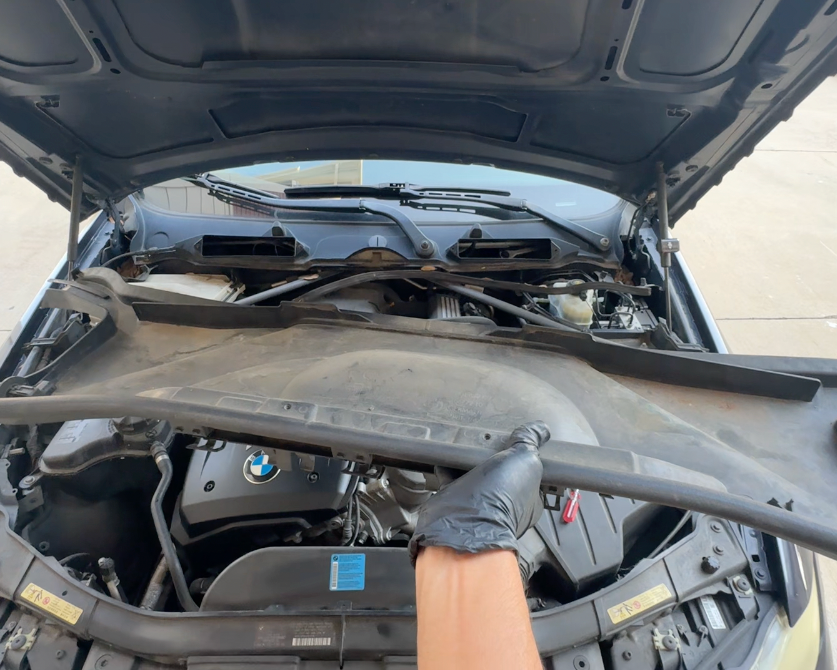
Open Hood
Open your vehicle's hood by pulling the latch.
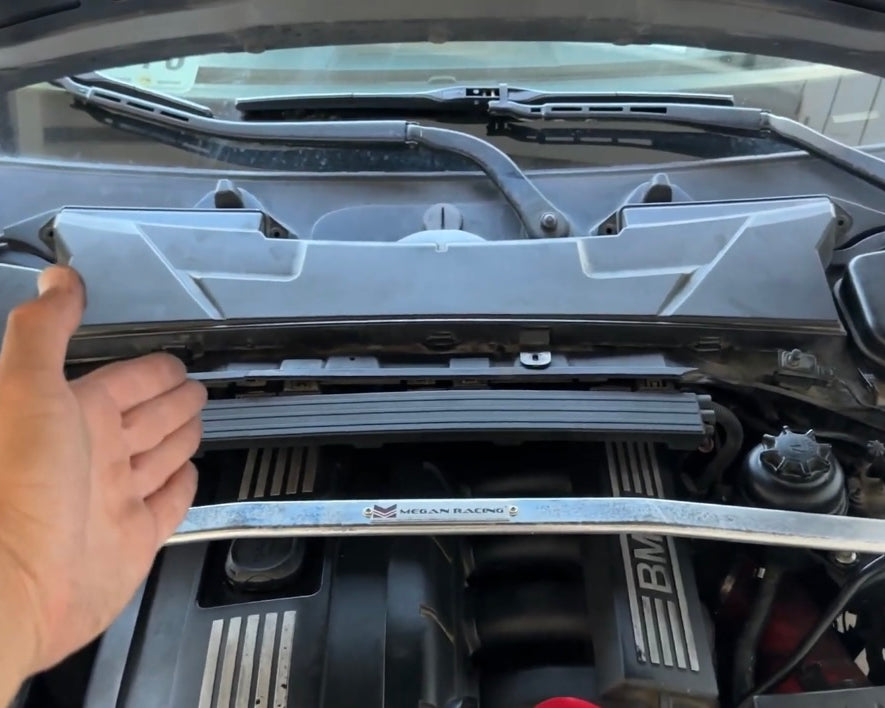
Remove Cabin Air Filter Cowl
Remove the cabin air filter, HVAC cowl and all covers in the way of accessing the ECU. You should only need an 8MM socket for this.
Unlatch Engine Wiring Harness
Unlatch the engine wiring harness by firmly pulling the three latches free of the HVAC cowling.
Remove Engine Cover Screws
Remove the three screws that secure the engine cover.

Release Rubber Seal
Release the rubber seal retention grommet from the ECU and brake fluid reservoir cowl cover.

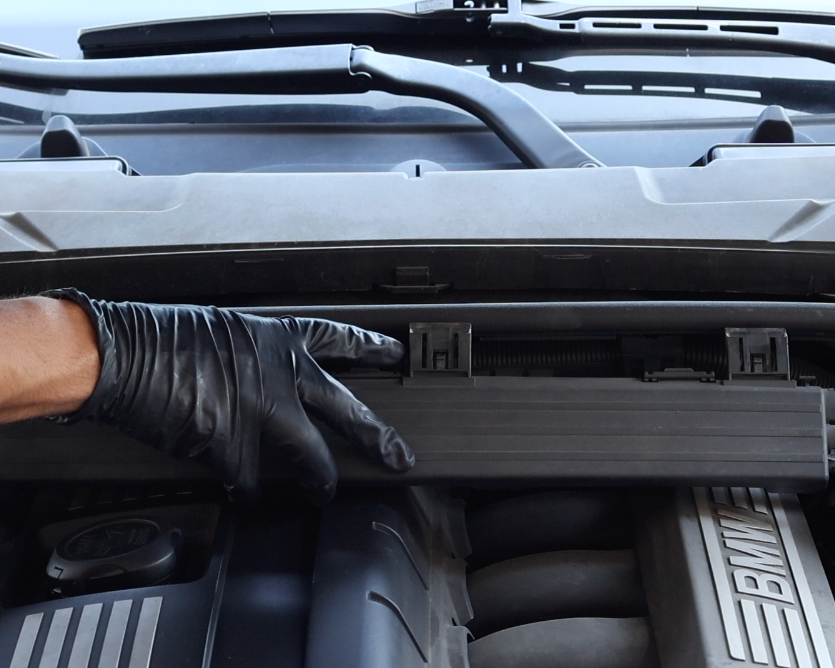
Remove ECU Cowl Cover
Remove the ECU cowl cover by gently prying the two retention clips on the side free until the cover can be removed from the engine bay.
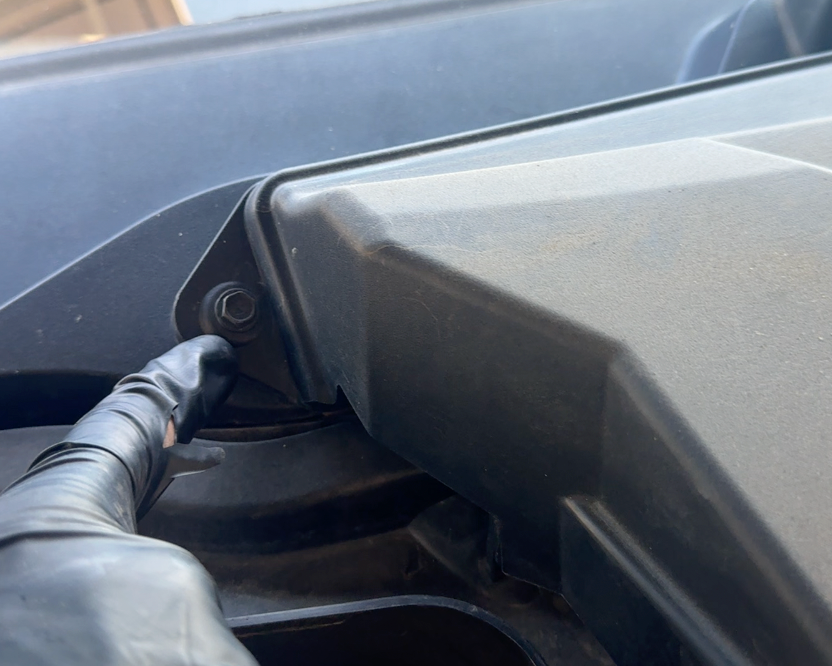
Remove 8MM Cowl Screw
Remove the 8MM cowl screw located underneath the cover.
Remove Brake Fluid Reservoir Cowl Cover
Remove the brake fluid reservoir cowl cover, the same way as the ECU one.

Remove 8MM Cowl Screw
Remove the 8MM cowl screw underneath the brake fluid cover using a socket / wrench.
Remove 4 Cabin Air Filter Screws
Remove the 4 8MM cabin air filter screws using a socket / wrench.

Remove Cabin Air Filter
With all 4 screws removed, carefully lift the cabin air filter out of place.
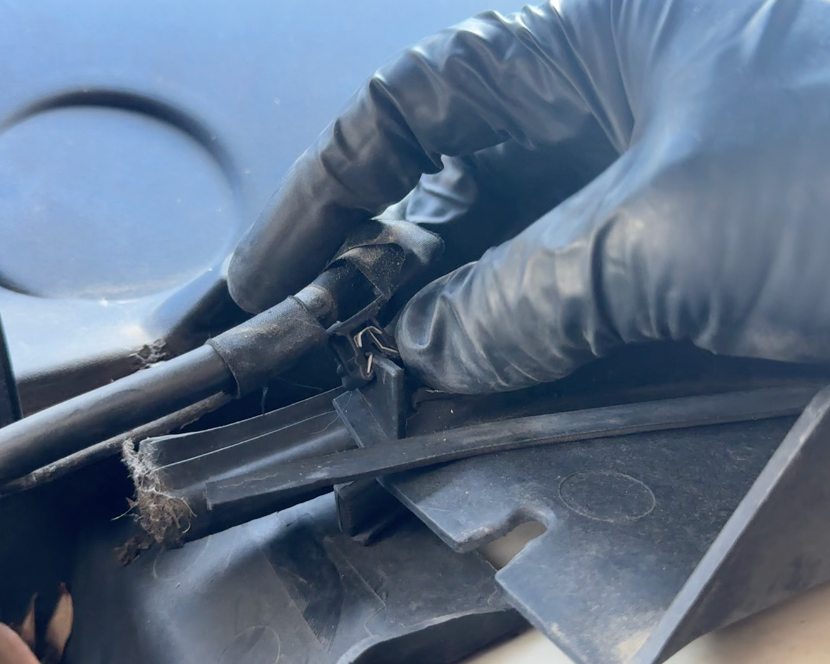
Unlatch Windshield Washer Line from Cowl
Unlatch the windshield washer line from the cowl by pulling the metal retention clip off of it's resting place.
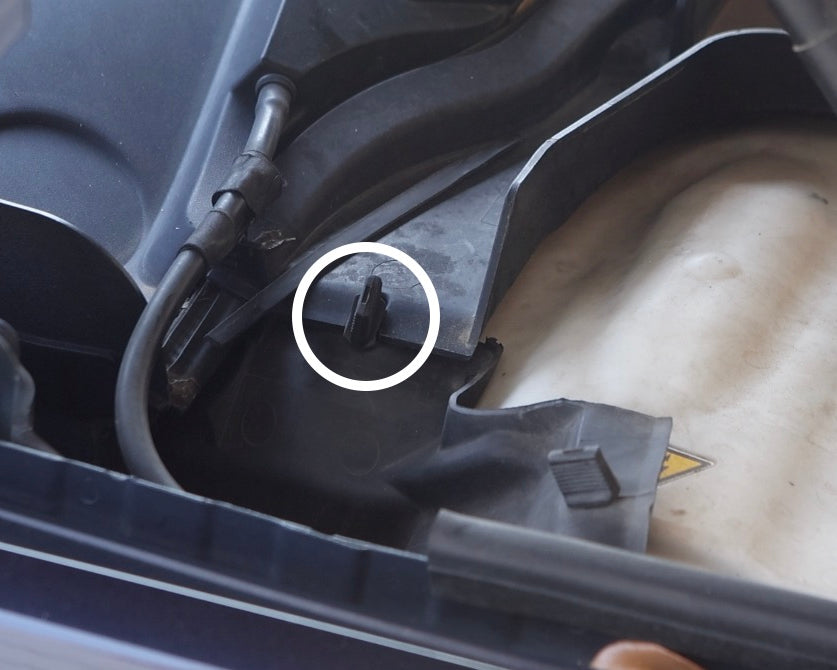
Release Rubber Grommet from Cowl
Release the rubber grommet (white circle) from both sides of the HVAC cowl by simply pulling it free.

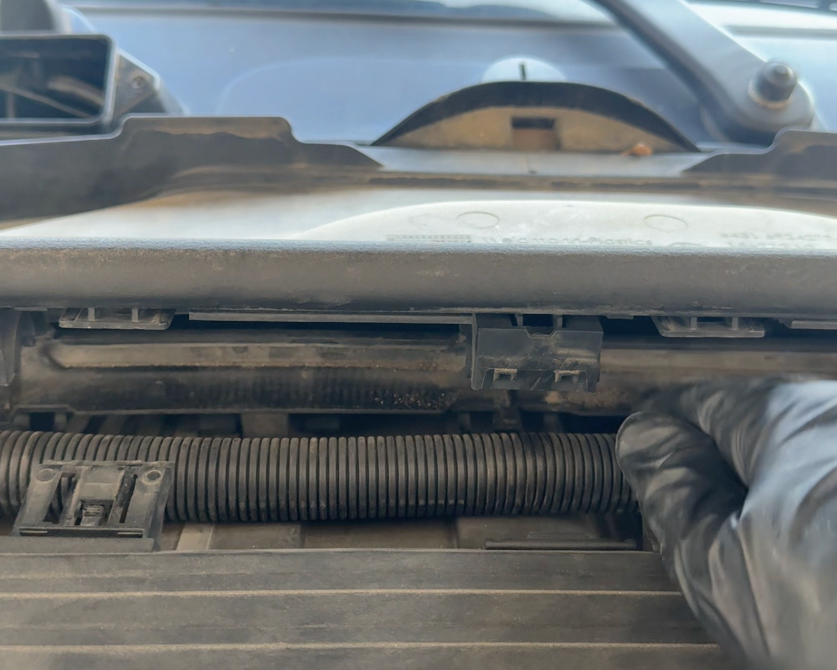
Disconnect HVAC Connector(s)
Release the electrical connector fixed to the HVAC cowl by pressing in the retention clip and pulling it free. Depending on the year, make and model, your vehicle may have 2 of these connectors. 1 will be located as shown, the other closer to the brake fluid reservoir.

Unclip Engine Wiring Hose
Unclip the 3 sets of clips holding the engine wiring hose in place to the bottom side of the HVAC cowling.
Remove Wiring Hose from Cowl
Pull the HVAC wiring hose free from the underside of the cowl.
Remove Cowl
With all connecting points free and loosened, carefully remove the HVAC cowl ensuring you do not hit it into any of vehicle
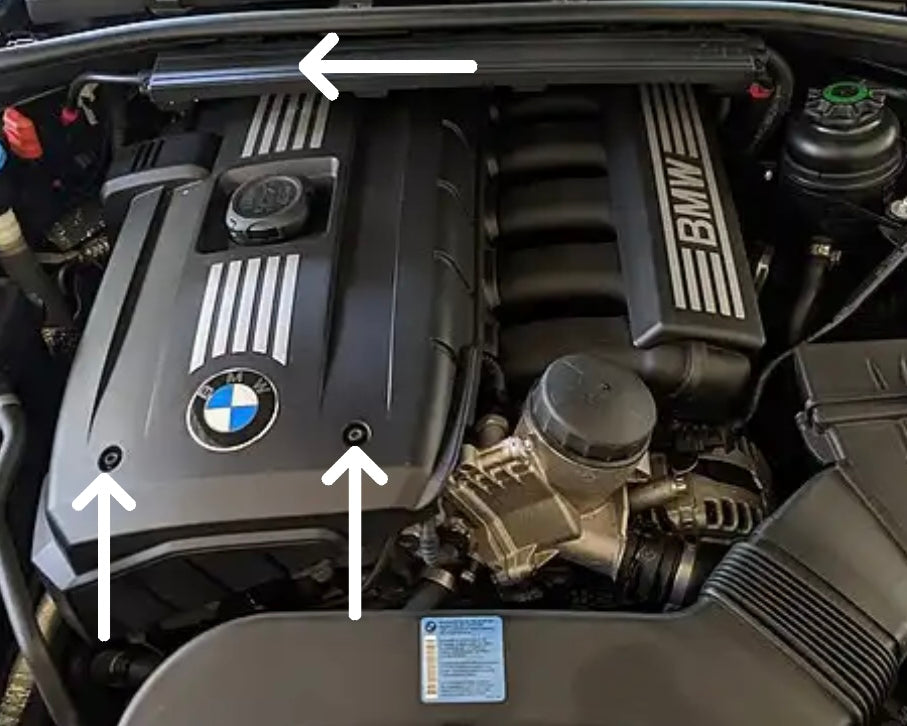
Remove Front Engine Cover Screws
Remove the front 2 engine cover screws using a 5MM allen key. (The sizing for these screws may very depending on year, make or model.)

Remove Rear Engine Cover Screw
Remove the rear 1 engine cover screws using the same 5MM allen key.
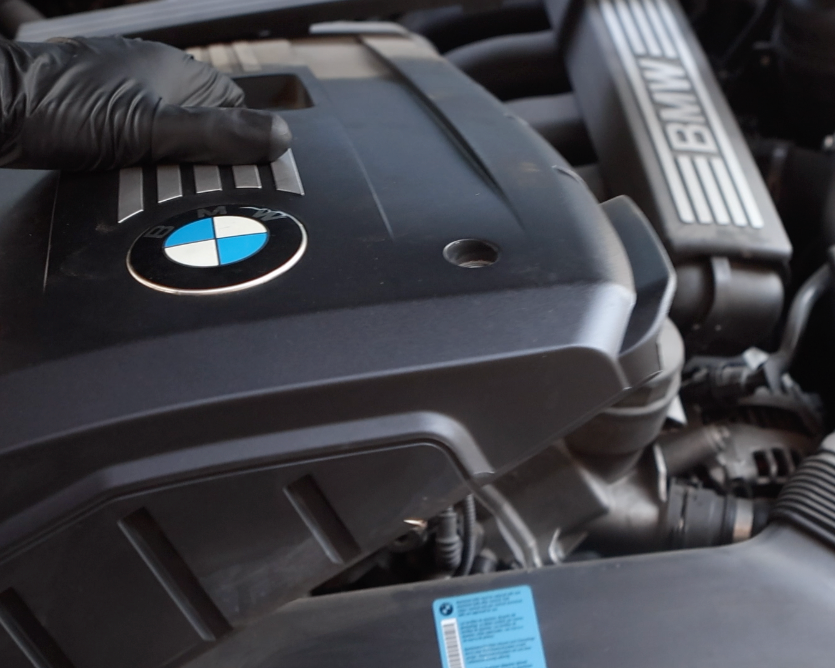
Remove Engine Cover
With all 3 screws removed, the engine cover can now be carefully lifted out of place.

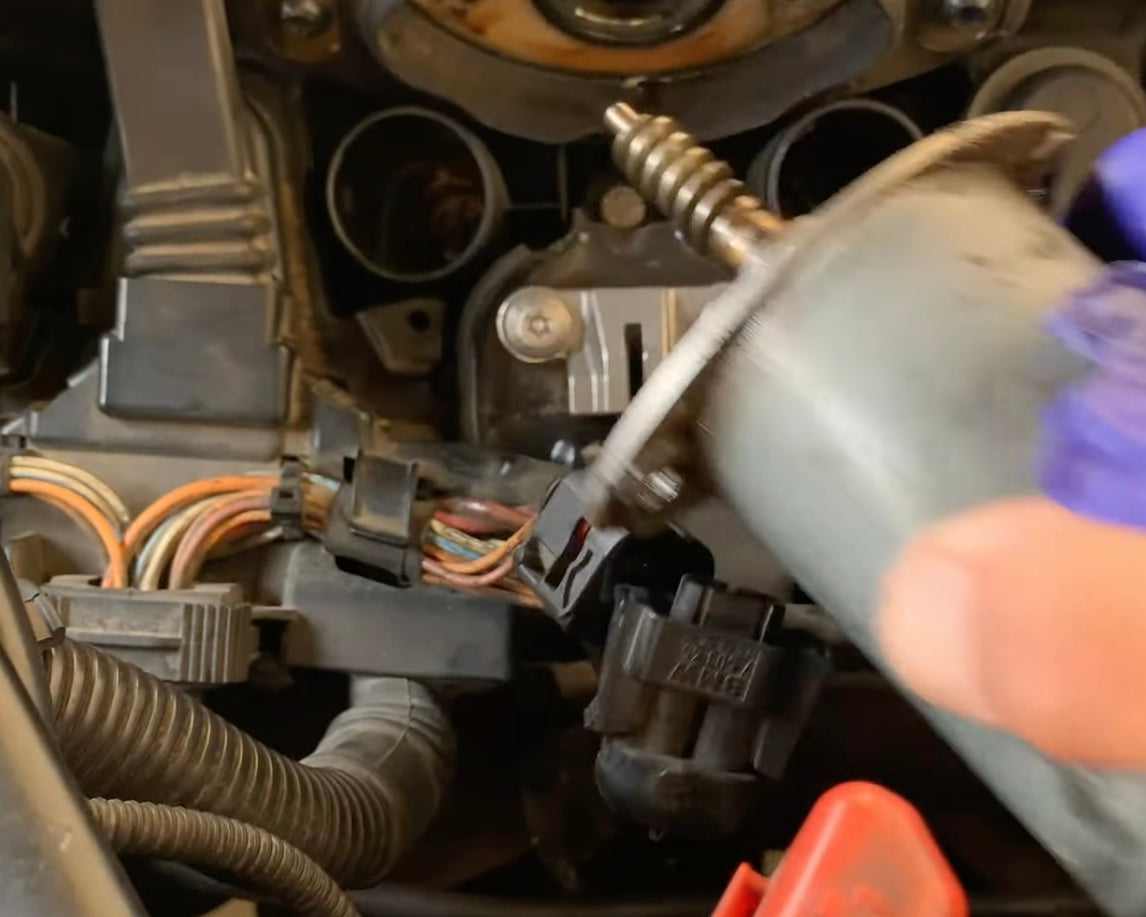
Unplug Valvetronic Connector
Unplug the valvetronic motor connector by pressing the retention tabs down (white arrows) and pulling it off.

Remove Ignition Coil 3
Remove the ignition coil to the right of the valvetronic motor by unplugging the connector (red arrow), then carefully use a plastic pry tool or flathead to lift the oil out of place.

Remove Ignition Coil 4
Remove the ignition coil to the left of the valvetronic motor the same way as the previous step.

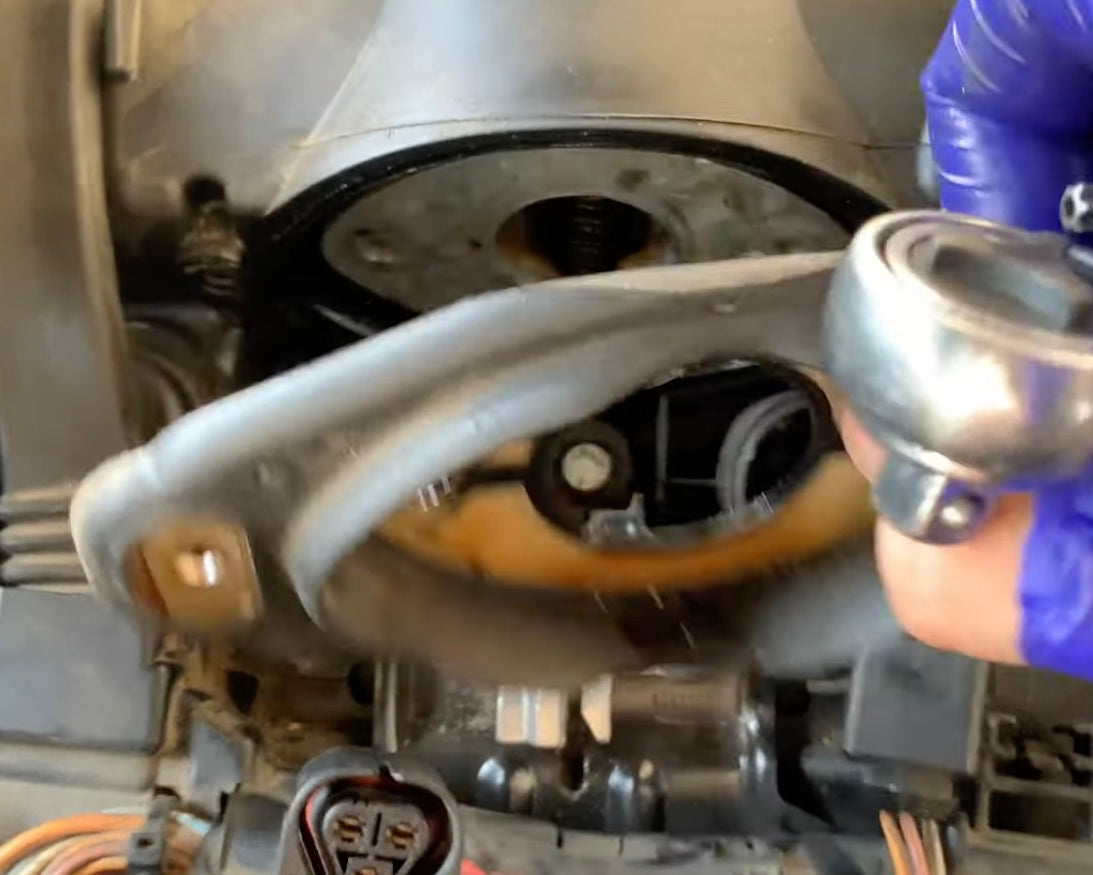
Remove Inner Valvetronic Screws
Remove the two inner screws holding the valvetronic motor in place (white arrows), using a skinny E8 socket on a short extension.

Remove Lower Screw
Remove the lower E8 screw holding the valvetronic motor into place (white circle). You may need to unclip the ignition coil electrical harness to get access to the head of the screw.

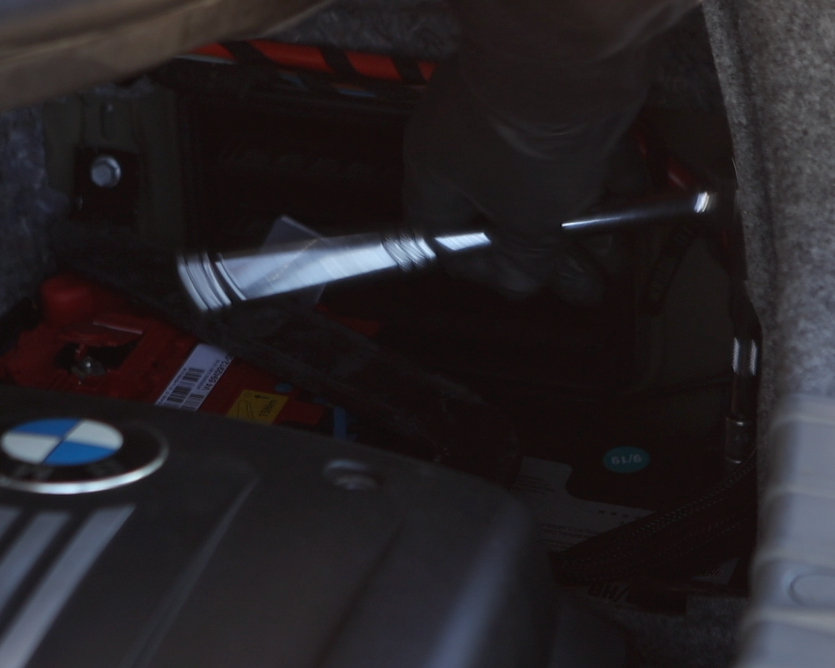
Unscrew Valvetronic Motor
Carefully release the valvetronic motor by inserting a 4MM allen key into the hole (white circle) and turn counter-clockwise (black arrow) until the motor can be heard popping out of place.
Remove Valvetronic Motor
With the valvetronic motor fully loosened, carefully pull it out of your engine ensuring not to hit it against anything.

NOTE
If the metal screw point has signs of wear such as deep metal shavings, grooves or scratches, it's recommended to replace the valvetronic motor.
Part No. 11377548388

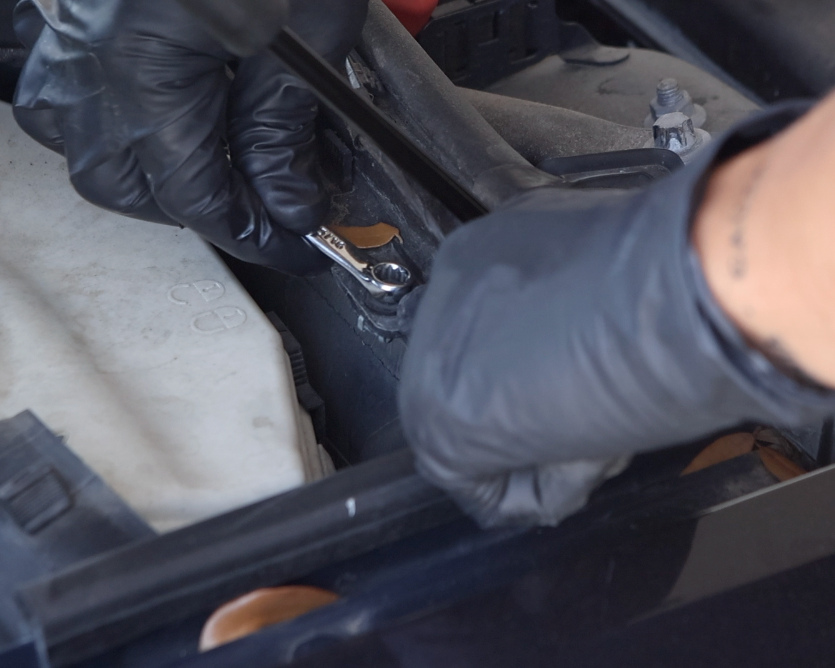
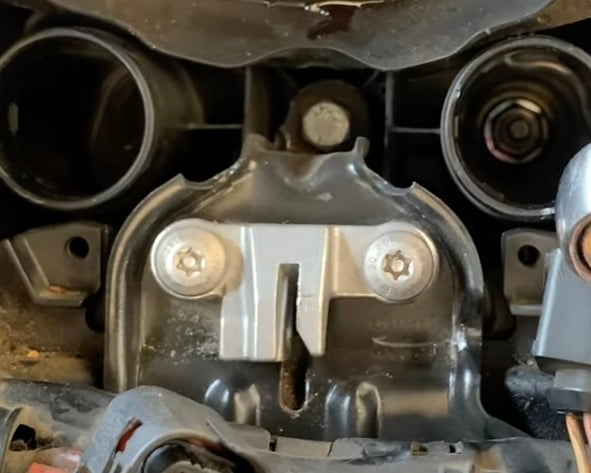
Remove Gasket Screws
Remove the two T-30 screws holding the valvetronic motor gasket in place (white arrows).
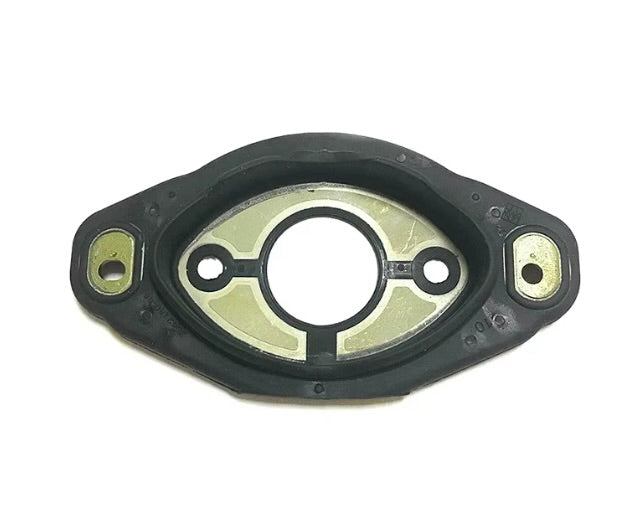
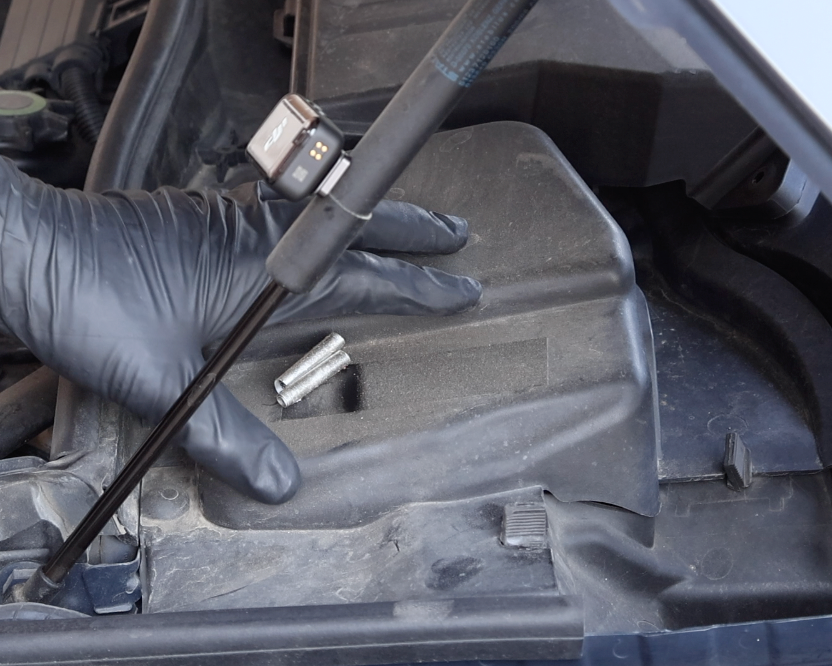
Remove Old Gasket
Pull the old valvetronic motor gasket out from the engine.

Install New Gasket
Install the new valvetronic motor gasket.

NOTE
When installing the new gasket, ensure the black stripe shown is facing upwards. Facing it down can cause oil to leak from the gasket.
Install Gasket Screws
Reinstall the two T-30 screws that hold the valvetronic motor gasket in place (white arrows).

Reinstall Valvetronic Motor
Reinstall the valvetronic motor in place, but do not start installing screws yet. Simply hold the motor with one hand and push it flush against the gasket.
NOTE
Ensure the valvetronic motor latches onto the lower slide pictured above.

Reinstall Valvetronic Motor Cont.
While holding the motor flush against the gasket, use a 4MM allen key to tighten the motor clockwise (black arrow) into place. Read the warning below.
WARNING
Do not overtighten the 4MM allen key. Immediately stop tightening as soon as you feel any resistance. Over-tightening this screw can cause issues with your timing.
Reinstall Inner Valvetronic Screws
With the valvetronic motor flush, reinstall the two inner E8 screws that hold the motor in place (white arrow).
Reinstall Lower Screw
Reinstall the lower E8 screw holding the valvetronic motor into place (white circle).
Reinstall Gasket Screws
Reinstall the two T-30 screws that hold the valvetronic motor gasket in place (white arrows).

Reinstall Valvetronic Connector
Reinstall the valvetronic motor connector by pressing it into place until a snap can be heard.

Reinstall Ignition Coils
After the valvetronic motor is fully installed in place, reinstall the ignition coils that were removed (white arrows) by simply sliding them back into the cylinder holes.

WARNING
Before starting the vehicle, you must do the valvetronic motor relearn procedure. Click here for a guide on how to do it. The vehicle battery will now need to be re-connected.
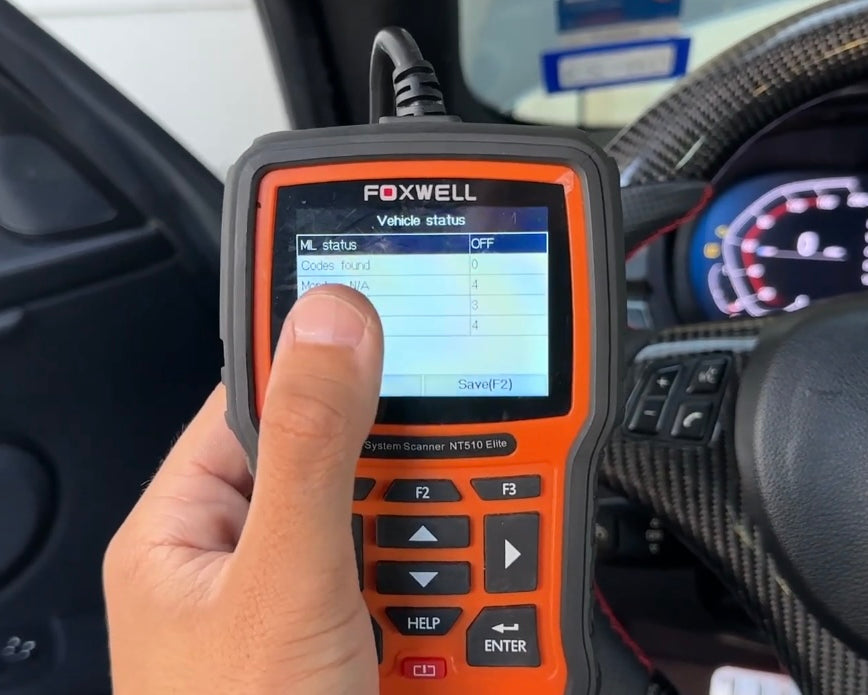
Clear Engine Codes
After doing the relearn, use a BMW scan tool to clear all engine codes.
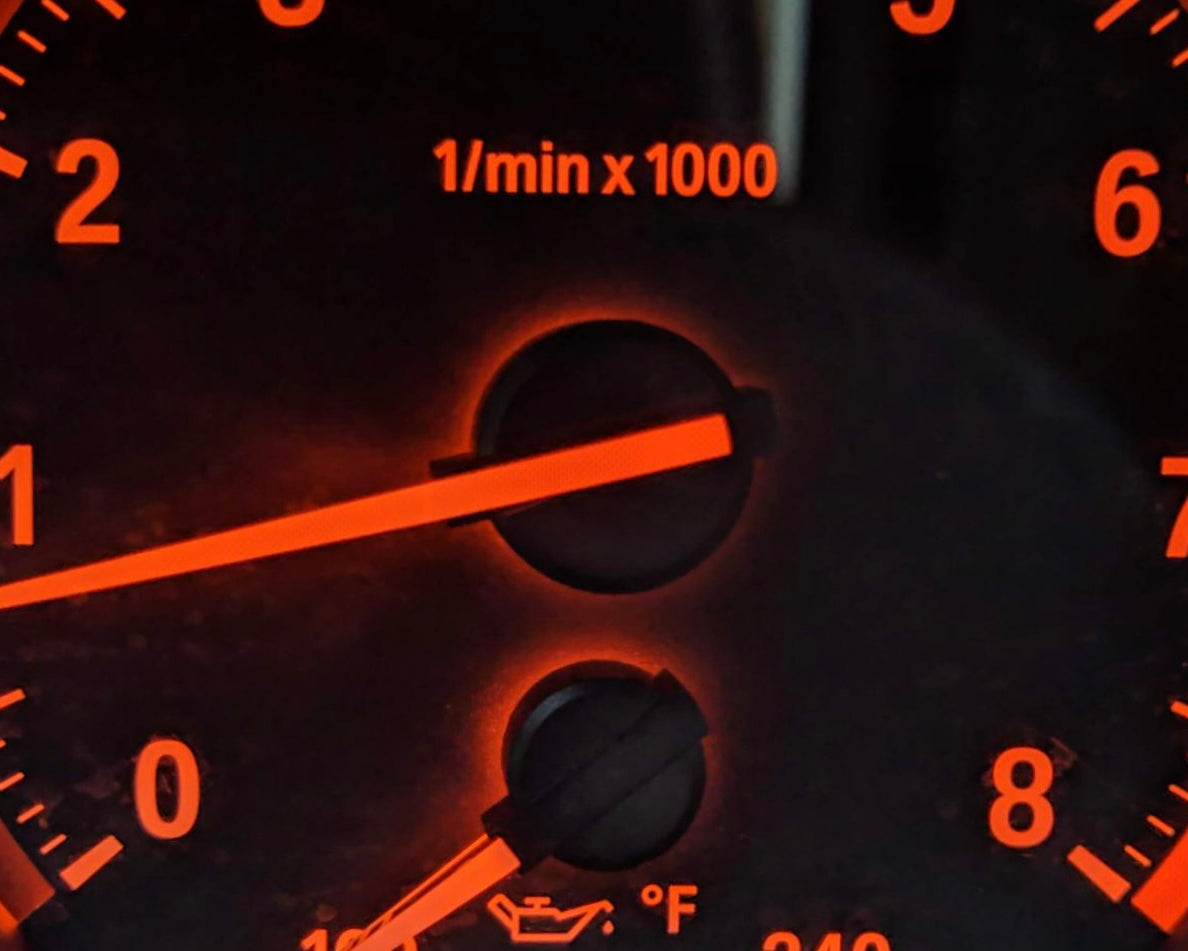
Test Start Engine / Re-Installation
Now that the new motor has been installed and properly configured, go ahead and start the vehicle to perform a test run. If everything runs smoothly, you can proceed to reinstall the cabin air filter, engine cover, and any other components that were removed or disconnected during the installation process.
DIY Complete
Good job replacing your valvetronic motor gasket! Be sure to keep an eye on your dashboard for any check engine codes, rough idling or oil leaks in the future.