
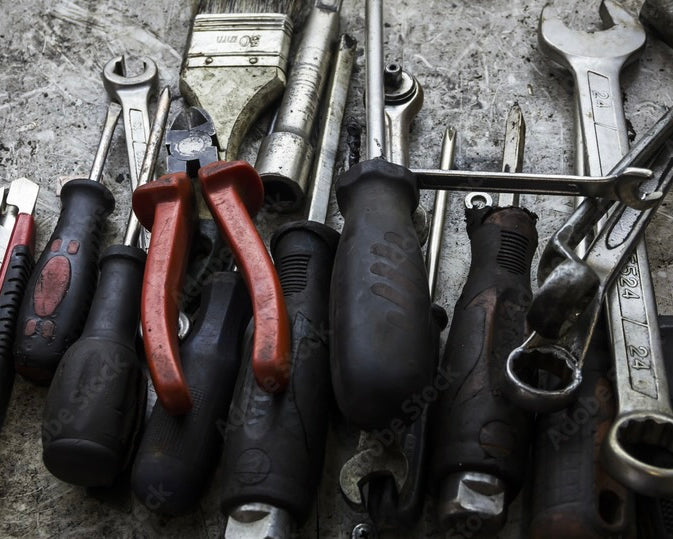
Hood Insulation Padding Replacement for 1 / 2 / 3 /4 / 5 / 6 / 7 / X / Z Series

Overview
Over time, the factory hood insulation begins to deteriorate due to age and heat. This not only increases engine noise but also allows dirt and debris to enter the engine bay. In some cases, loose fibers from the worn padding can even be ingested by the engine, potentially causing damage. Additionally, a worn hood pad negatively impacts the overall appearance of your engine bay.
In this guide, we’ll show you how to replace the old hood insulation with a brand-new one. While we are performing this job on a BMW E9X, the process applies to nearly all BMW models—the only difference being the number of push clips used to secure the pad.
Start w/ Cold Engine
Ensure you conduct this DIY on a vehicle with a cold engine.
NOTE
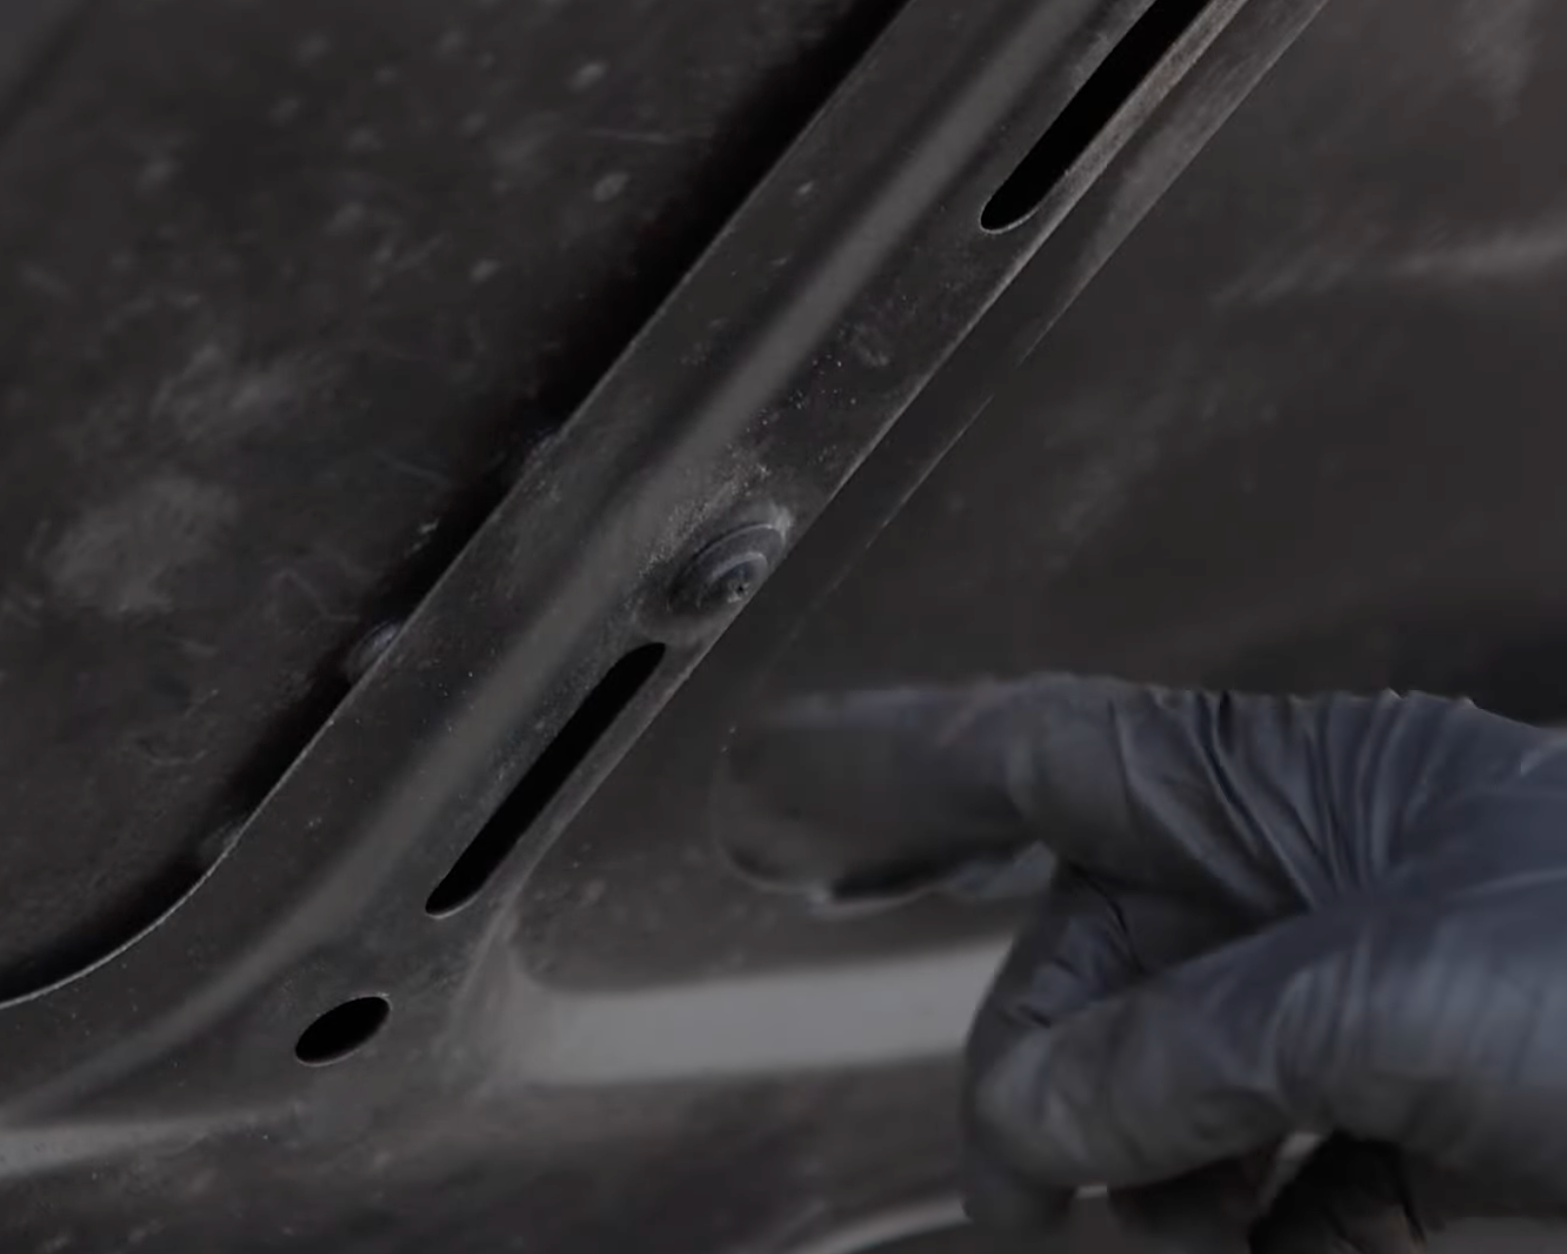
BMW typically uses the same push-clip style across most chassis. This is a two-part system where the center portion must first be pried up with a flathead screwdriver, allowing the bottom half to lift out.
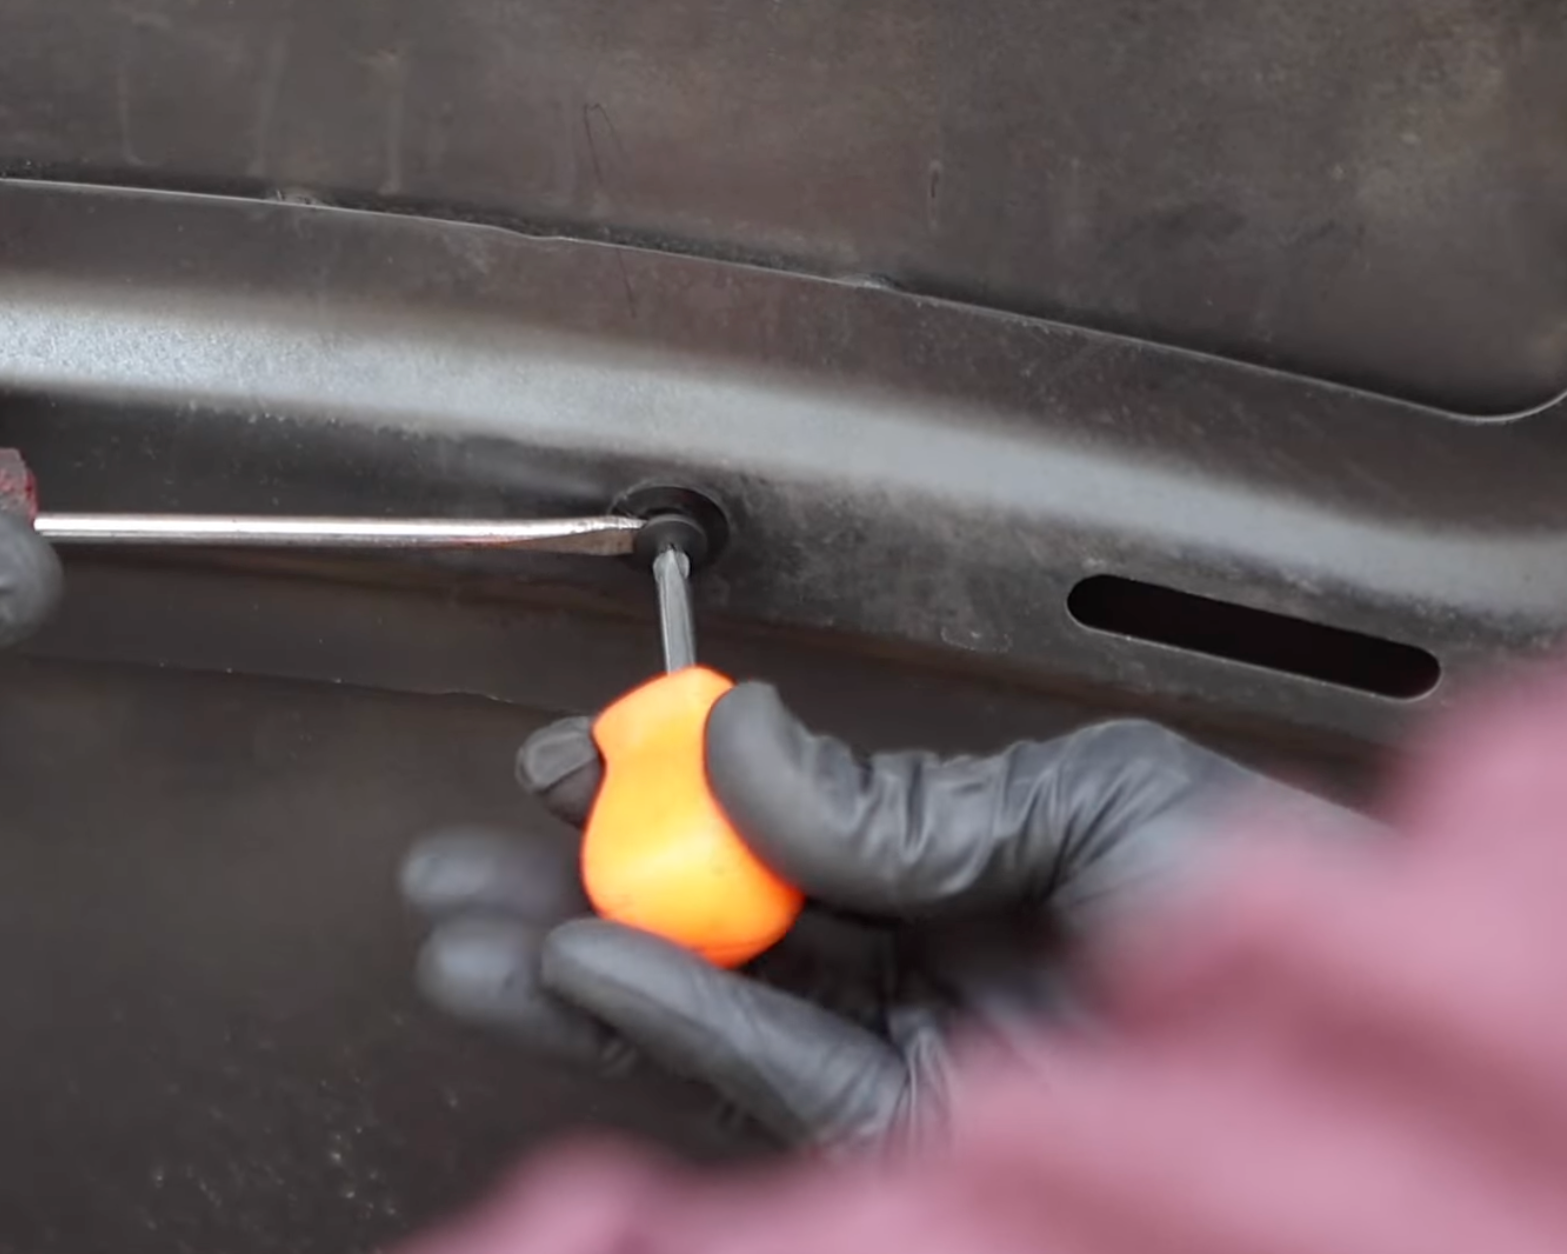
In some cases, BMW uses a Phillips-style clip, which requires unscrewing the center portion counterclockwise. Once the center is removed, simply lift out the lower half of the clip.

Open Hood
Open your vehicle's hood by pulling the latch.
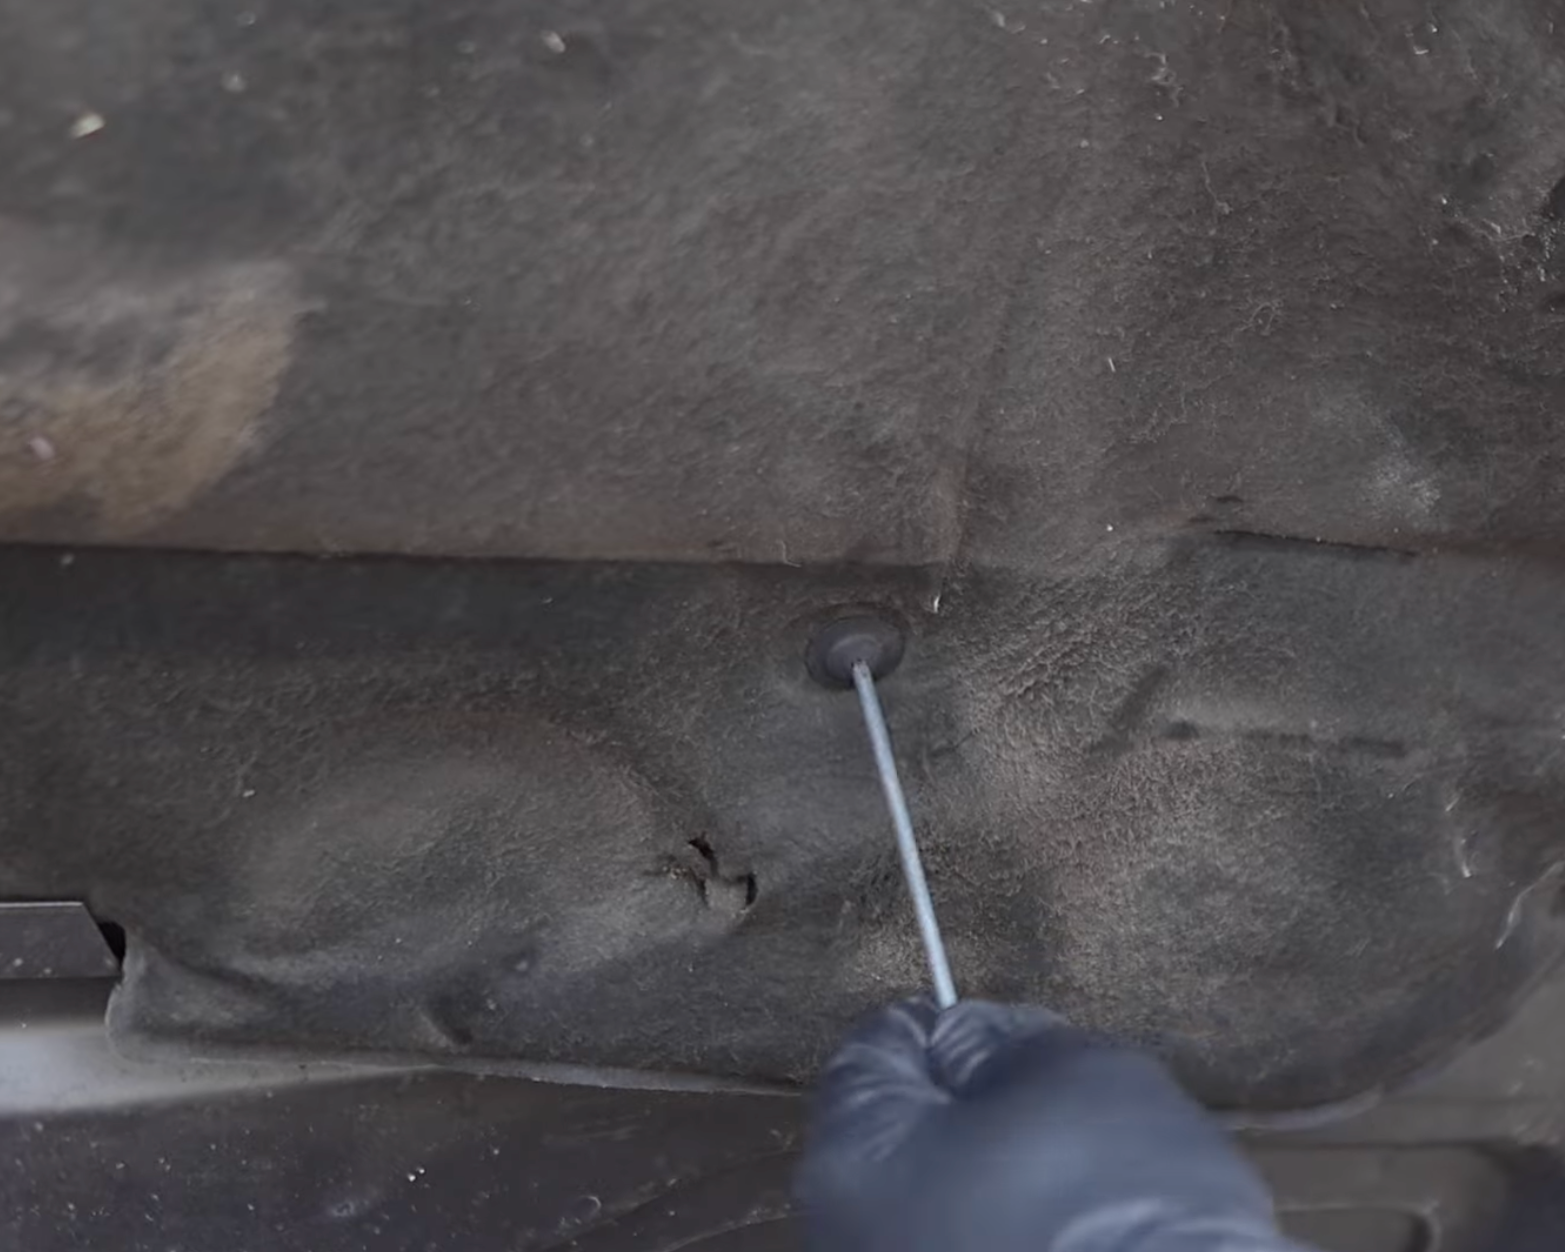
Loosen Center Screw
Before prying the clips out, use a flathead screwdriver to gently lift and fully remove the center portion. This releases the tension and prevents the clip from spreading, allowing it to be pulled out easily.
NOTE
To make removal easier, use a flathead screwdriver to gently lift upward on the clip while pulling it out. Applying this slight tension will help the clip back out smoothly without damage.
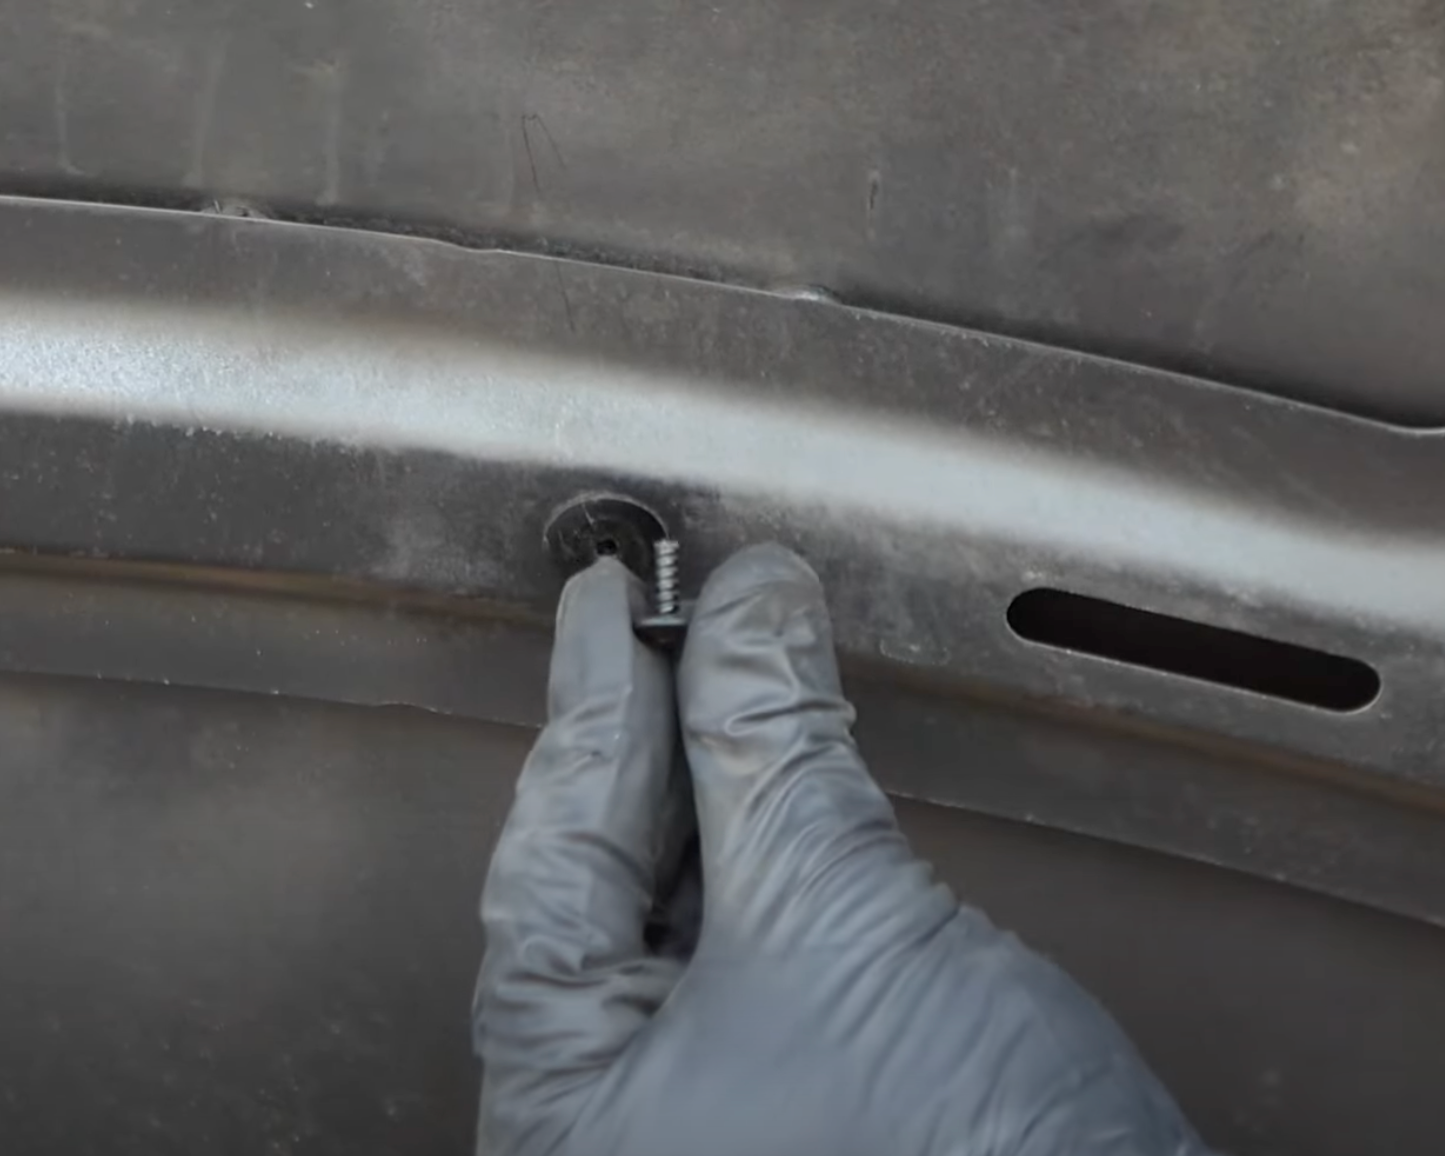
Remove Center Section
Once the center section has been fully loosened, pull it out completely to release the clip.
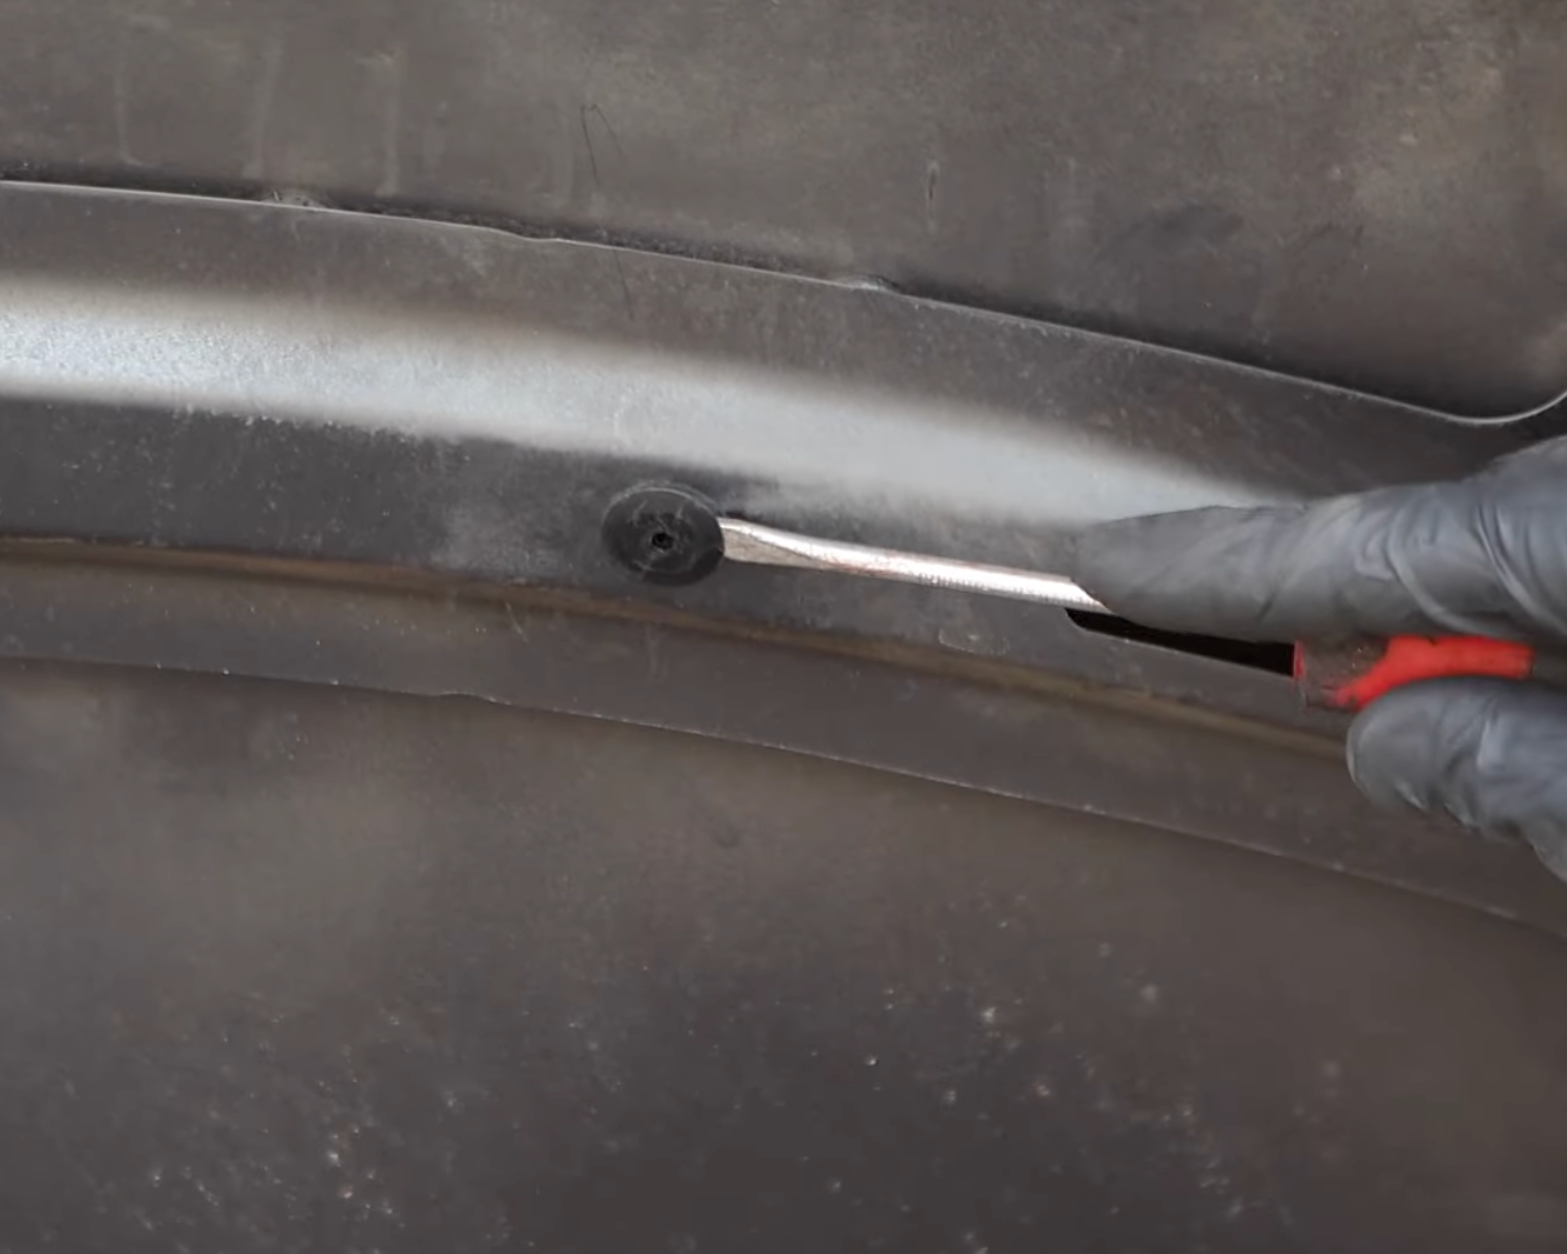
Lift Plastic Clip Base
With the center section removed, the clip will now be loose and ready to come out. Use a plastic trim removal tool (recommended) or a flathead screwdriver to carefully pry out the remaining base of the clip.
Repeat Process
Repeat this process to remove all of the remaining plastic clips. The total number may vary depending on your BMW chassis, so double-check to ensure every clip has been removed.
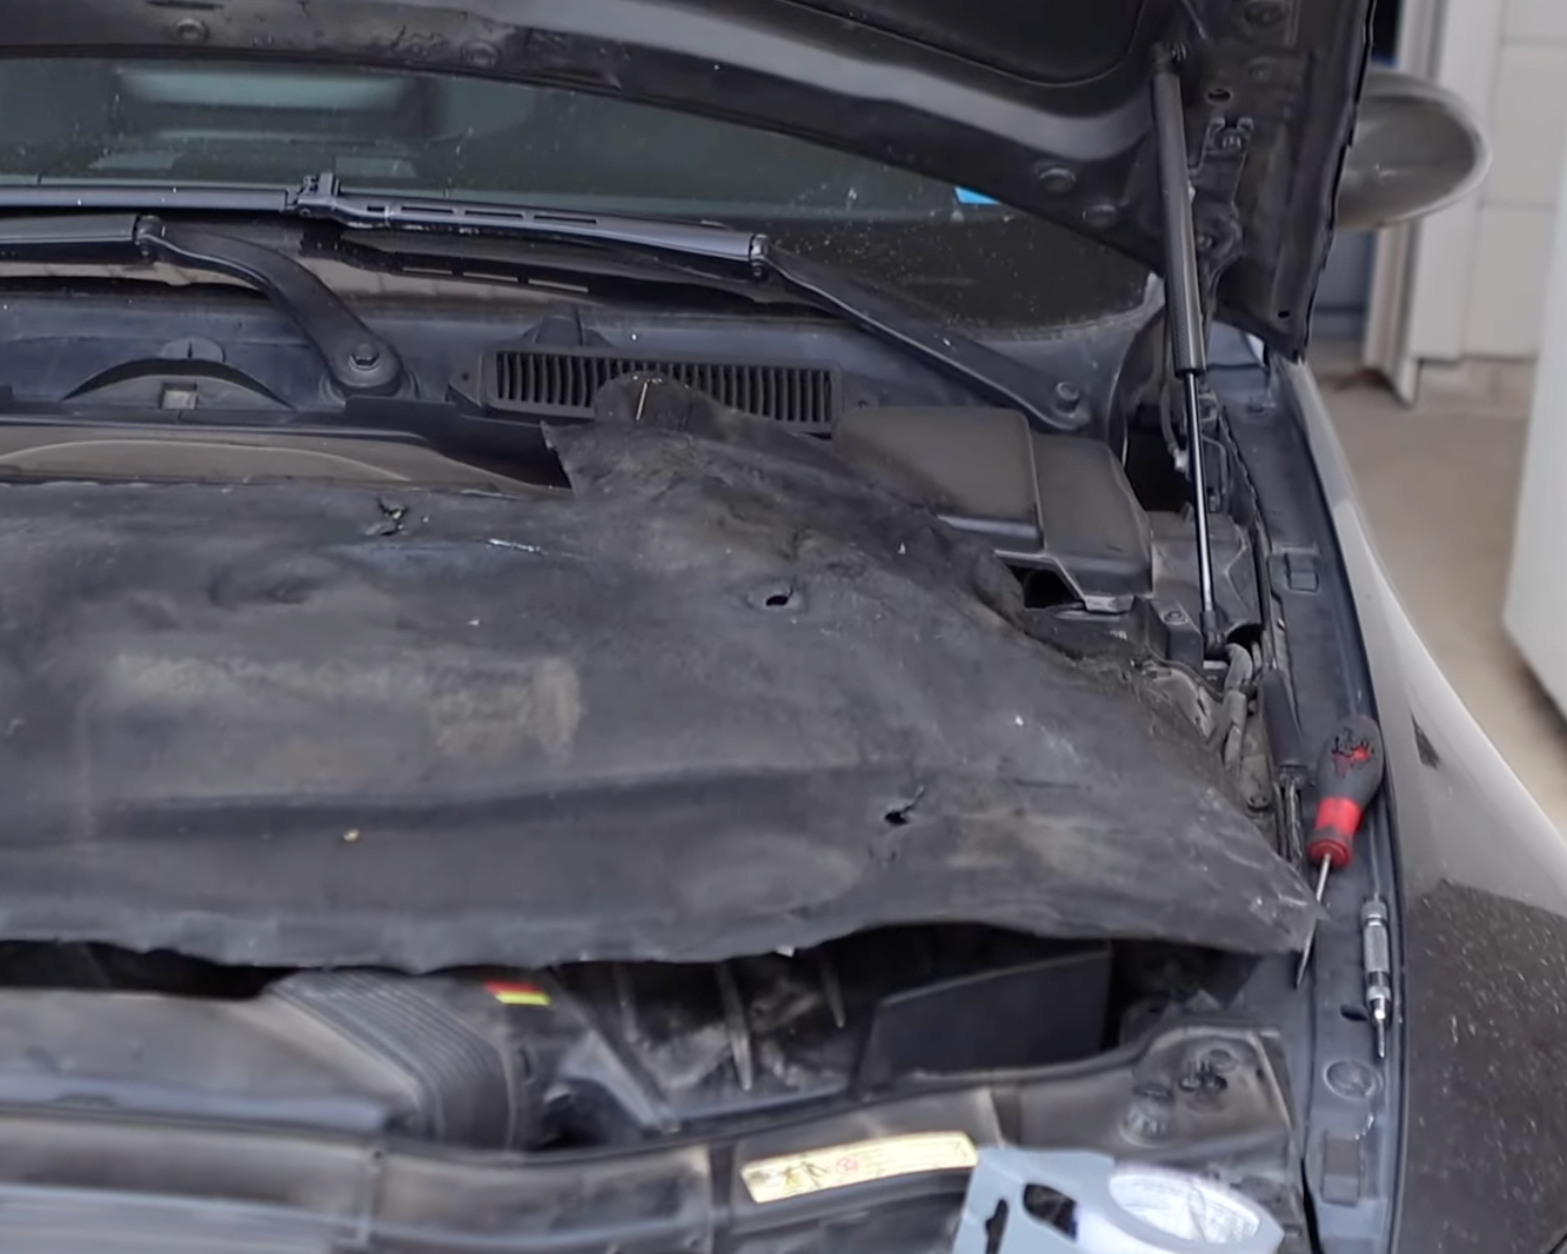
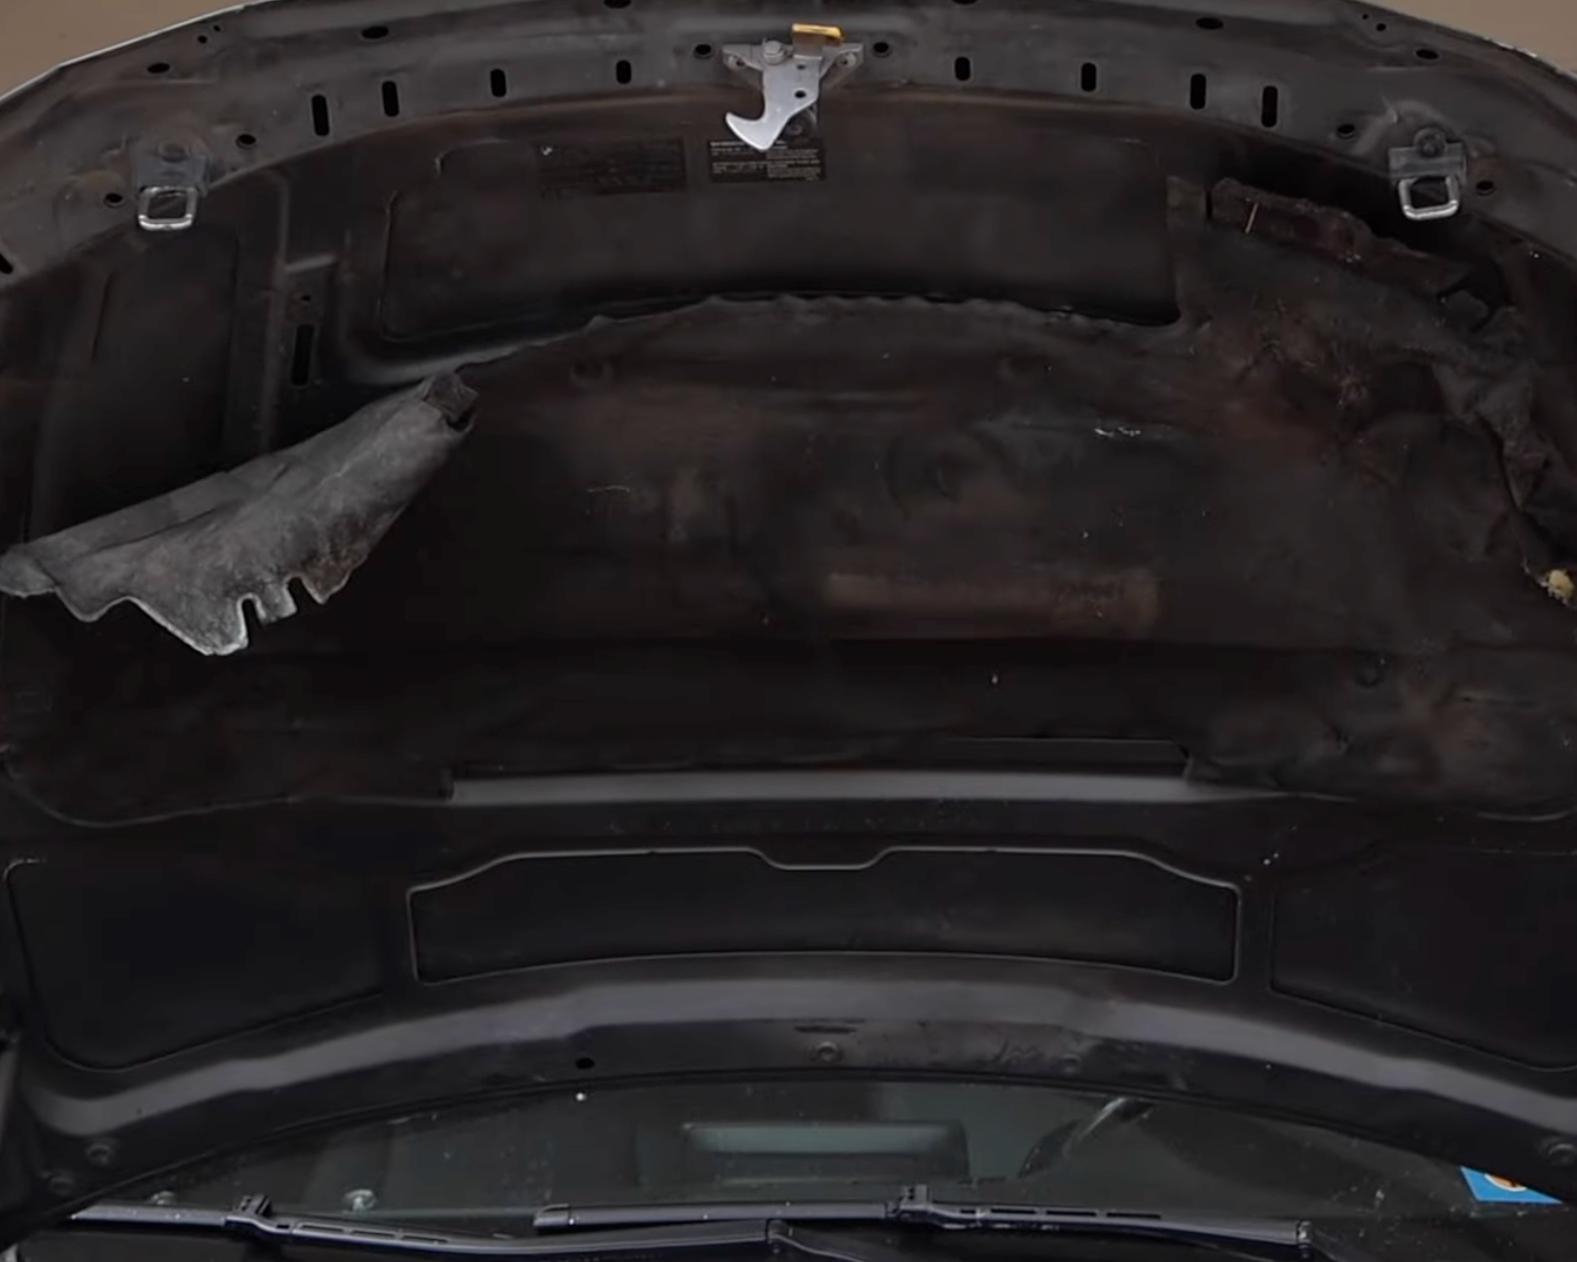
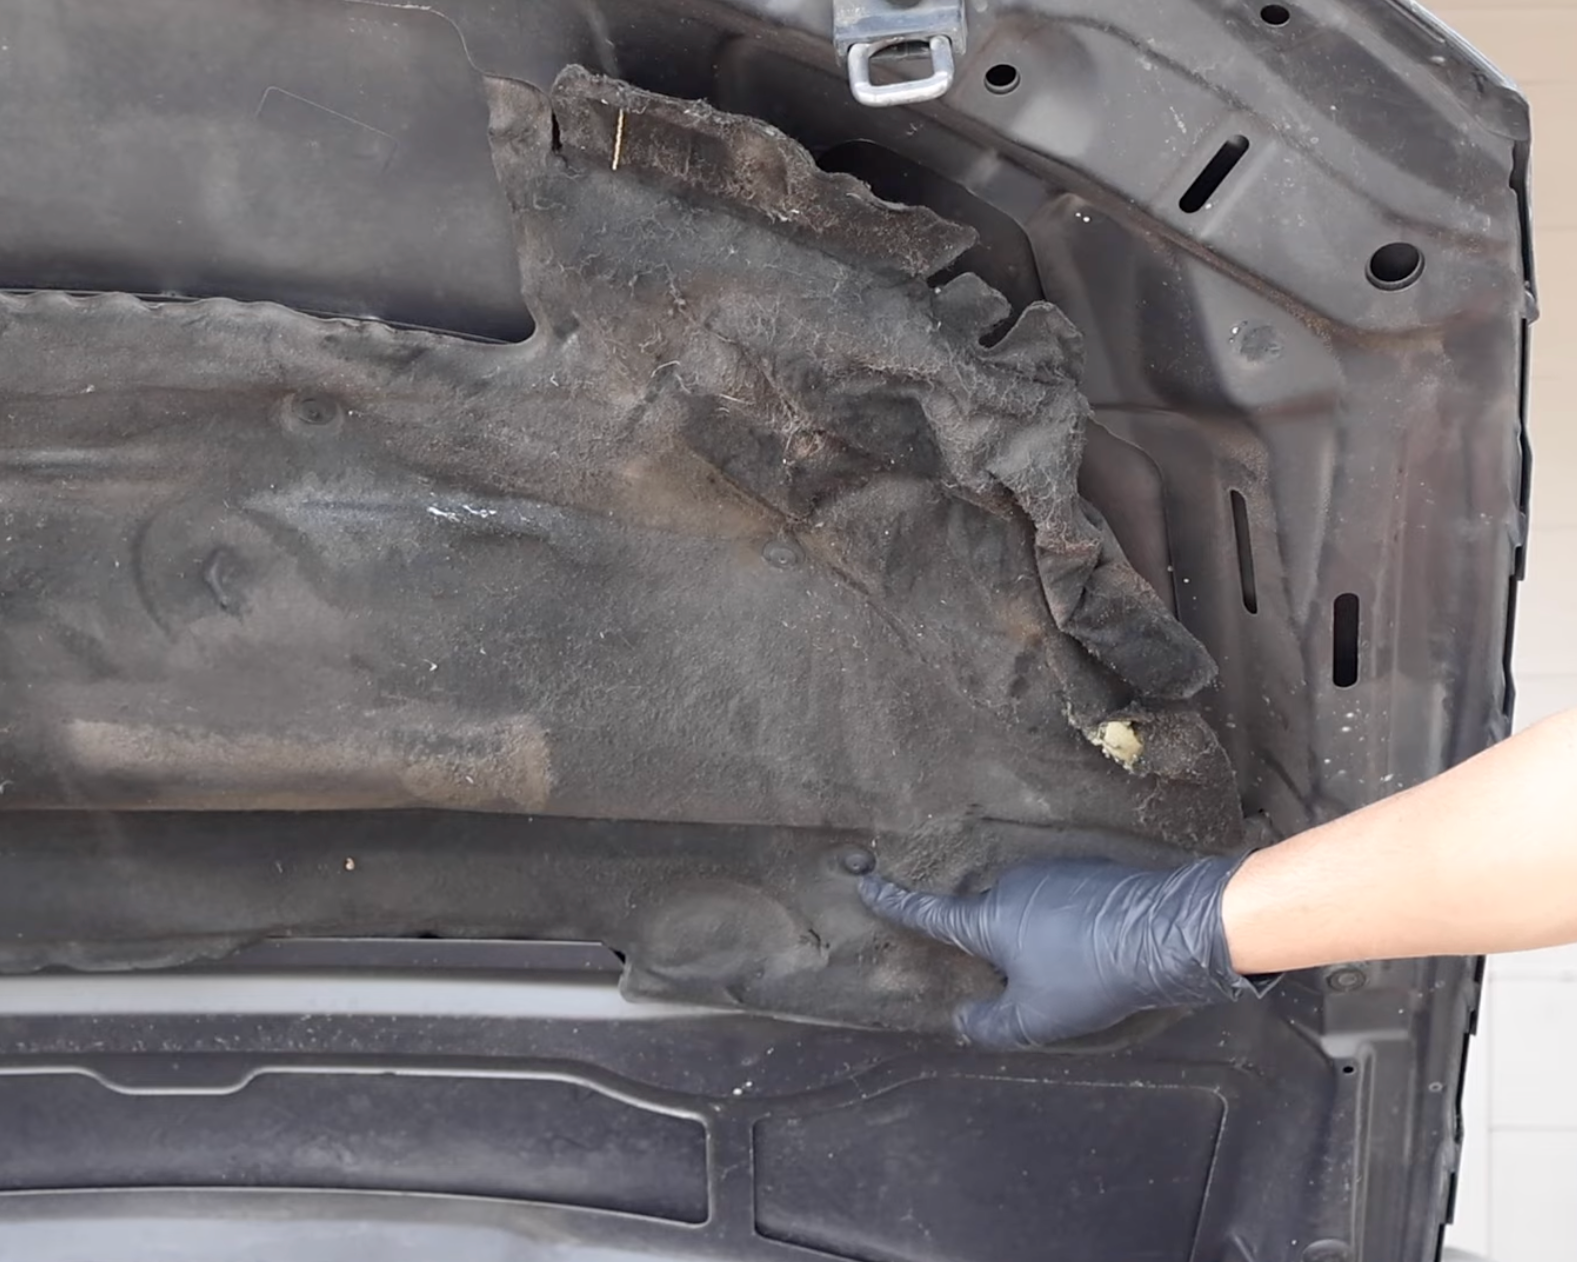
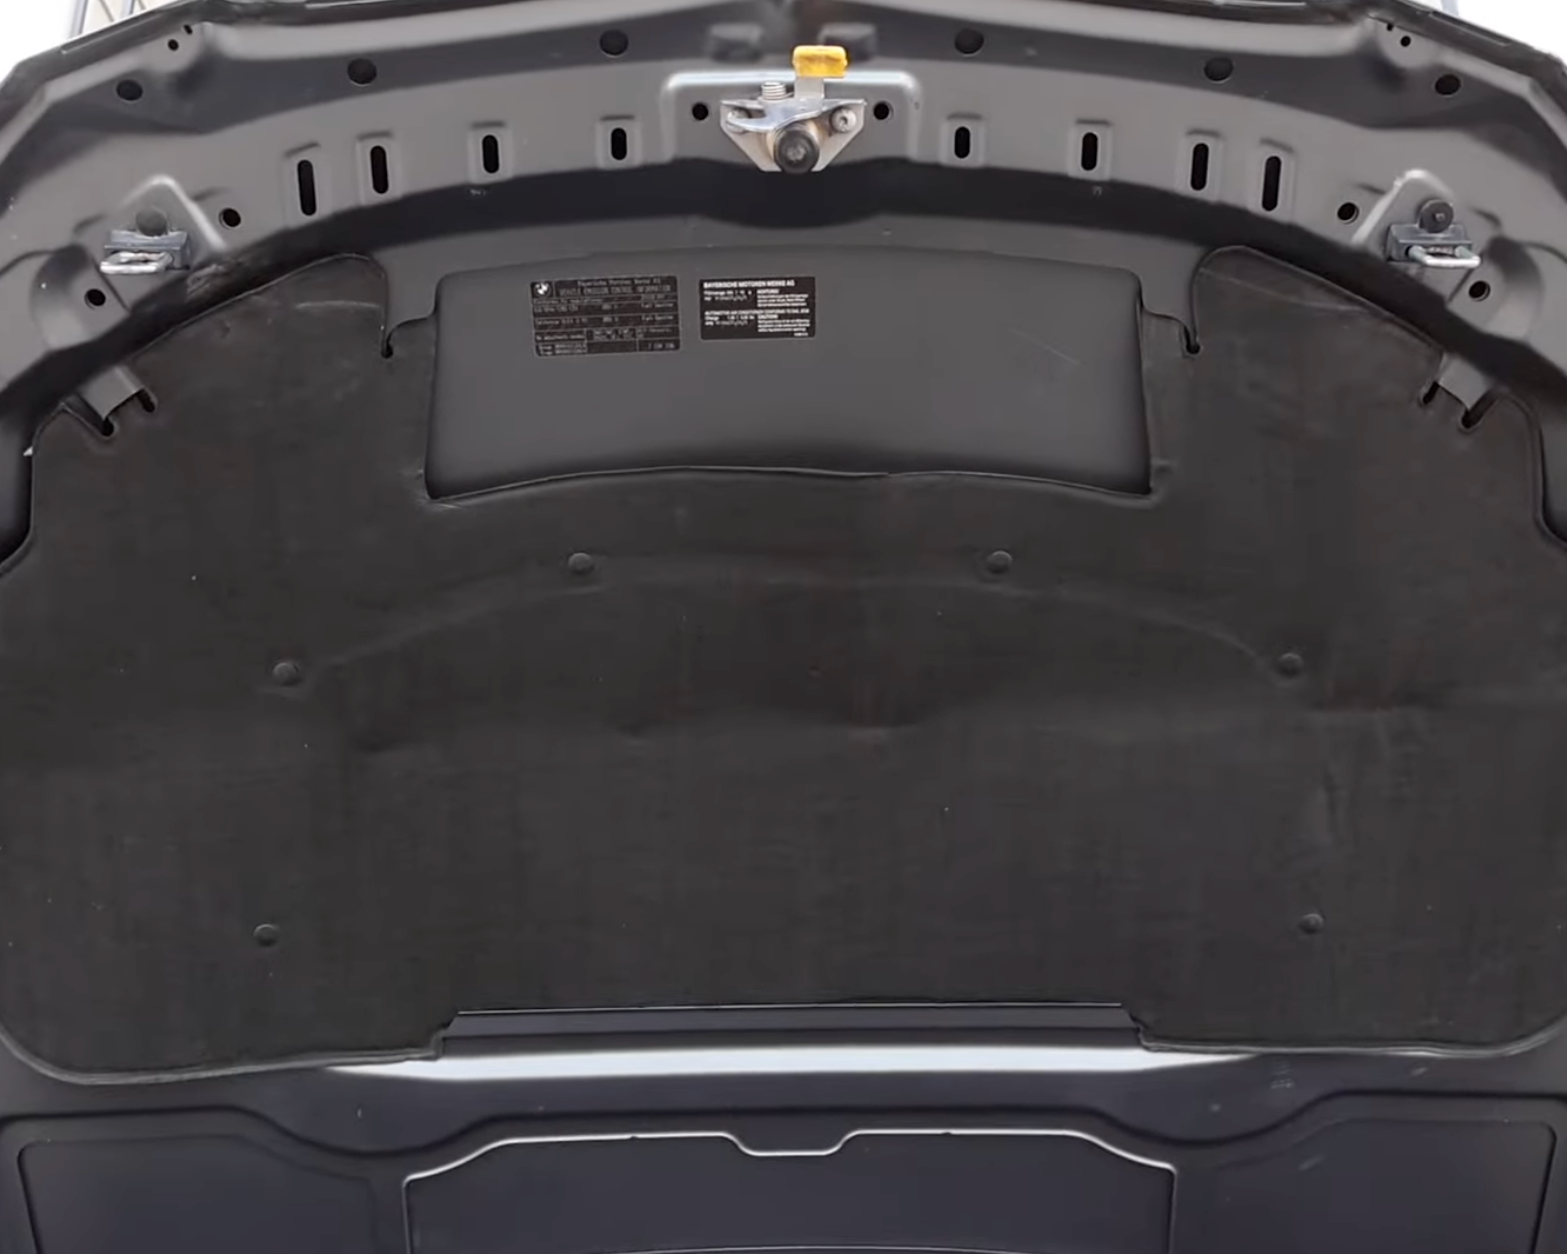
Remove Old Hood Insulation
With all of the plastic clips removed, gently pull the old hood insulation padding down and remove it. Dispose of the worn padding properly.
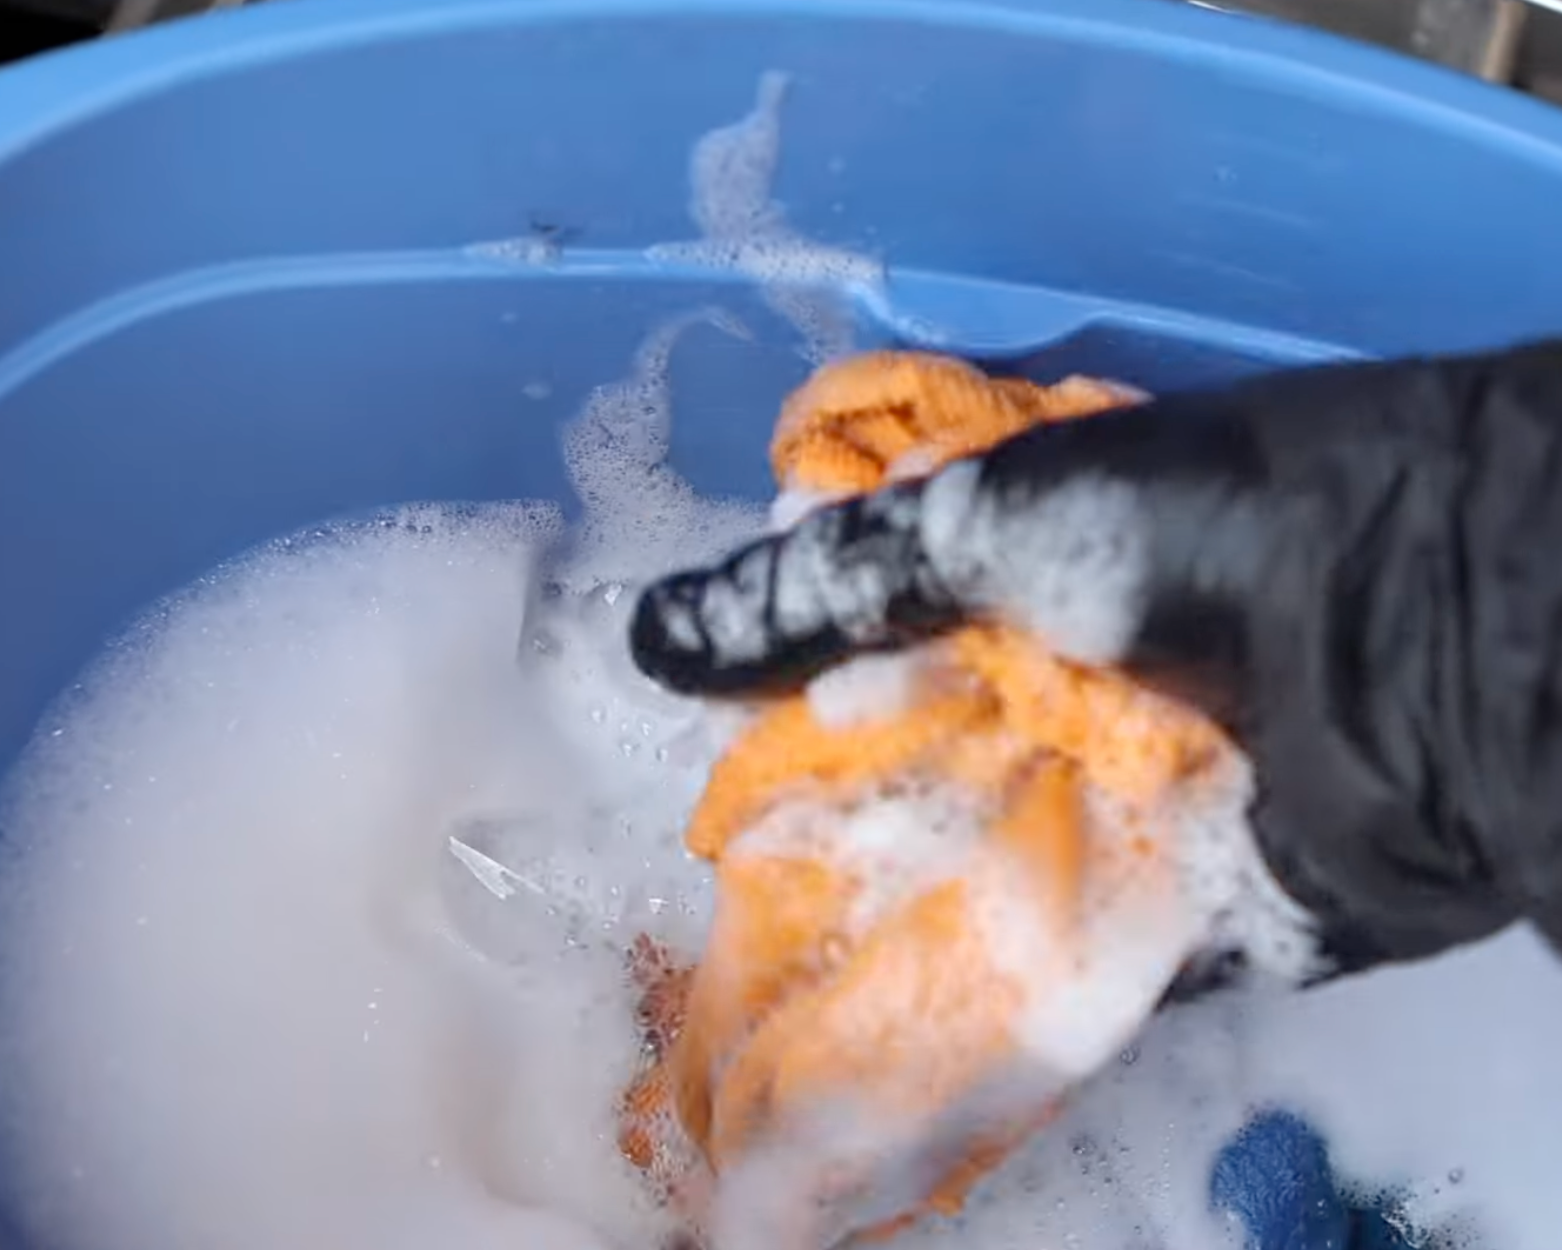
NOTE
With the factory hood padding removed, this is the perfect time to clean away any dirt and grime from the underside of the hood. Prepare a bucket of clean water, a microfiber towel, and a soap infused with wax to both clean and protect the surface before installing the new insulation.

Clean Hood Underside
Using a damp microfiber towel, thoroughly clean the underside of the hood until all dirt and grime are removed.
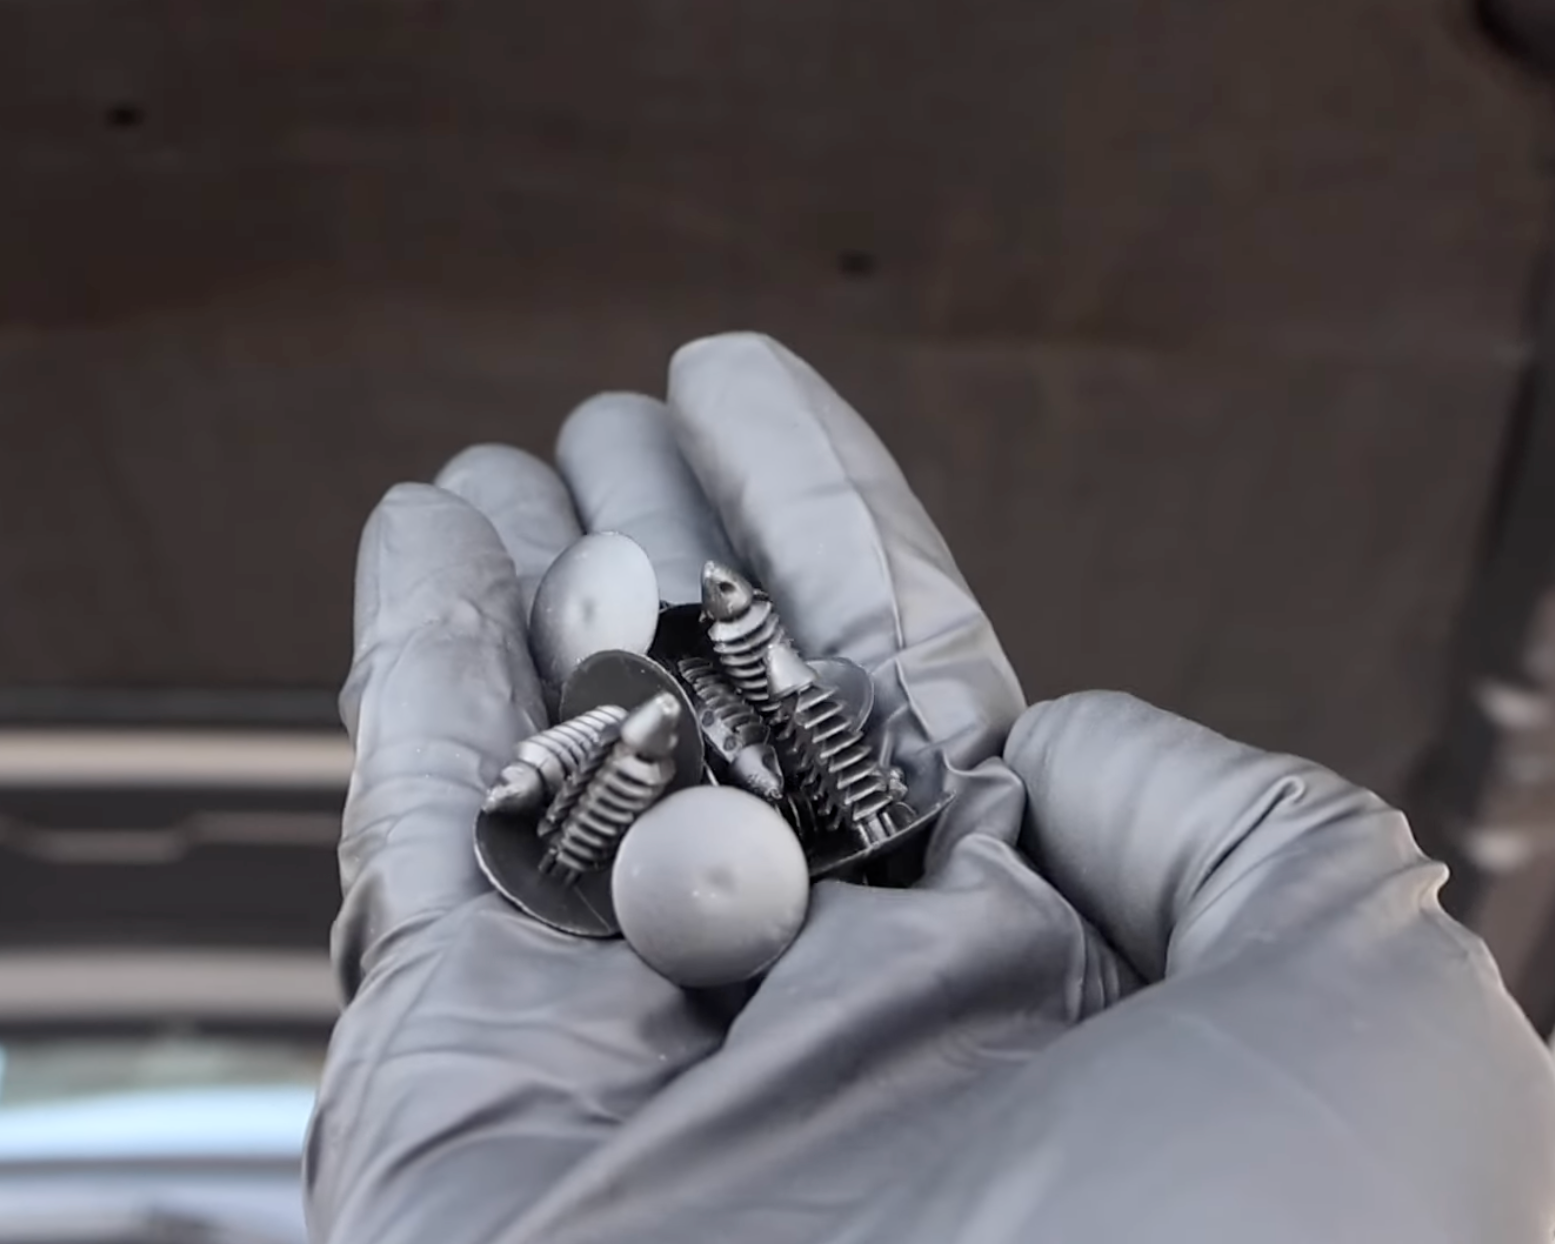
Inspect New Hood Padding
Our new hood insulation padding comes with a complimentary full set of push clips, providing a complete one-and-done solution. This means there’s no need to chase down part numbers—simply purchase and install with confidence.
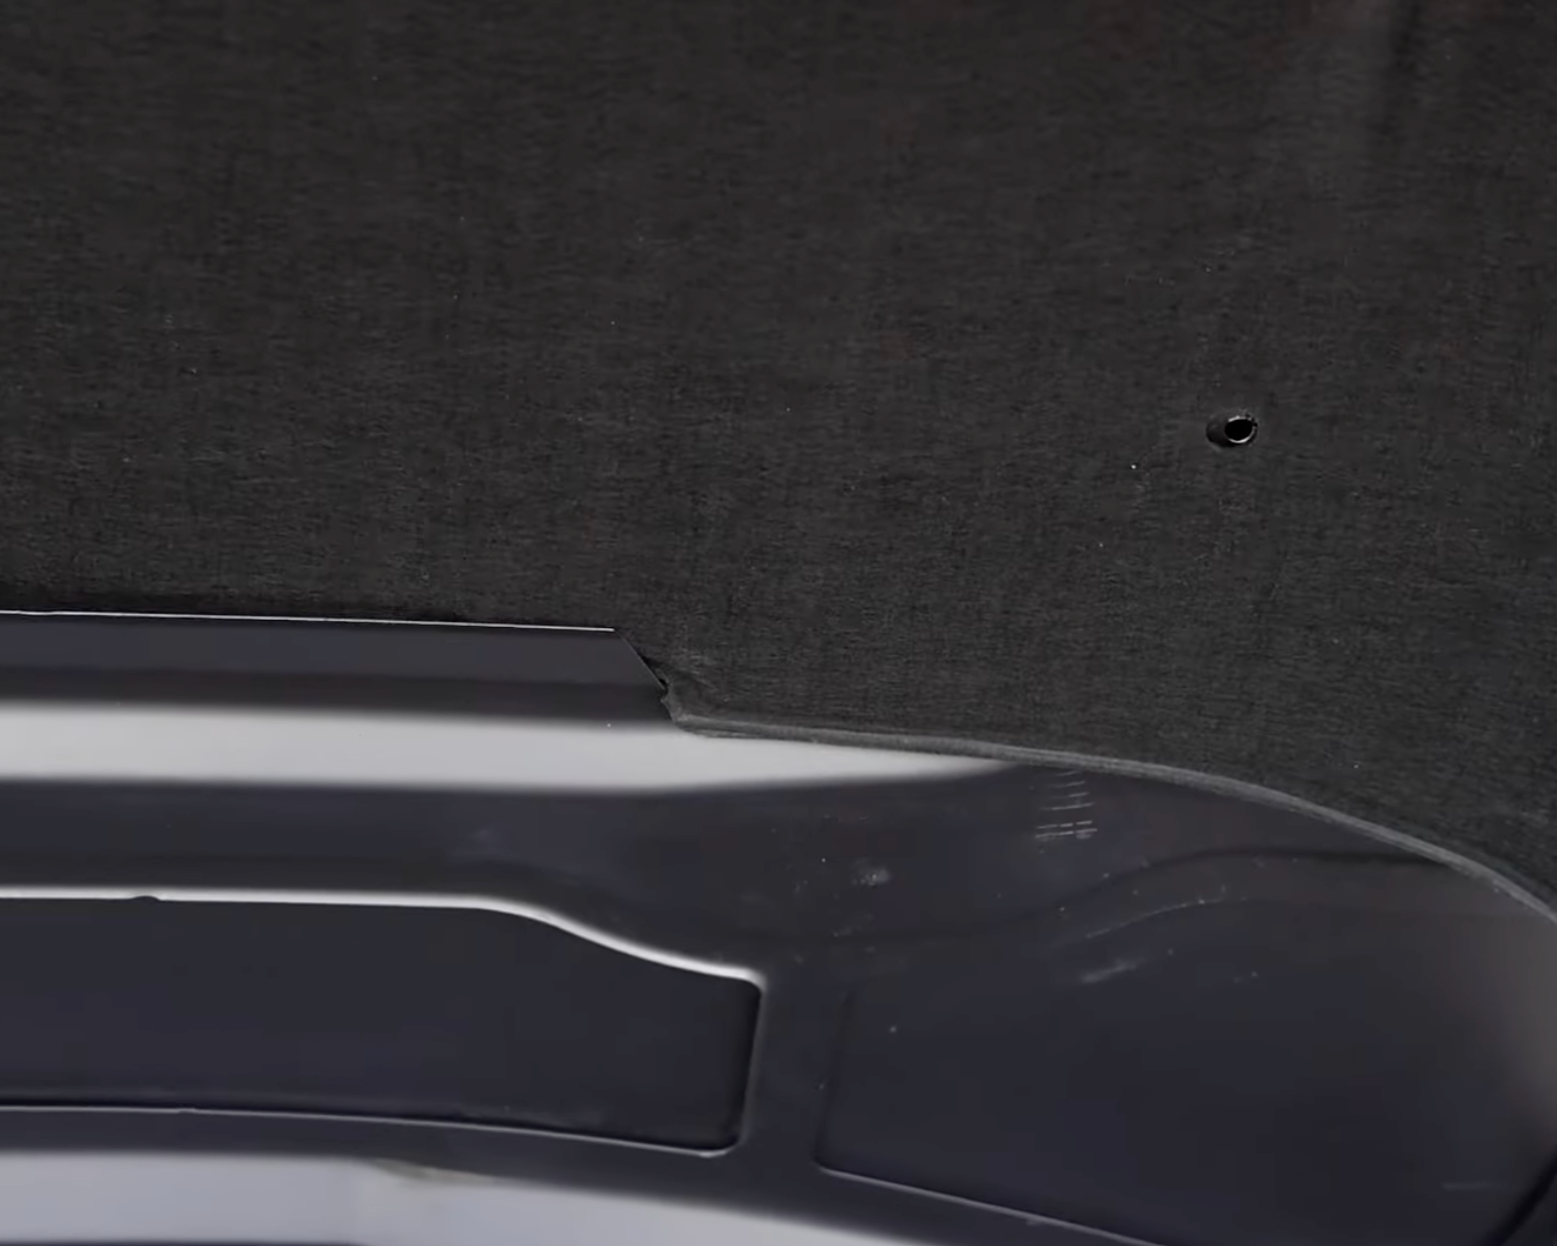
Position New Hood Padding
Seat the new hood padding along the bottom hood seam. This will help support it in place while you install the push clips.
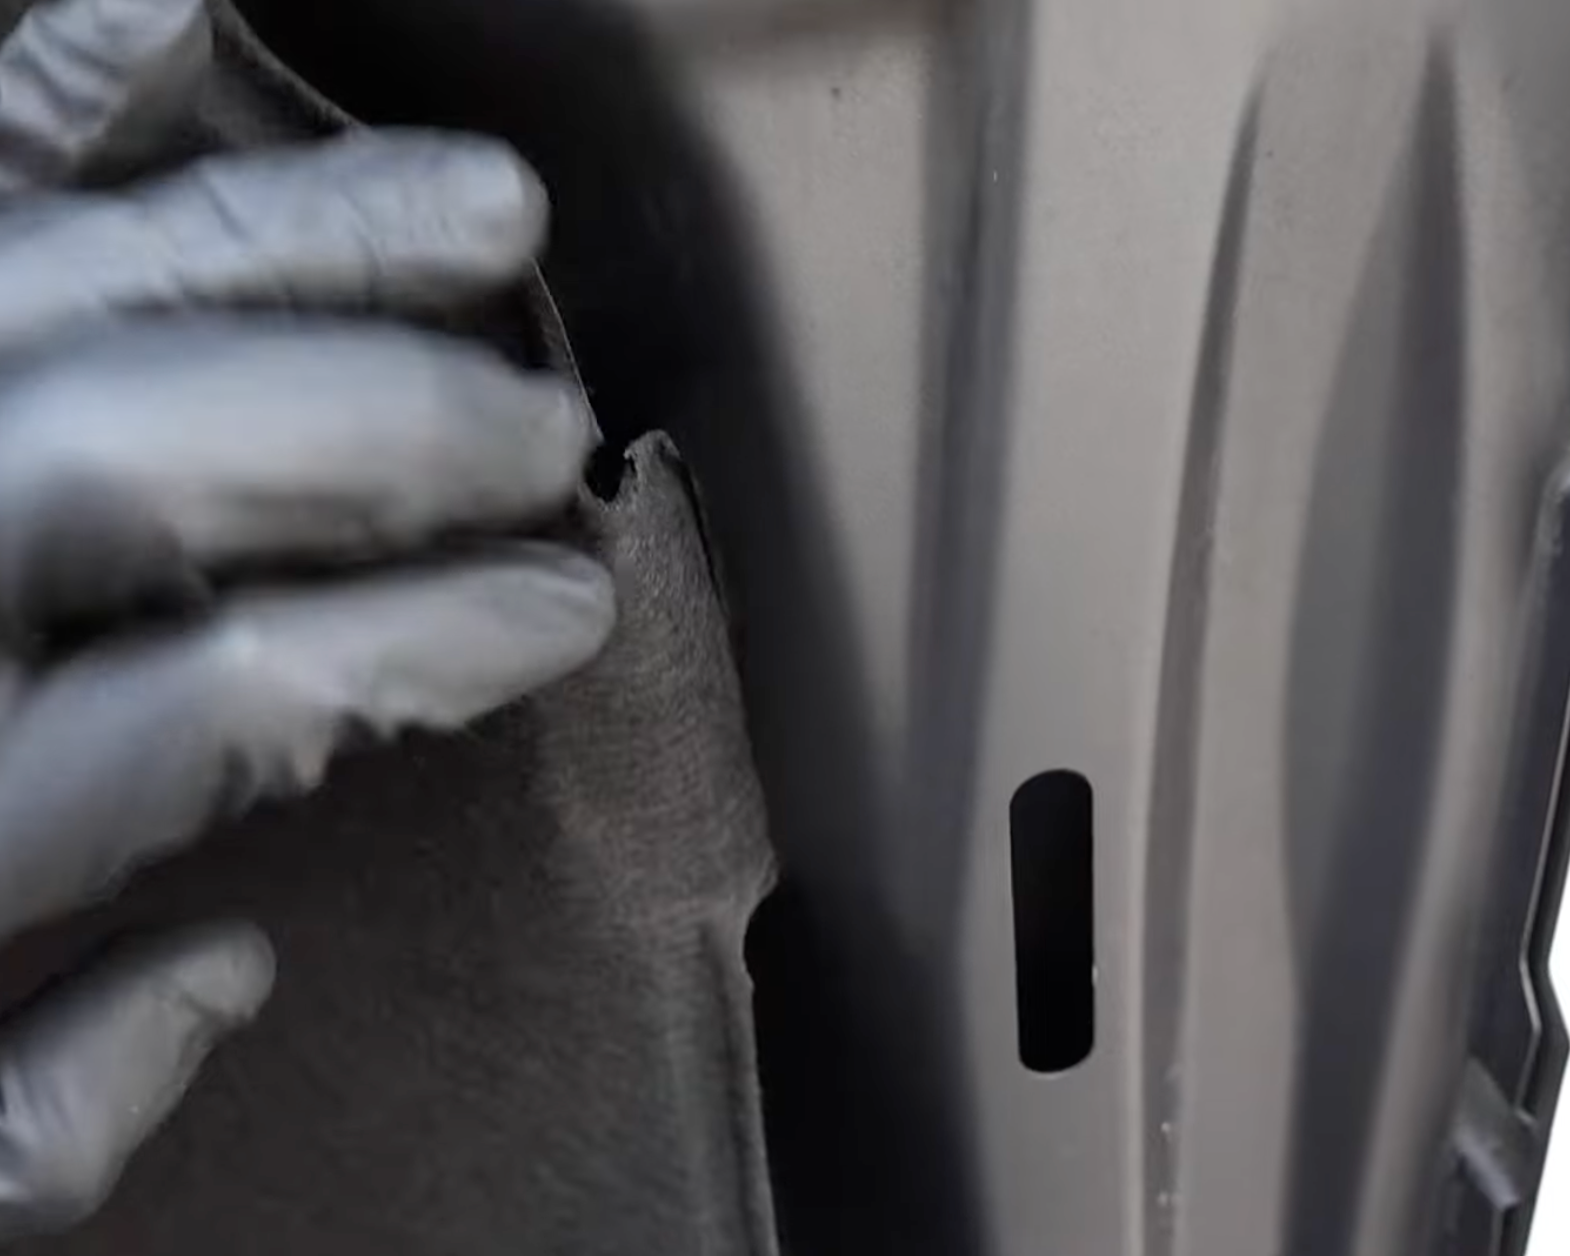
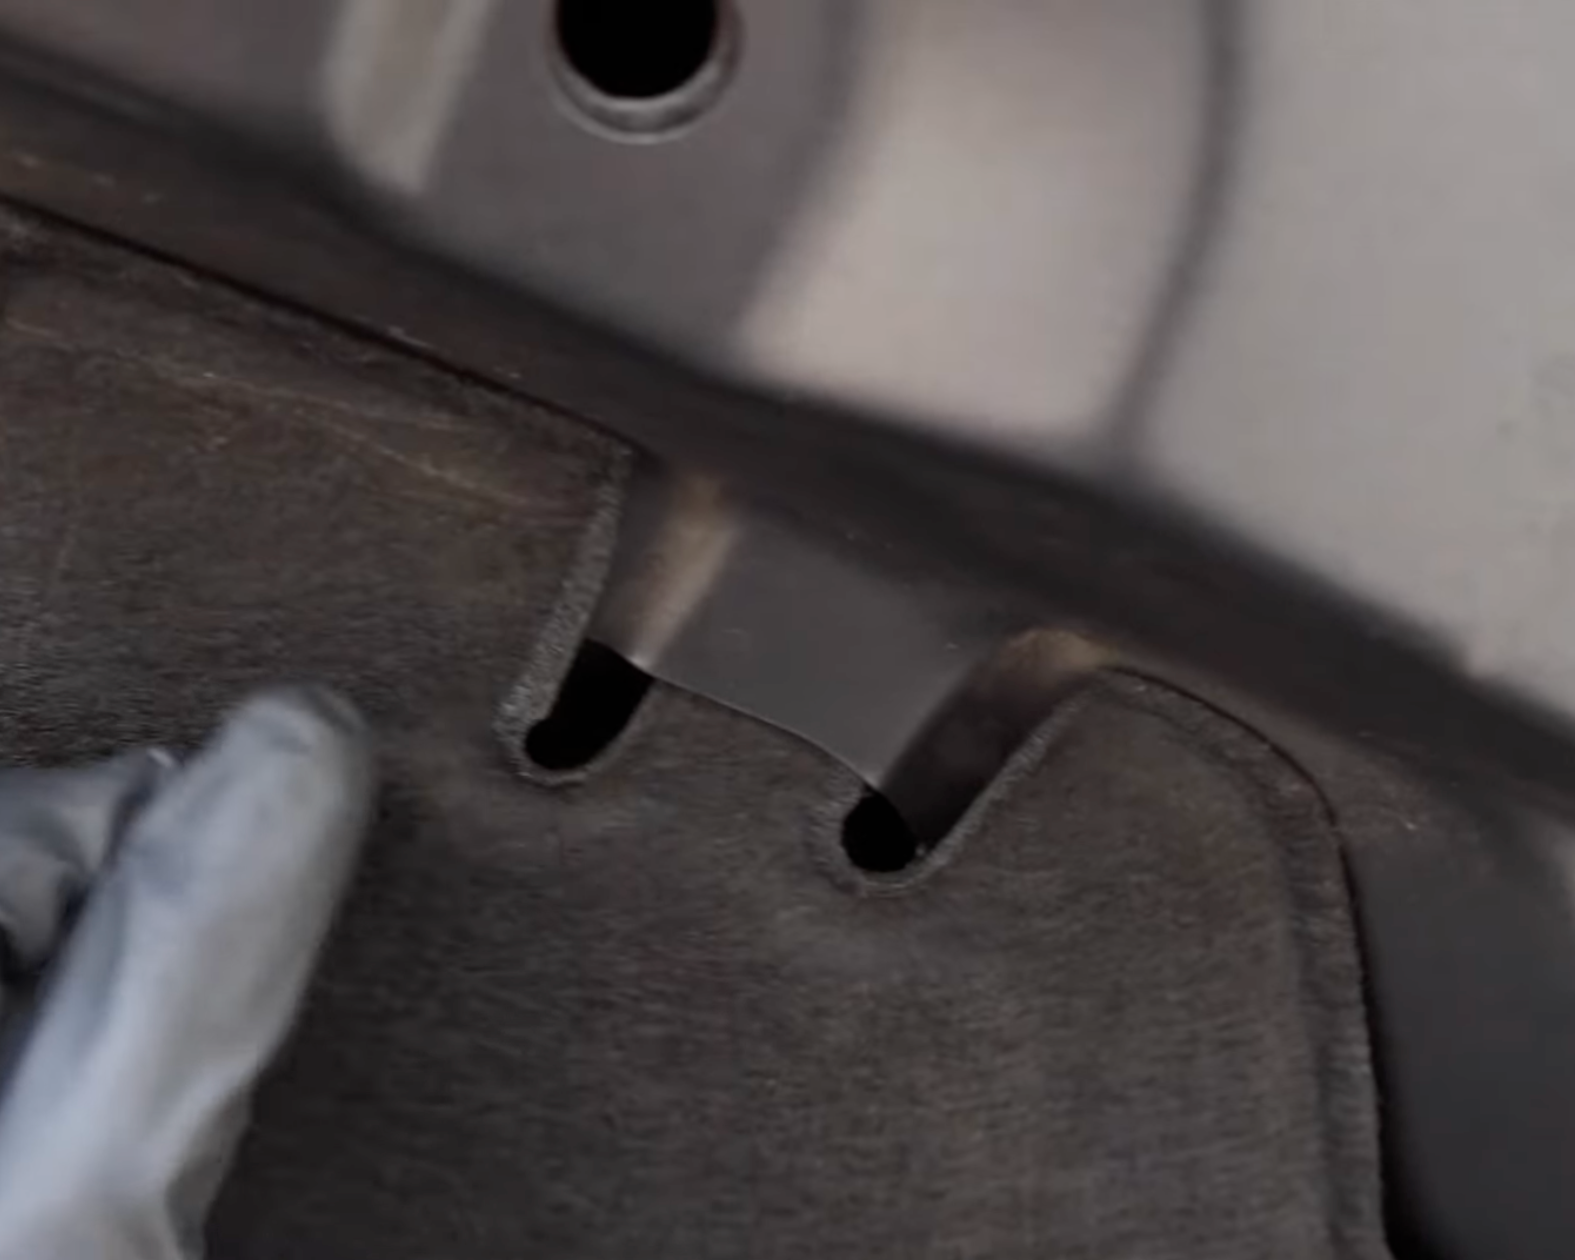
Secure Pad Side Tabs
Press the hood insulation cloth tabs into the side slots of the hood to hold the padding in place and ensure it latches securely.
Secure Pad Top Tabs
Clean the mating surface for the intake camshaft sensor with a microfiber towel. This ensures the new sensor and O-ring seat properly, creating a secure seal.
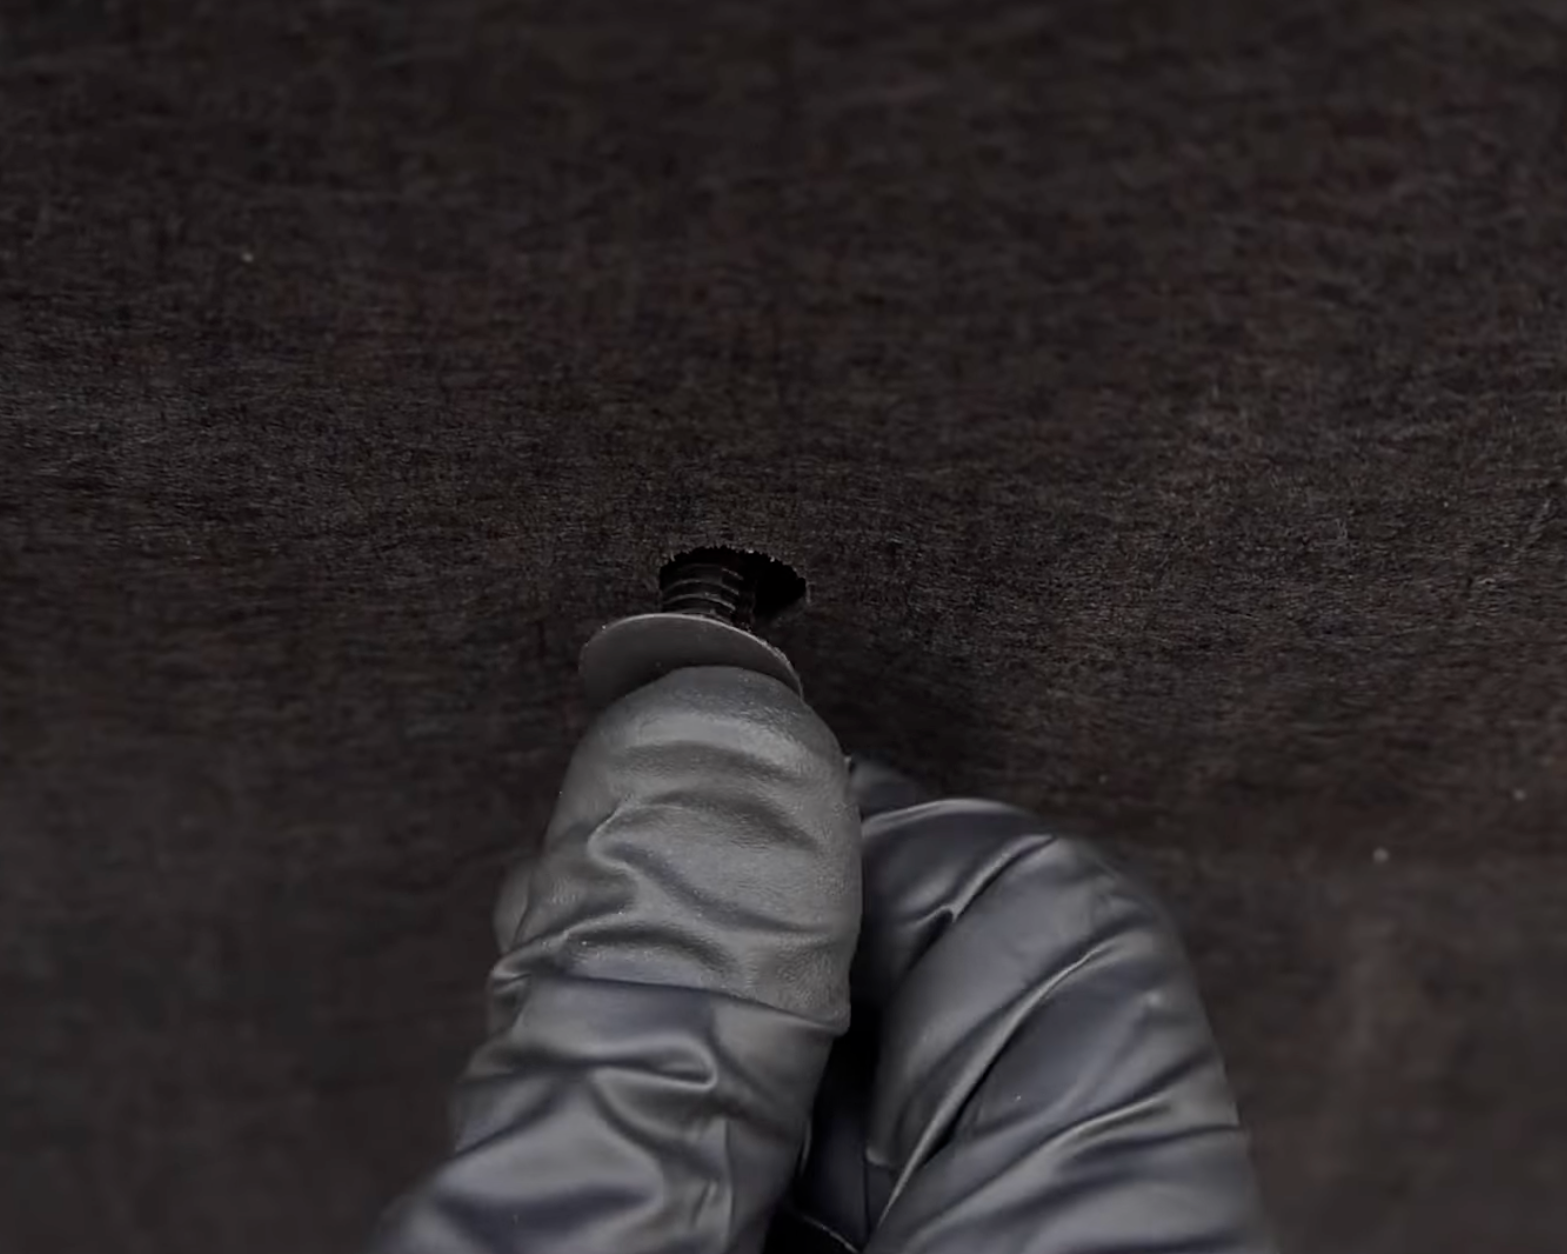
Install Push Clips
Secure the new push clips by pressing them firmly into position until the heads sit fully flush with the hood surface.
Finish Installing Clips
Install the remaining push clips one by one until the entire hood insulation pad is fully seated and secured in place.
Install Complete
Great job replacing your hood insulation padding! This upgrade will help reduce debris in the engine bay while improving cleanliness and overall aesthetics.