
Spark Plug Replacement Guide


Materials Required
- 5/8 Spark Plug Socket
- Extension
- Ratchet
- 5MM Allen Key
- 8MM Socket / Wrench
- E14 Socket
- Flathead Screwdriver
- Anti-Seize
Start w/ Cold Engine
Ensure you conduct this DIY on a vehicle with a cold engine.
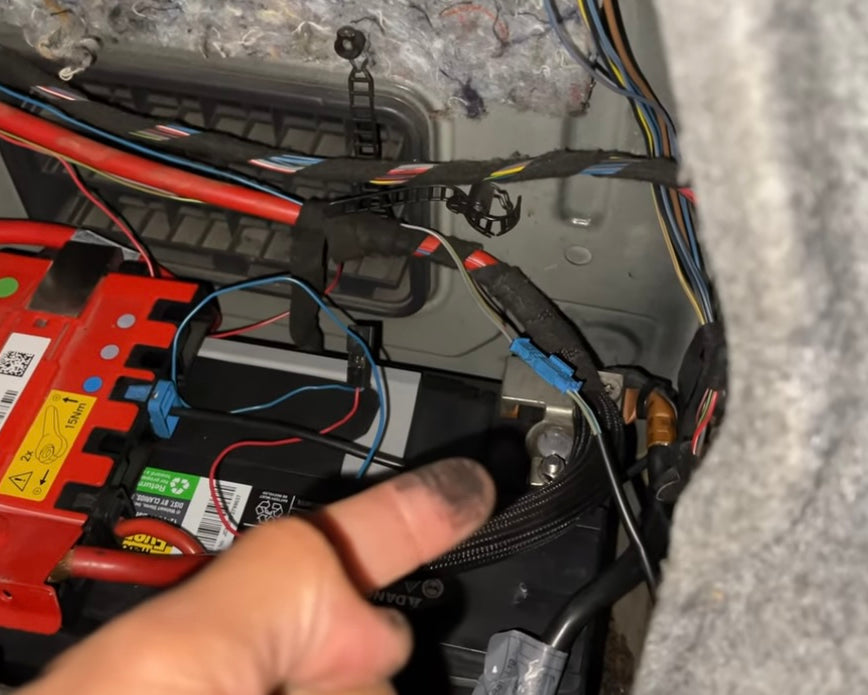
Disconnect Battery
Disconnect the vehicle's battery to ensure safety while conducting this job.

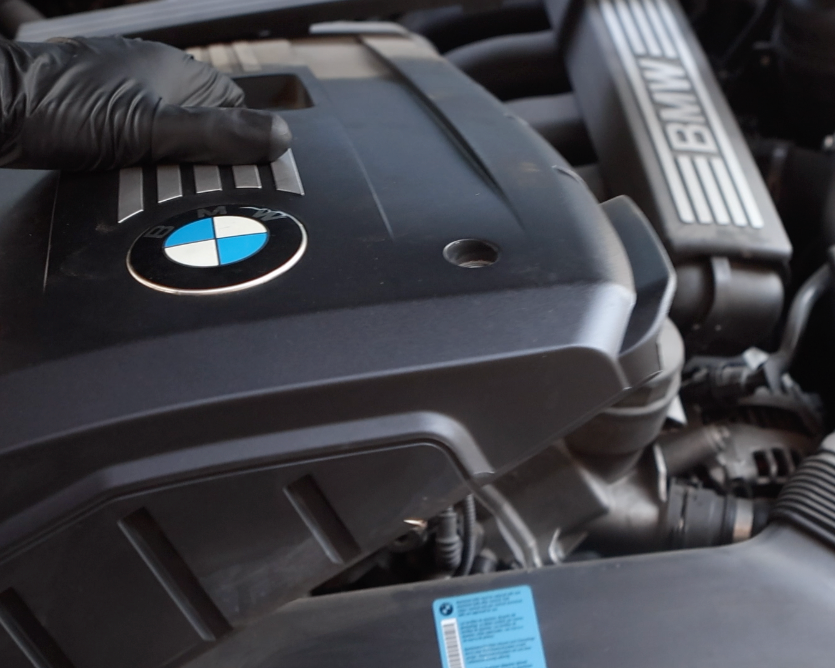
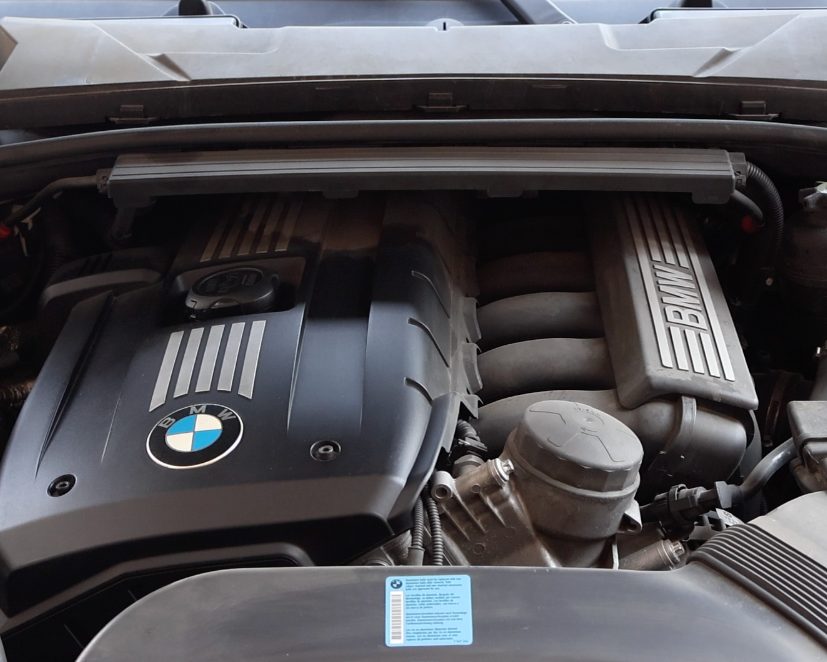
Open Hood
Open your vehicle's hood by pulling the latch.
Remove Cabin Air Filter Cowl
Remove the cabin air filter, HVAC cowl and all covers in the way of accessing the ECU. You should only need an 8MM socket for this.
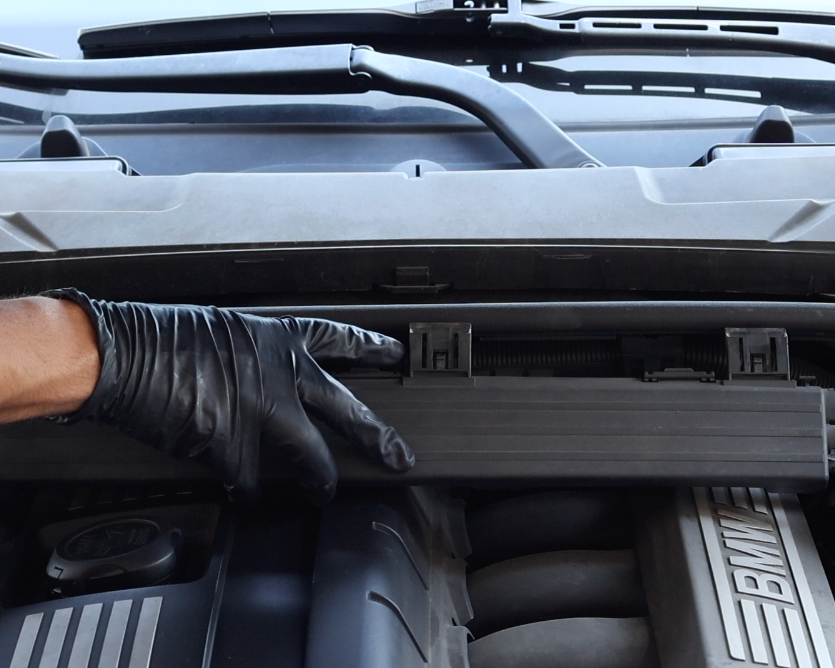
Unlatch Engine Wiring Harness
Unlatch the engine wiring harness by firmly pulling the three latches free of the HVAC cowling.
Remove Engine Cover Screws
Remove the three screws that secure the engine cover.

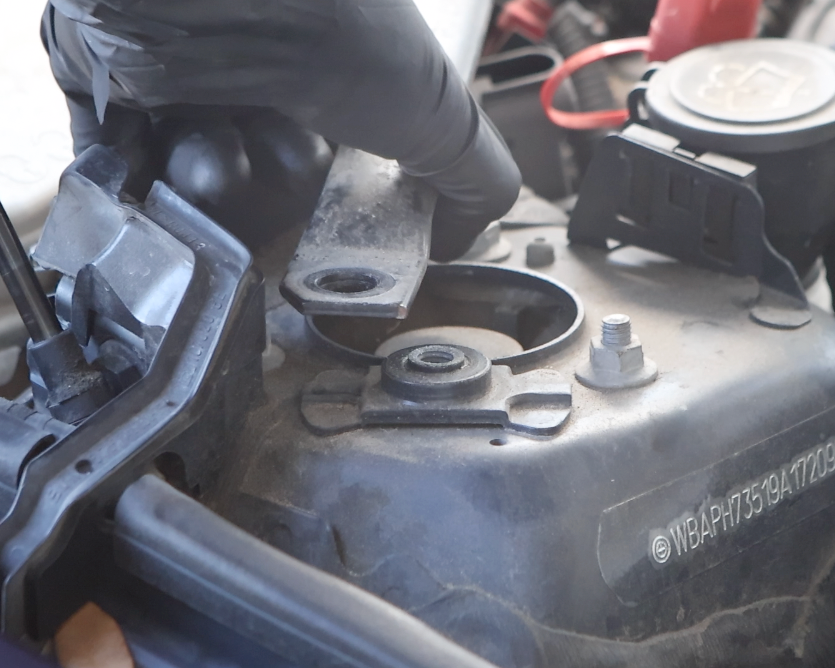
Release Rubber Seal
Release the rubber seal retention grommet from the ECU and brake fluid reservoir cowl cover.

Remove ECU Cowl Cover
Remove the ECU cowl cover by gently prying the two retention clips on the side free until the cover can be removed from the engine bay.
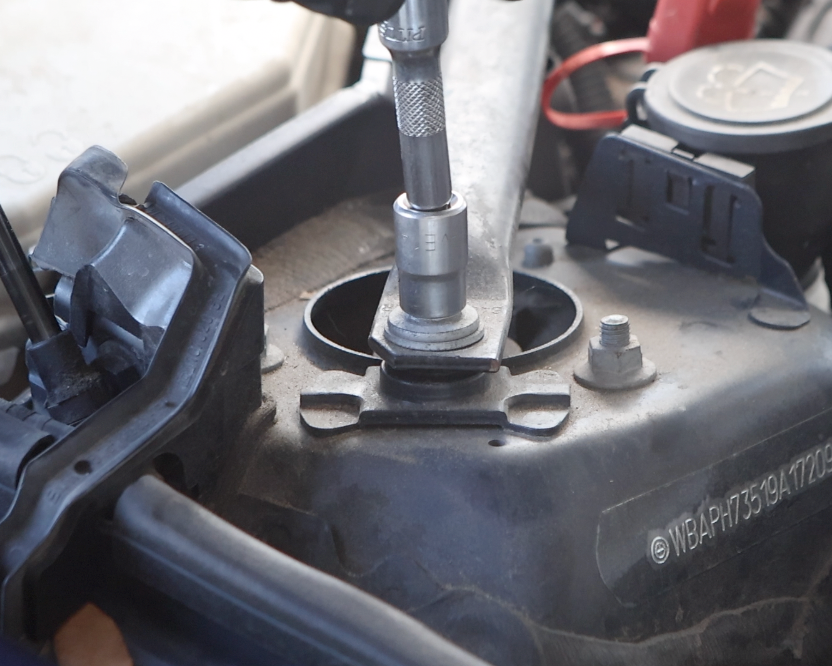
Remove 8MM Cowl Screw
Remove the 8MM cowl screw located underneath the cover.
Remove Brake Fluid Reservoir Cowl Cover
Remove the brake fluid reservoir cowl cover, the same way as the ECU one.

Remove 8MM Cowl Screw
Remove the 8MM cowl screw underneath the brake fluid cover using a socket / wrench.
Remove 4 Cabin Air Filter Screws
Remove the 4 8MM cabin air filter screws using a socket / wrench.

Remove Cabin Air Filter
With all 4 screws removed, carefully lift the cabin air filter out of place.
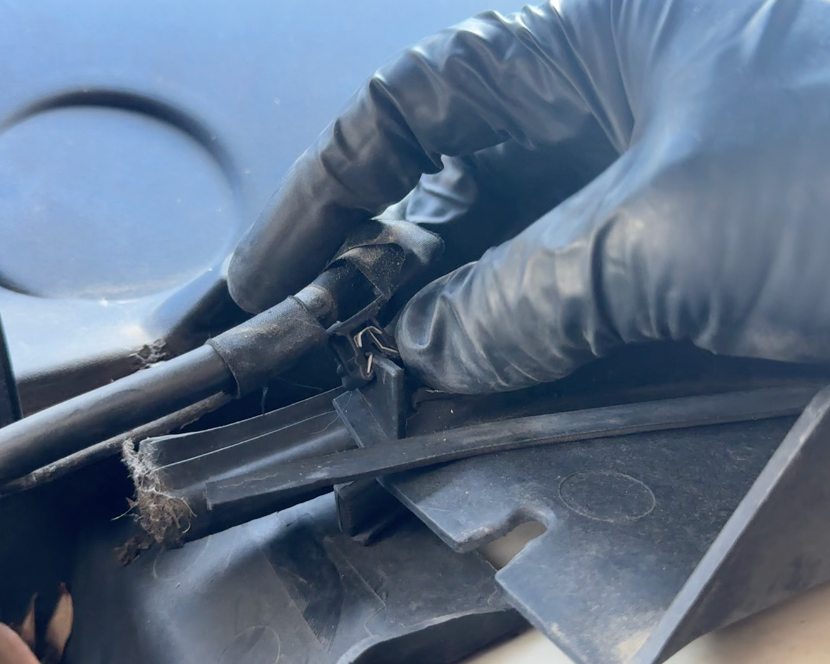
Unlatch Windshield Washer Line from Cowl
Unlatch the windshield washer line from the cowl by pulling the metal retention clip off of it's resting place.
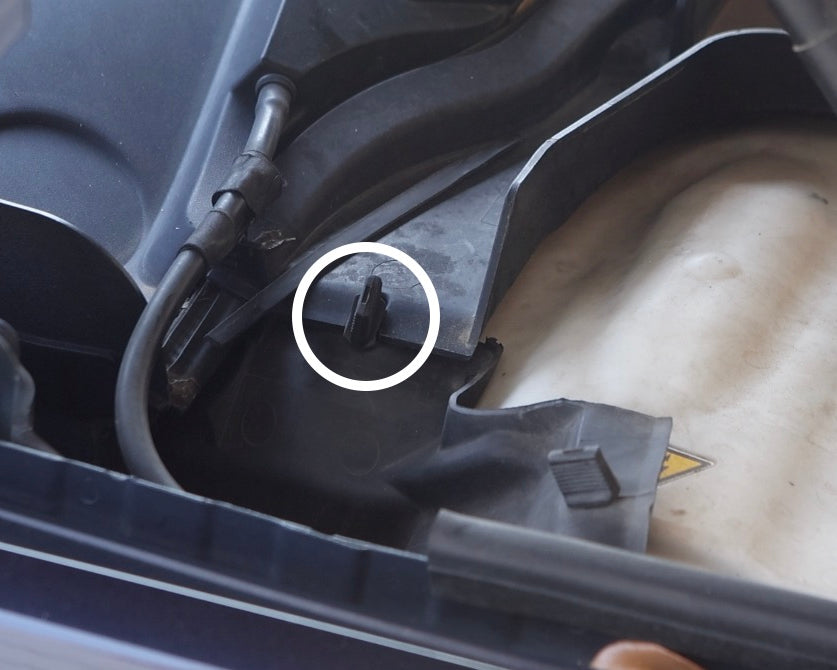
Release Rubber Grommet from Cowl
Release the rubber grommet (white circle) from both sides of the HVAC cowl by simply pulling it free.

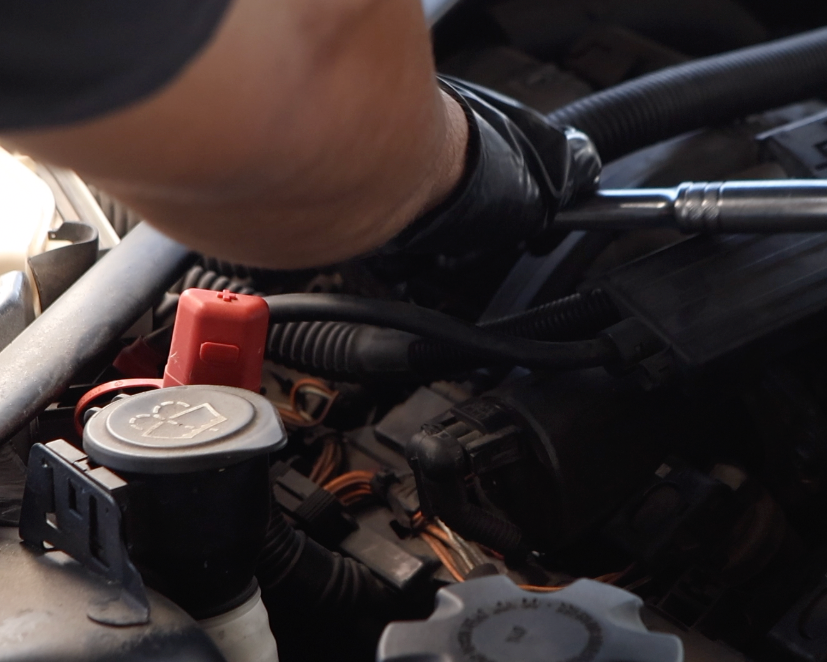
Disconnect HVAC Connector(s)
Release the electrical connector fixed to the HVAC cowl by pressing in the retention clip and pulling it free. Depending on the year, make and model, your vehicle may have 2 of these connectors. 1 will be located as shown, the other closer to the brake fluid reservoir.

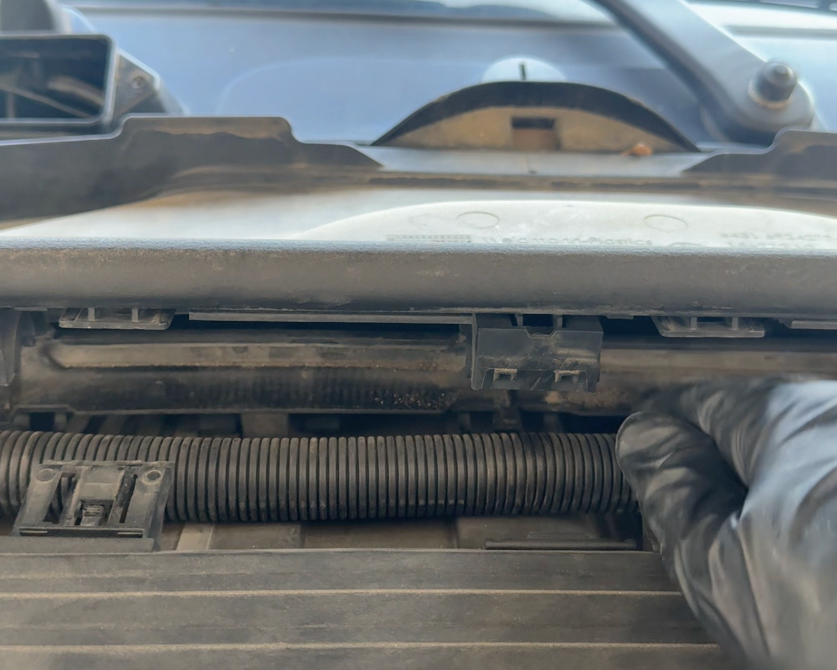
Unclip Engine Wiring Hose
Unclip the 3 sets of clips holding the engine wiring hose in place to the bottom side of the HVAC cowling.
Remove Wiring Hose from Cowl
Pull the HVAC wiring hose free from the underside of the cowl.
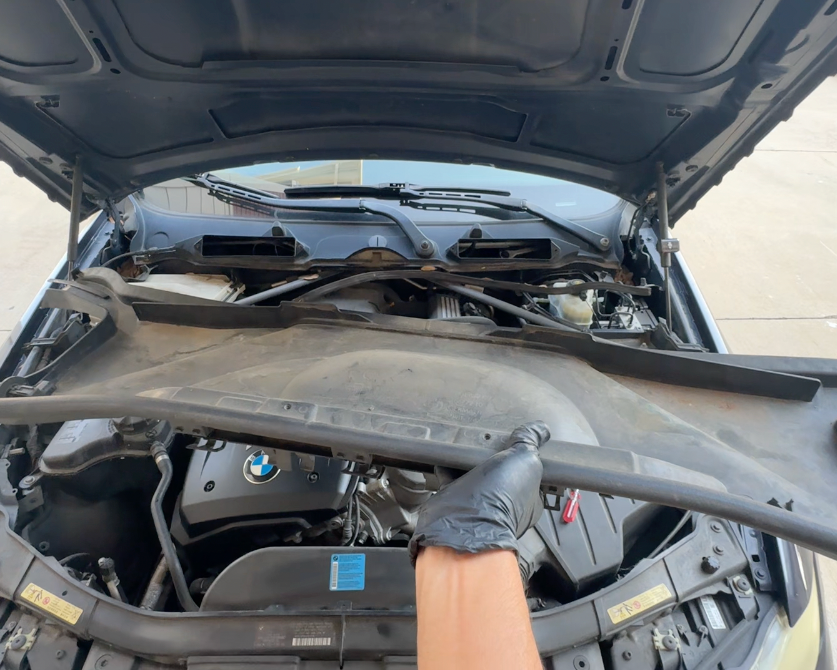
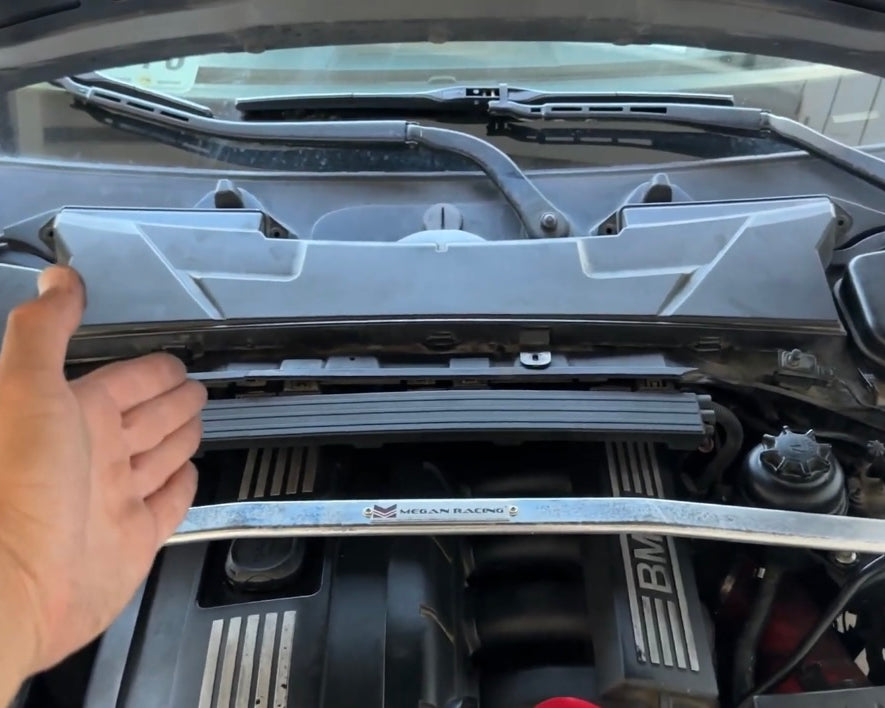
Remove Cowl
With all connecting points free and loosened, carefully remove the HVAC cowl ensuring you do not hit it into any of vehicle

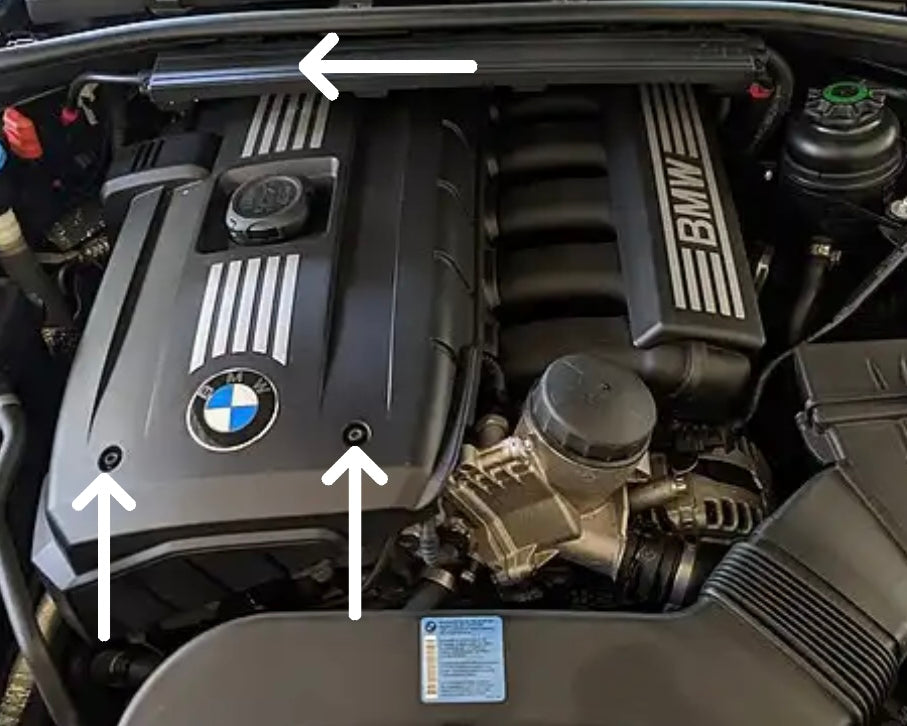
Remove Front Engine Cover Screws
Remove the front 2 engine cover screws using a 5MM allen key. (The sizing for these screws may very depending on year, make or model.)

Remove Rear Engine Cover Screw
Remove the rear 1 engine cover screws using the same 5MM allen key.
Remove Engine Cover
With all 3 screws removed, the engine cover can now be carefully lifted out of place.
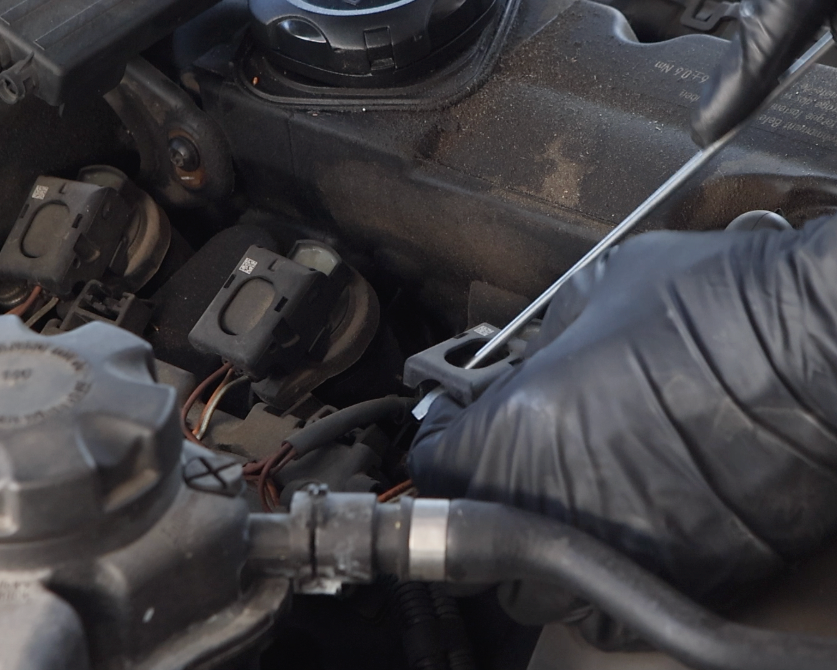
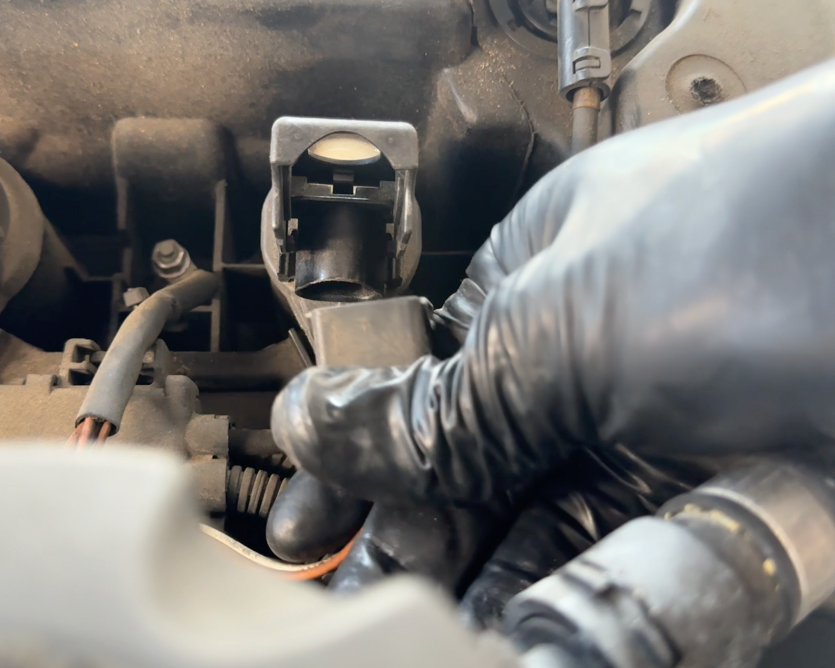
Lift Ignition Coil Clasp
Using a narrow flathead screwdriver, carefully lift the ignition coil clasp upwards, which will in turn loosen the coil's electrical connector.
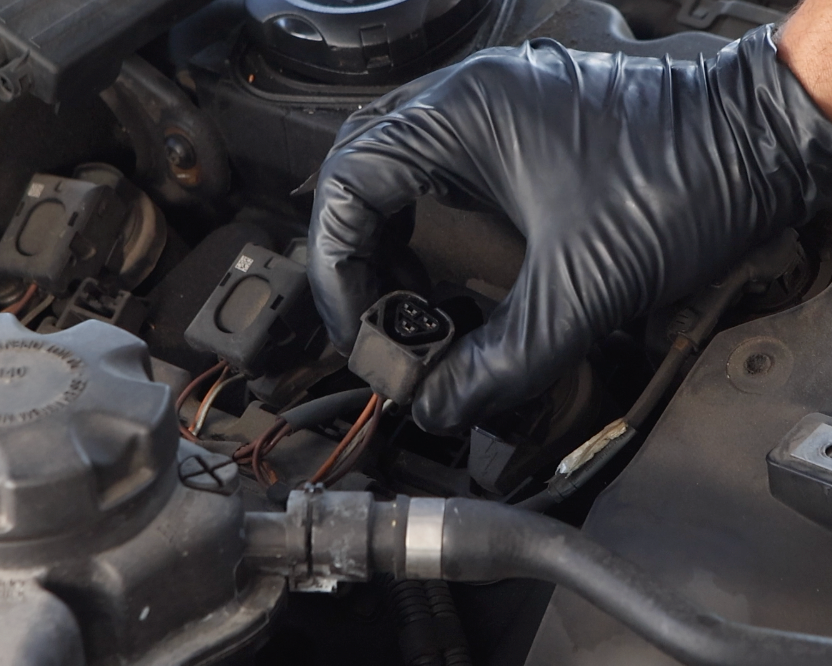
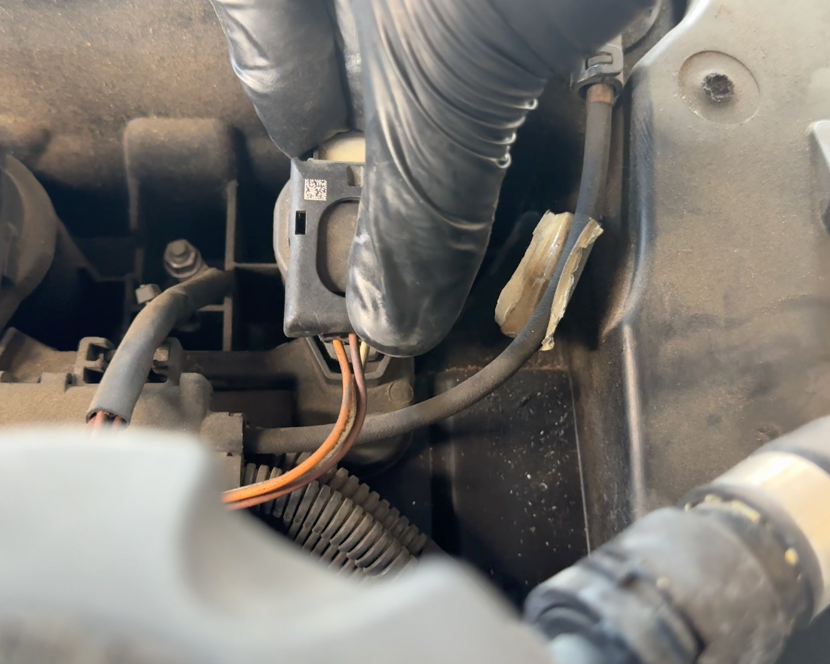
Remove Coil Electrical Connector
Remove the electrical connector from the ignition coil.

Remove Ignition Coil
Using firm and even pressure pull up on the side of the ignition coil until it frees from the engine.
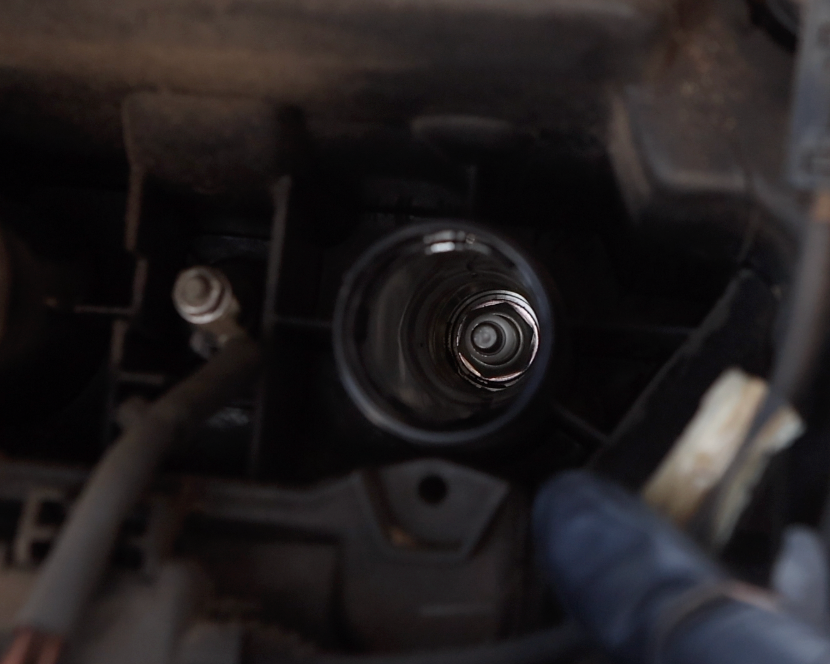
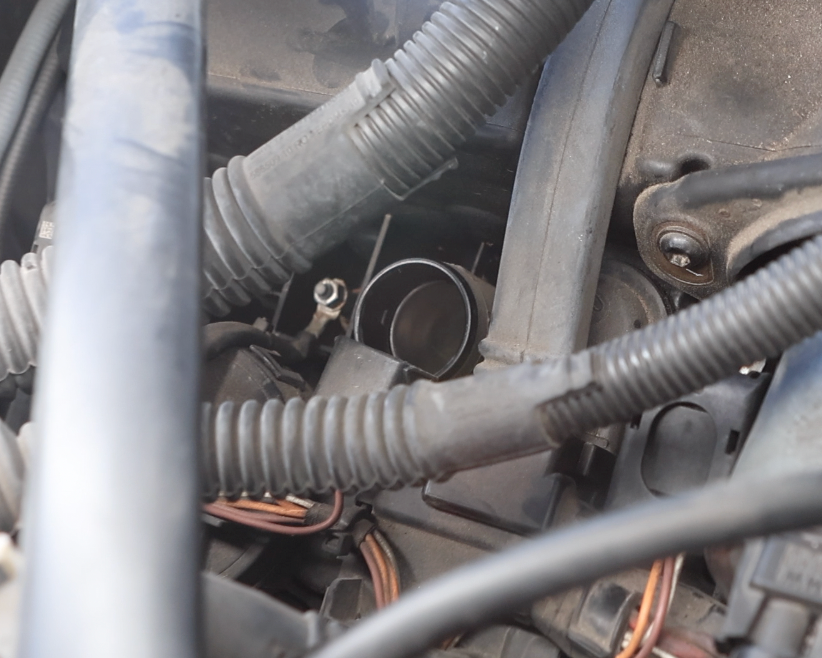
Inspect Spark Plug
Visually inspect the spark plug for any damage or contamination. If the spark plug well is filled with excessive oil, this could point to a leak in the valve cover gasket that needs to be address immediately to ensure the new spark plugs do not become damaged.

Loosen Spark Plug
Using a 5/8 spark plug socket, loosen the spark plug counter-clockwise using even, smooth pressure.

NOTE
When loosening / tightening spark plugs, ensure the ratchet and extension are perfectly even and level. Hold the extension centered inside the well with one hand, while the other hand loosens / tightens.
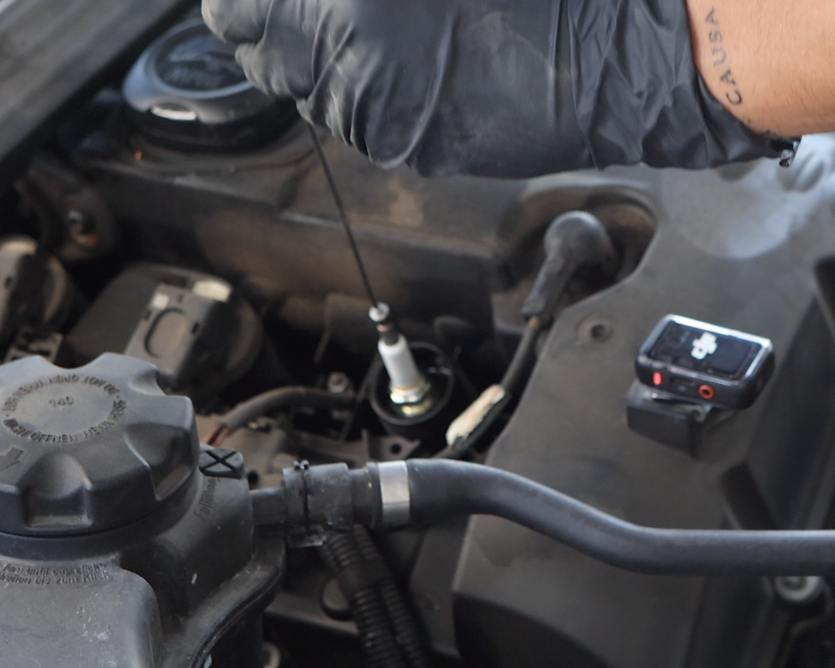
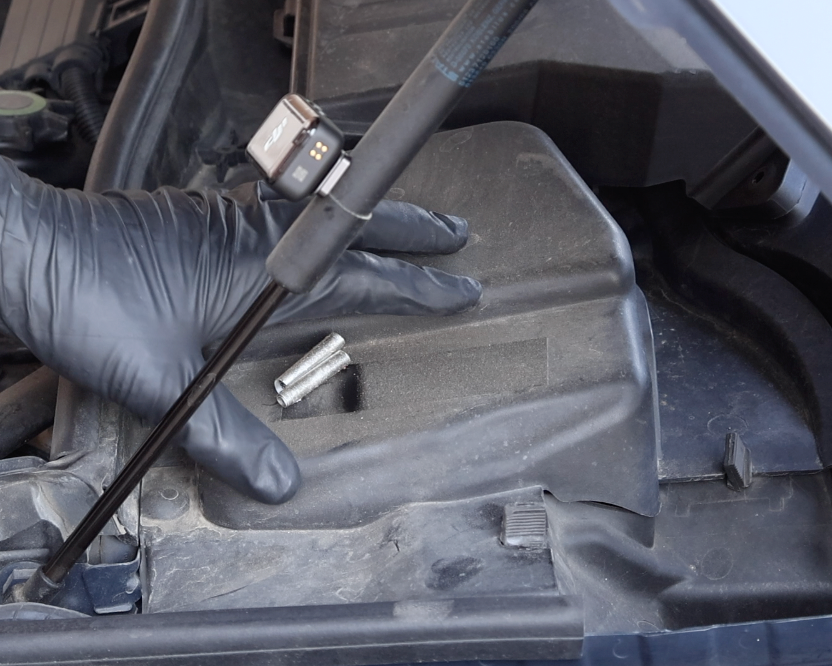
Remove Old Spark Plug
Using a collapsable magnet, remove the old spark plug from the spark plug well ensuring not to accidentally drop it any painted surfaces.
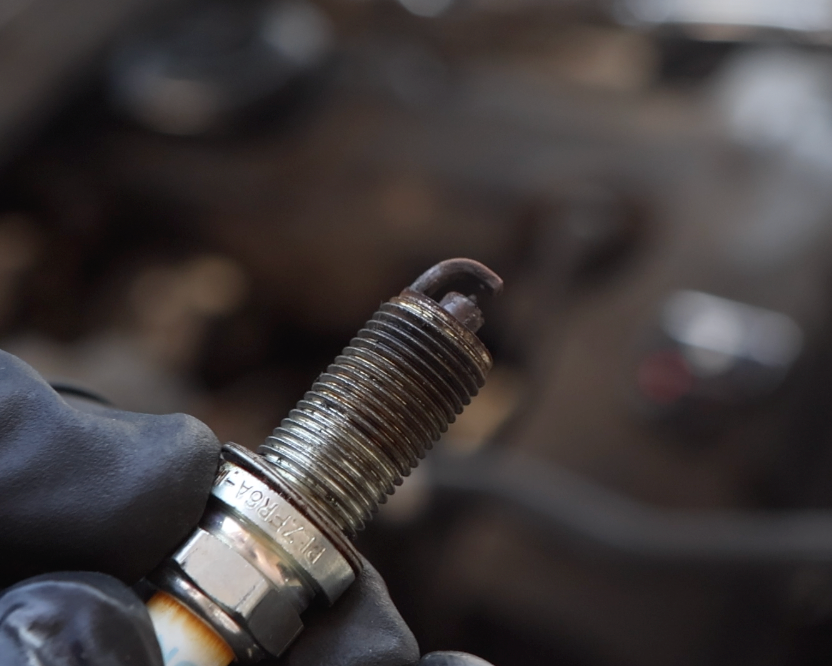
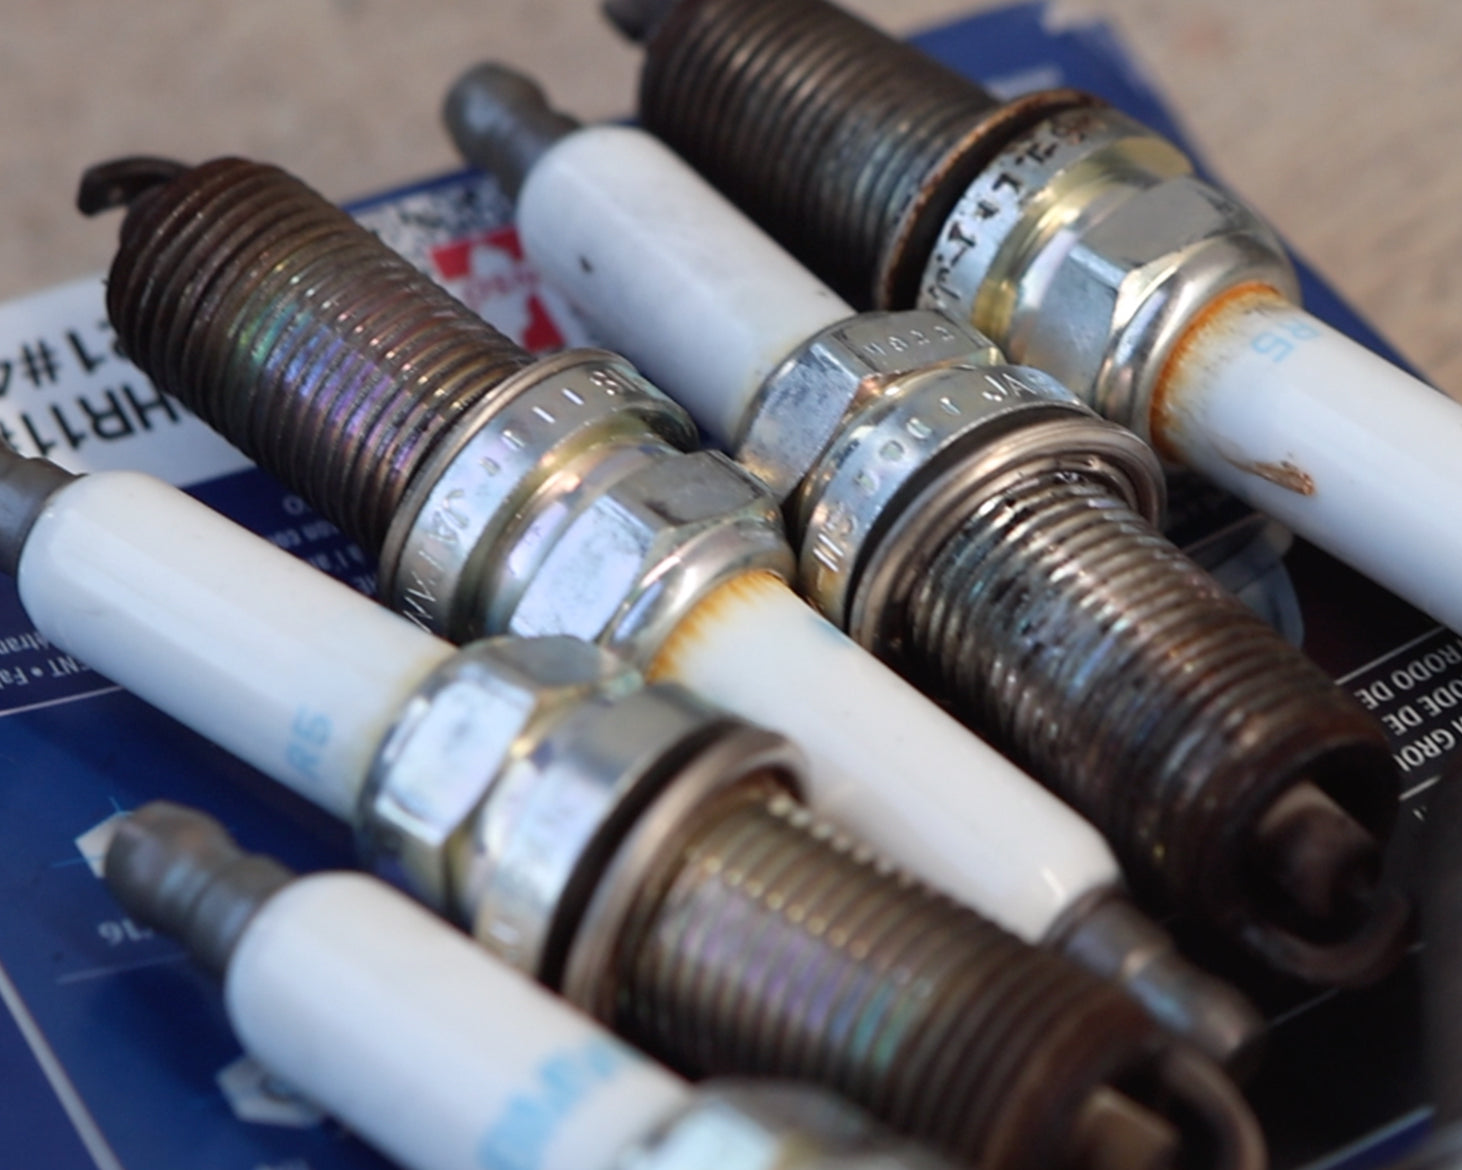
Inspect Old Spark Plug
Visually inspect the old spark plug for any damage, corrosion and/or contamination. The condition of the spark plugs are telling of the overall condition of the engine.
White stains could indicate fuel issues.
Excessive black stains can indicated old age or the vehicle running rich.
Black sludge can indicate oil burning and/or leaks.
Rusted threads can indicate old age and/or water exposure from floods/rain, but in rare cases could point to coolant leaks in the head gasket.
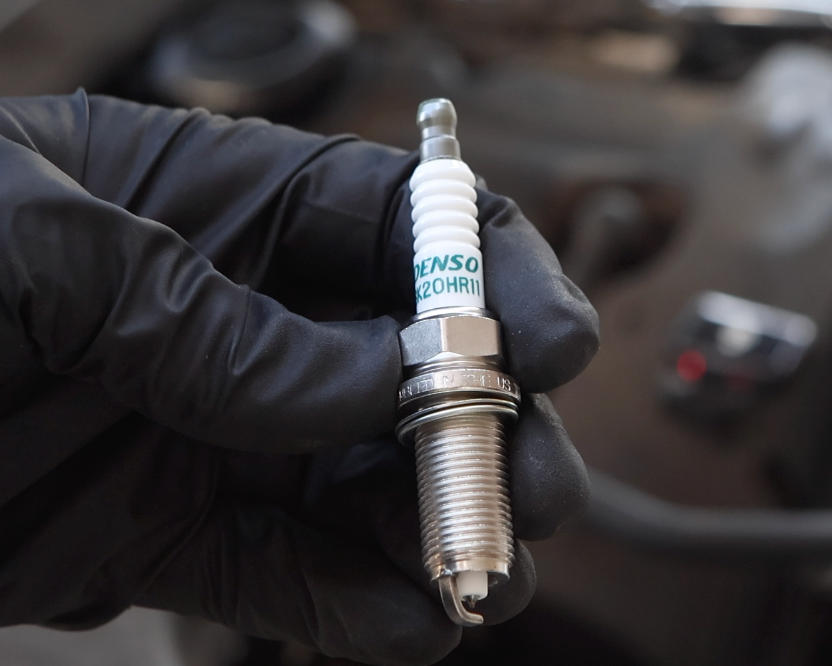
Inspect New Spark Plug
Inspect the new spark plugs for any damage or defects. Some spark plugs such as the Denso Long Life 3421 come pre-gapped, but others may require you to gap them for proper functionality.
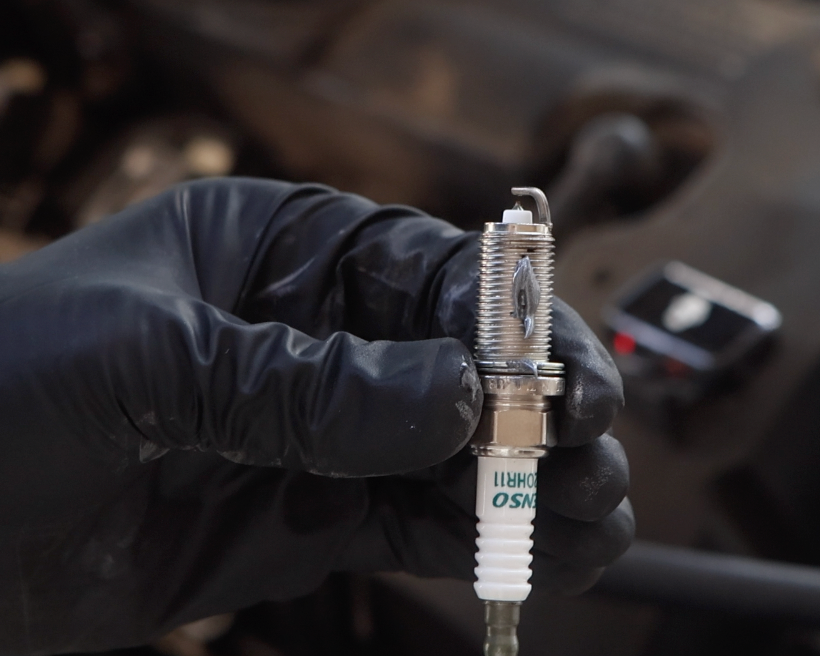
RECOMMENDED
It is highly recommended to apply a small amount of anti-seize to the new spark plug threads to ensure easy removal in the future.

Insert New Spark Plug
Using a collapsable magnet, carefully lower the new spark plug into the engine well taking care not to touch or damager the tip.
Hand-thread New Spark Plug
Using the 5/8 socket and extension, carefully hand-thread the new spark plug into place until it's fully hand-tight.

Torque New Spark Plug
Once the new spark plug is fully hand-tight, carefully torque the new spark plug to 18 Ib-ft applying even and smooth pressure.
WARNING
It is extremely important not to over-tighten the spark plug, as this may cause the threads to cross-strip or strip, causing thousands of dollars in damage. If a torque wrench is not available, simply hand-tighten and use the socket to only torque very lightly until resistance is felt.
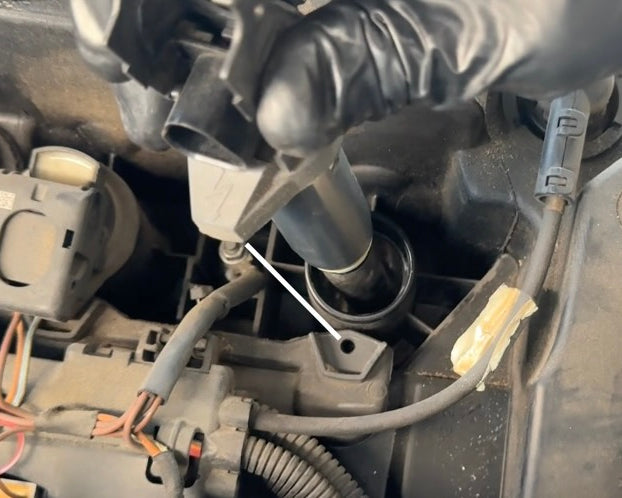
Reinstall Ignition Coil
Reinstall the ignition coil into place pressing it down and aligning the notch (white line). Once seated, firmly press the coil down until a small pop can be felt, signaling the coil is fully installed.
Reconnect Electrical Connector
Reconnect the electrical connector onto the ignition coil and ensure its fully seated into place.
Secure Ignition Coil Clasp
Secure the ignition coil clasp by pressing down fully until it snaps back into place.

Repeat x 5
Repeat this process to the rest of the ignition coils and spark plugs until they are all changed.
NOTE
Once the 5th spark plug is reached, the extension / socket will not fit into the hole. In the way will be the vehicles strut v-brace, which provides structural integrity to the front end.
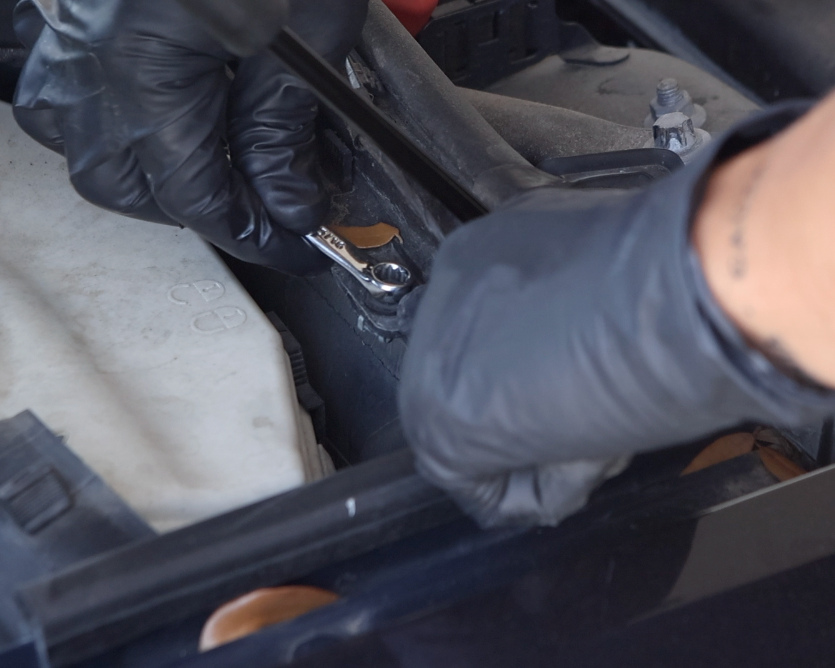
Remove V-Brace Bolt
Using an E14 socket, remove the strut v-brace bolt.
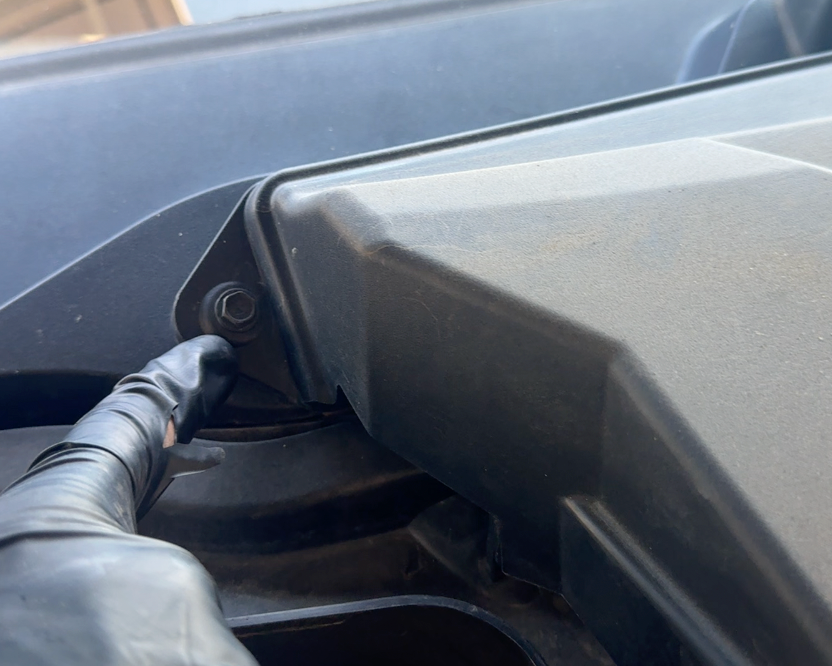
Move V-Brace
With the E14 bolt removed, move the v-brace to the left which should allow room for the socket to fit into place. If not, remove the entire passenger brace loosening the top point as well.
Continue Spark Plug Removal
Continue by replacing the rest of the spark plugs, which should now be accessible.

Reconnect Battery
Reconnect your BMW's battery.

Test Start Engine
With all 6 spark plugs replaced and all ignition coils re-secured, test start the vehicle and allow to idle for at least 60 seconds to check for irregularities.
Re-Installation
Re-install all components in the vice versa of removal. i.e cabin air filter, HVAC cowl, covers etc.
DIY Complete
Good job replacing your spark plugs! To keep your vehicle running at optimal performance and fuel efficiency, replace them every 30,000 miles or 1-2 years.