
Crankcase Breather Hose Replacement (Without Removing Intake Manifold)


Materials Required
- 5/8 Spark Plug Socket
- Extension
- Ratchet
- 5MM Allen Key
- 8MM Socket / Wrench
- E14 Socket
- Flathead Screwdriver
- Anti-Seize
Start w/ Cold Engine
Ensure you conduct this DIY on a vehicle with a cold engine.
Disconnect Battery
Disconnect the vehicle's battery to ensure safety while conducting this job.

Open Hood
Open your vehicle's hood by pulling the latch.
Remove Cabin Air Filter Cowl
Remove the cabin air filter, HVAC cowl and all covers in the way of accessing the ECU. You should only need an 8MM socket for this.
Unlatch Engine Wiring Harness
Unlatch the engine wiring harness by firmly pulling the three latches free of the HVAC cowling.
Remove Engine Cover Screws
Remove the three screws that secure the engine cover.

Release Rubber Seal
Release the rubber seal retention grommet from the ECU and brake fluid reservoir cowl cover.

Remove ECU Cowl Cover
Remove the ECU cowl cover by gently prying the two retention clips on the side free until the cover can be removed from the engine bay.
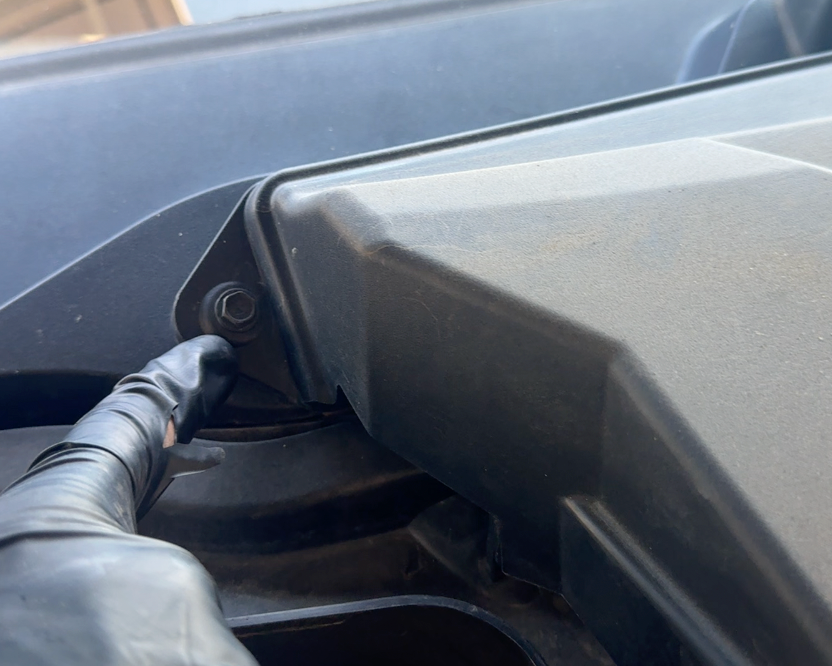
Remove 8MM Cowl Screw
Remove the 8MM cowl screw located underneath the cover.
Remove Brake Fluid Reservoir Cowl Cover
Remove the brake fluid reservoir cowl cover, the same way as the ECU one.

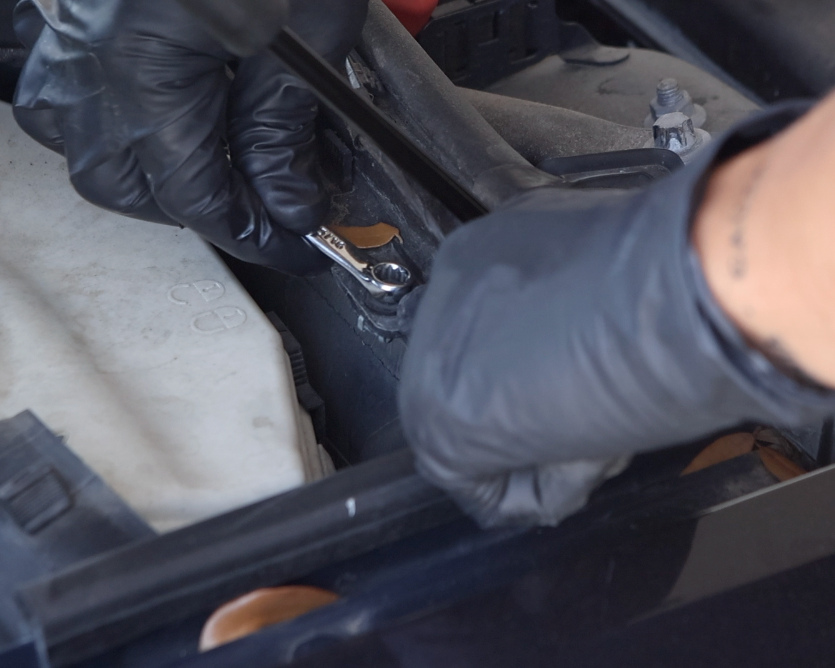
Remove 8MM Cowl Screw
Remove the 8MM cowl screw underneath the brake fluid cover using a socket / wrench.
Remove 4 Cabin Air Filter Screws
Remove the 4 8MM cabin air filter screws using a socket / wrench.

Remove Cabin Air Filter
With all 4 screws removed, carefully lift the cabin air filter out of place.
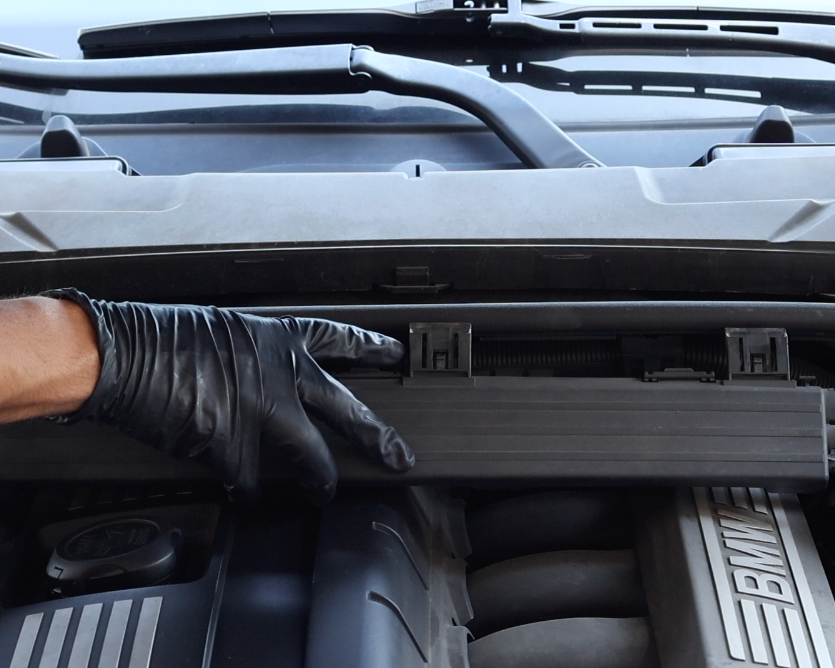
Unlatch Windshield Washer Line from Cowl
Unlatch the windshield washer line from the cowl by pulling the metal retention clip off of it's resting place.
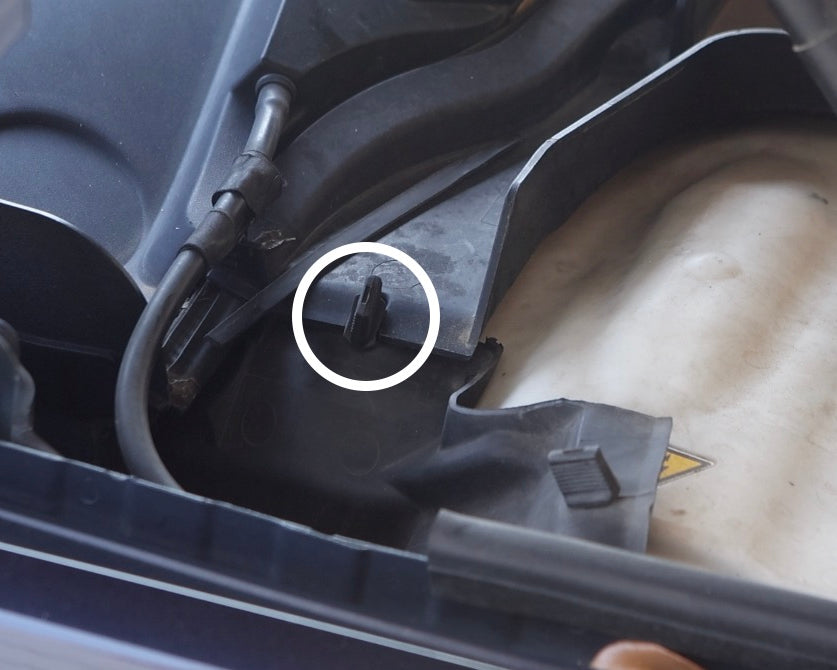
Release Rubber Grommet from Cowl
Release the rubber grommet (white circle) from both sides of the HVAC cowl by simply pulling it free.

Disconnect HVAC Connector(s)
Release the electrical connector fixed to the HVAC cowl by pressing in the retention clip and pulling it free. Depending on the year, make and model, your vehicle may have 2 of these connectors. 1 will be located as shown, the other closer to the brake fluid reservoir.

Unclip Engine Wiring Hose
Unclip the 3 sets of clips holding the engine wiring hose in place to the bottom side of the HVAC cowling.
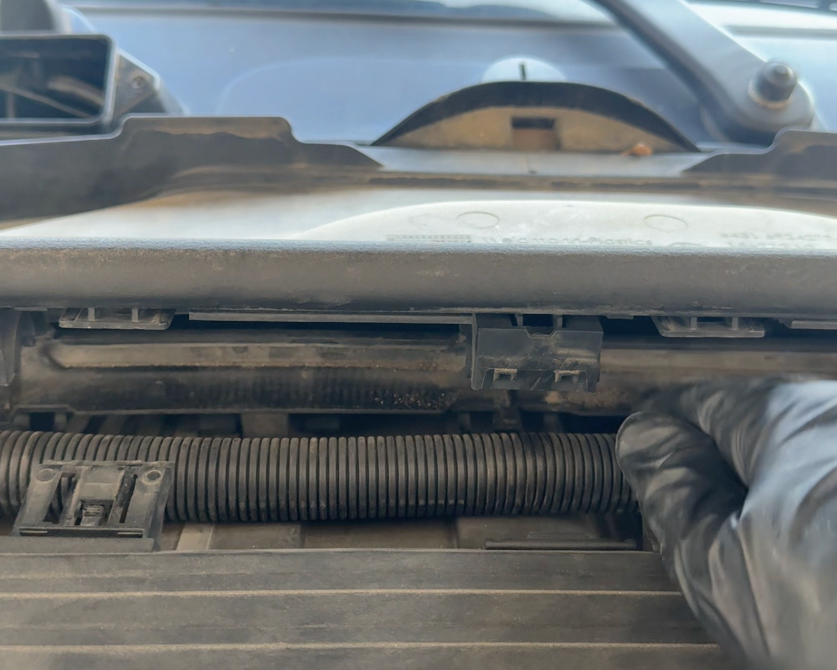
Remove Wiring Hose from Cowl
Pull the HVAC wiring hose free from the underside of the cowl.
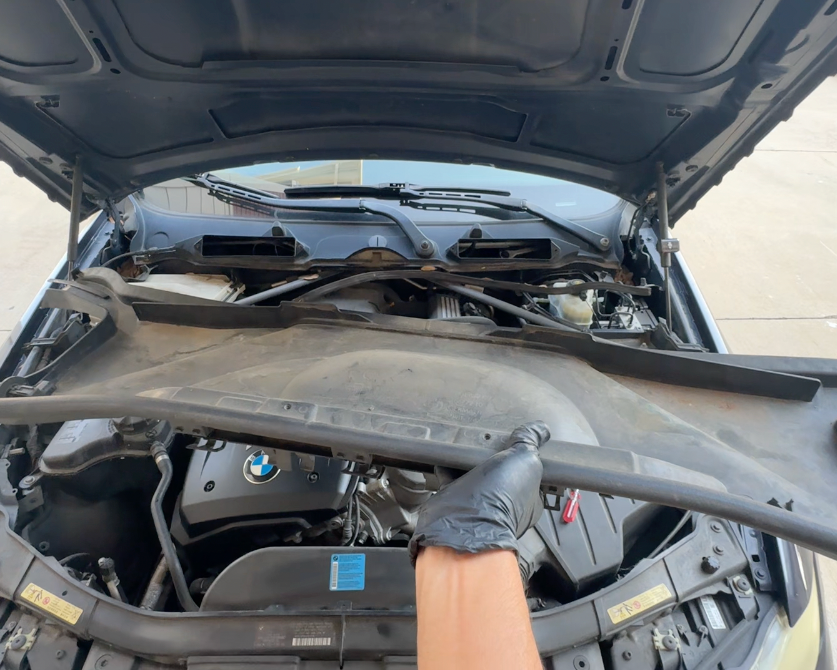
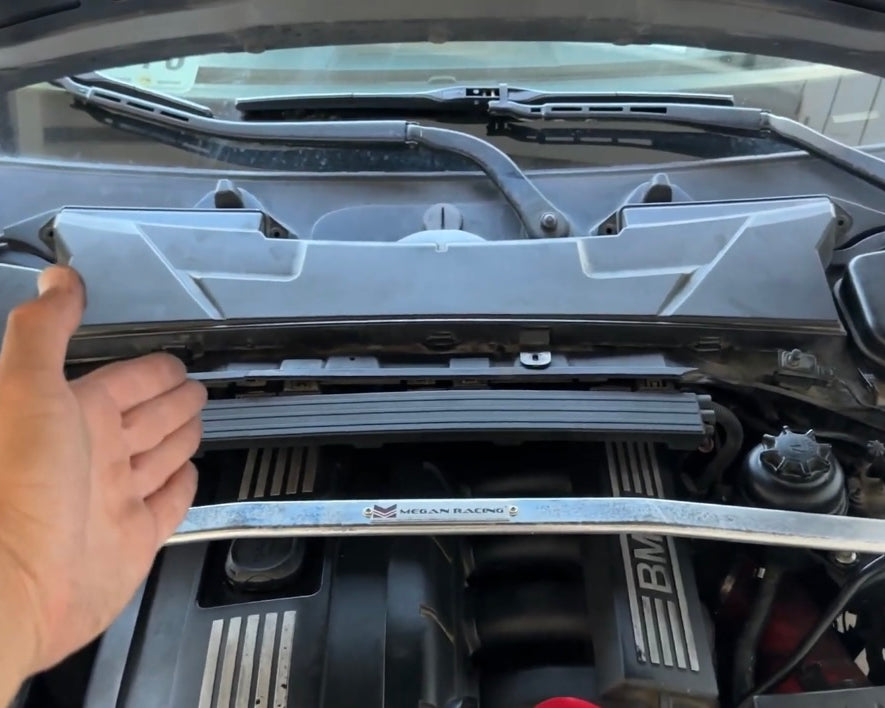
Remove Cowl
With all connecting points free and loosened, carefully remove the HVAC cowl ensuring you do not hit it into any of vehicle

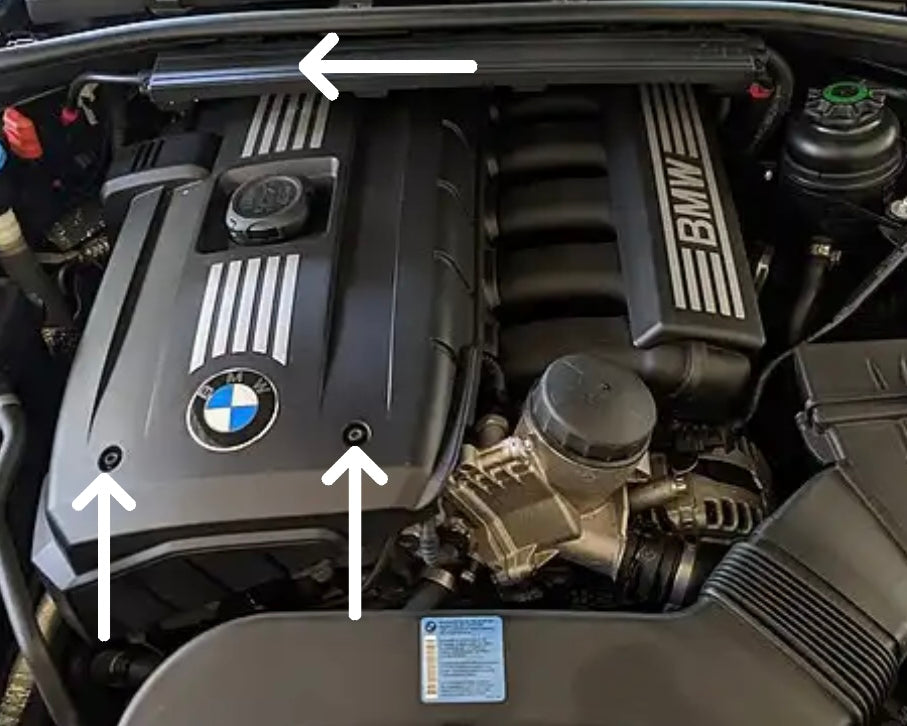
Remove Front Engine Cover Screws
Remove the front 2 engine cover screws using a 5MM allen key. (The sizing for these screws may very depending on year, make or model.)

Remove Rear Engine Cover Screw
Remove the rear 1 engine cover screws using the same 5MM allen key.
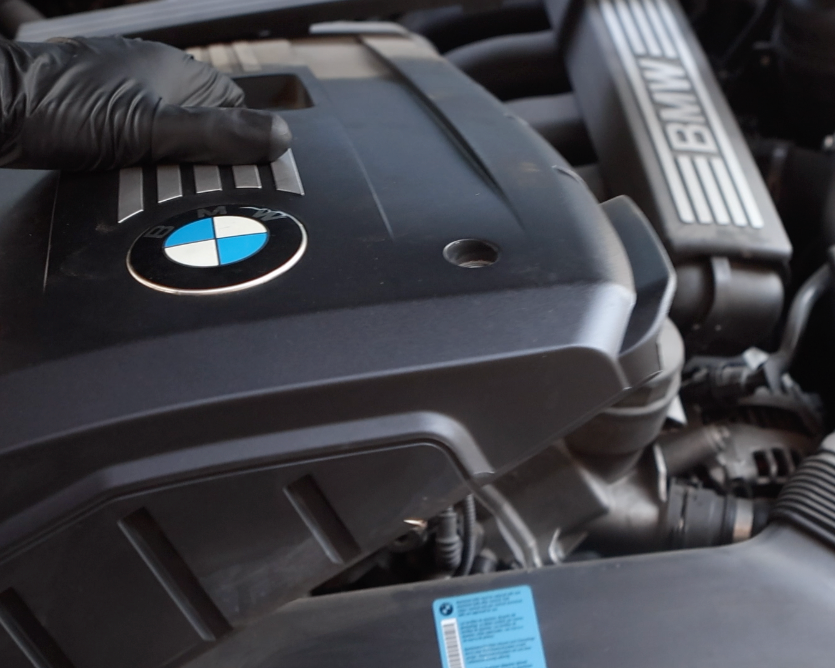
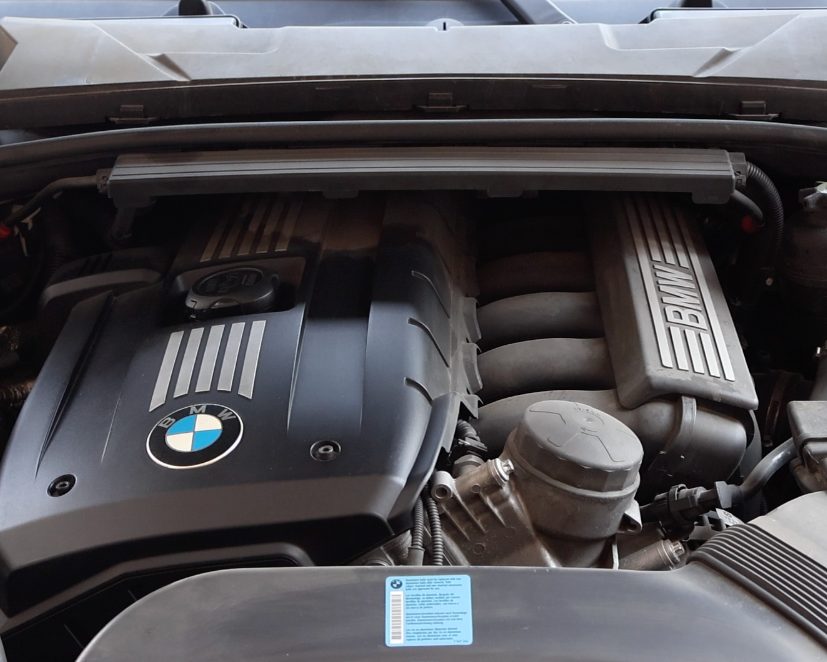
Remove Engine Cover
With all 3 screws removed, the engine cover can now be carefully lifted out of place.

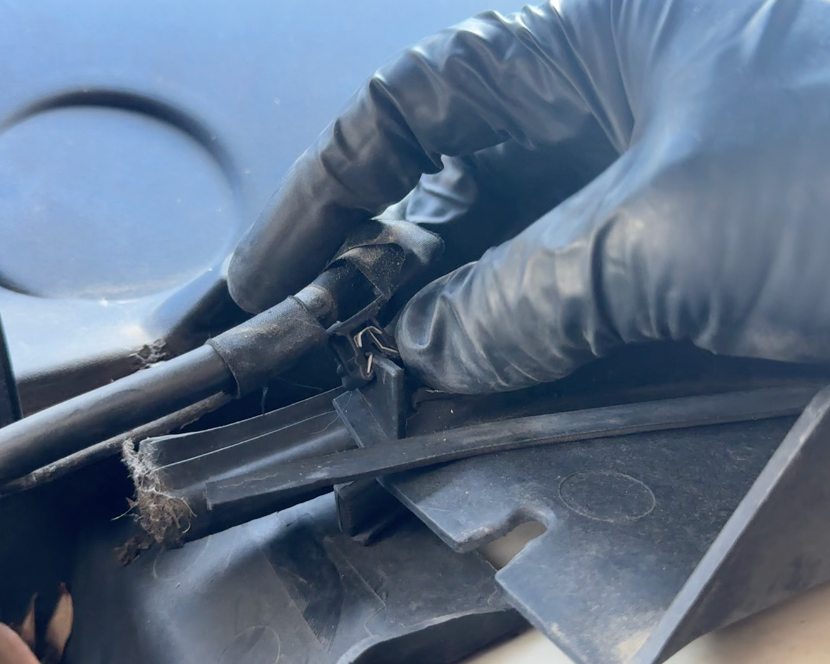
Unlatch Top Crankcase Breather Hose Connection
Unlatch the crankcase breather hose by depressing both of the side clips and pulling it from the valve cover.

NOTE
If the push clips can not be depressed properly, break the hose off and rotate the connecting point. This will enable greater access to the hose clips.

NOTE
Each of the hose connections has two retention clips (white arrows) that can be pressed in to release the hose.

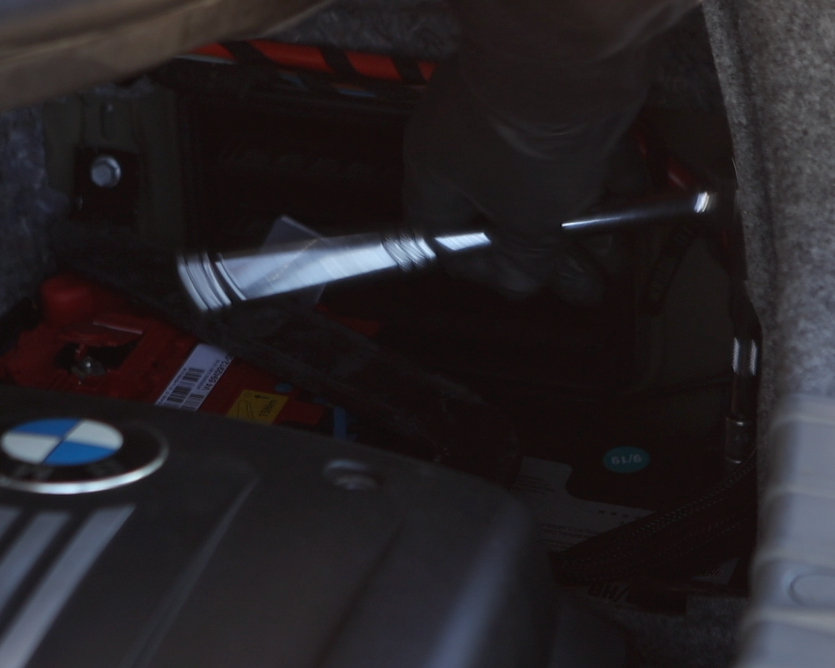
Disconnect Hose Connection 1
Using a metal pry bar [or two if available], pry against the push clips on either side (white arrows) while leveraging upward to disconnect the hose. Take care not to damage the intake manifold side of the connecting point.

Disconnect Hose Connection 2
Using a metal pry bar in the same way, pry against the push clips on either side (white arrow). If a pry bar cant reach the tabs, use a flathead screwdriver and hammer to break the tabs off of the hose side. Again, take care not to damage the intake manifold side of the connecting point.

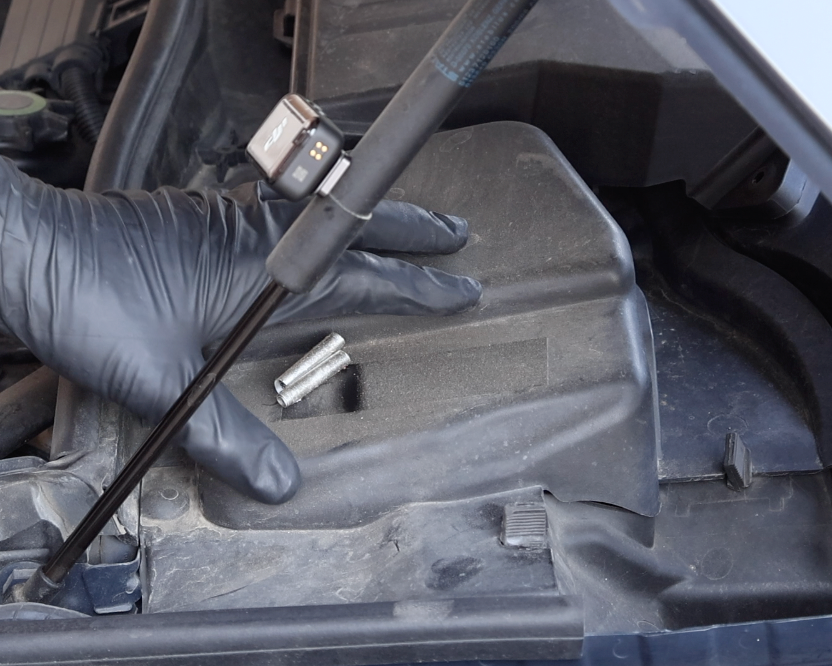
Remove Old Crankcase Hose
With all three connecting points loosened, wiggle the old hose from the engine bay. Ensure no pieces are left in the engine as this could cause a fire hazard.
Inspect New Part
Thoroughly inspect the new crankcase ventilation hose.
Use the following link to locate the part number per your specific vehicle:

Connect New Lower Hose Connection 1
With the new hose fitted into the engine bay, line up the hose and intake manifold connecting points. Use a metal pry tool to press down against the thicker [non-ribbed] plastic portion of the hose until the hose can audibly be heard snapping into place. Gently pull on the hose to ensure it's fitted and doesn't pop off.
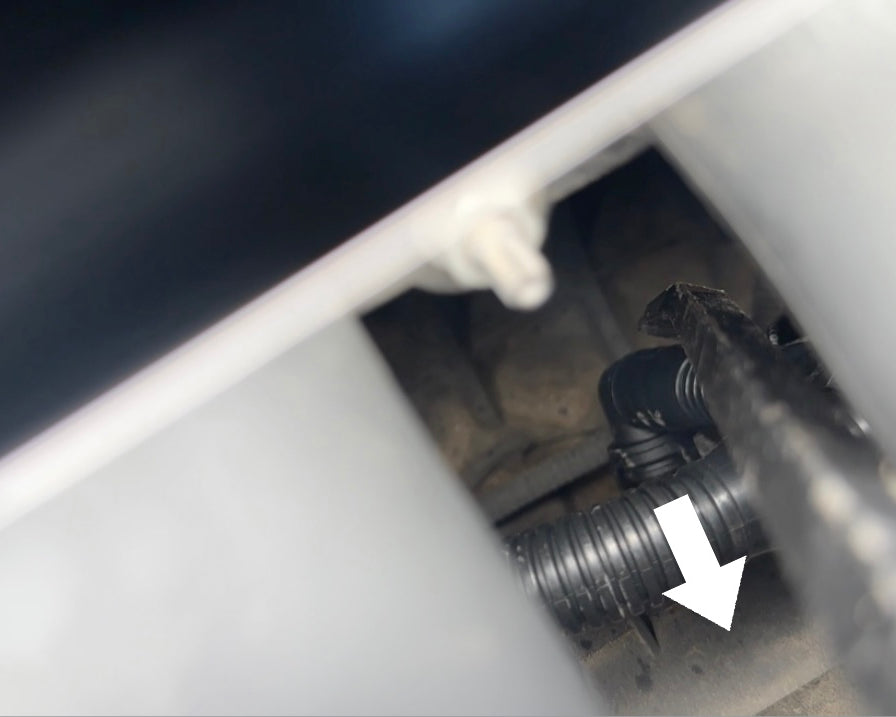
Connect New Lower Hose Connection 2
Using the same metal pry tool, leverage the thicker [non-ribbed] plastic portion of the hose in the direction of the white arrow, until the hose can audibly be heard snapping into place. Gently pull on the hose to ensure it's fitted and doesn't pop off.

Connect Top Hose Connection
With both bottom connecting points snapped into place, press the top portion of the hose firmly into the valve cover until it snaps into place. Gently pull against the hose to ensure it's fitted properly.

Test Start Engine
After new crankcase breather hose is firmly installed in place, test start the vehicle and allow to idle for roughly 5 minutes observing no rough idles or check engine lights appear.
Re-Installation
Now that the vehicle is running properly, the cabin air filter, engine cover and all other components removed or disconnected can be re-installed.
DIY Complete
Good job replacing your crankcase breather hose without having to remove the intake manifold! This DIY method takes a bit more precision and patience, but overall saves you money from needing to replace the intake manifold gaskets and remove more complex parts. Ensure you keep an eye on your engine for any possible signs of vacuum leaks from the hose not ebing fully secured.