
BMW Taillight Replacement / LCI Retrofit


Materials Required
- 8MM Open-Ended Wrench
- 8MM Deep Socket
- Ratchet
- Flathead Screwdriver
Disconnect Battery
Disconnect the vehicle's battery to ensure safety while conducting this job.
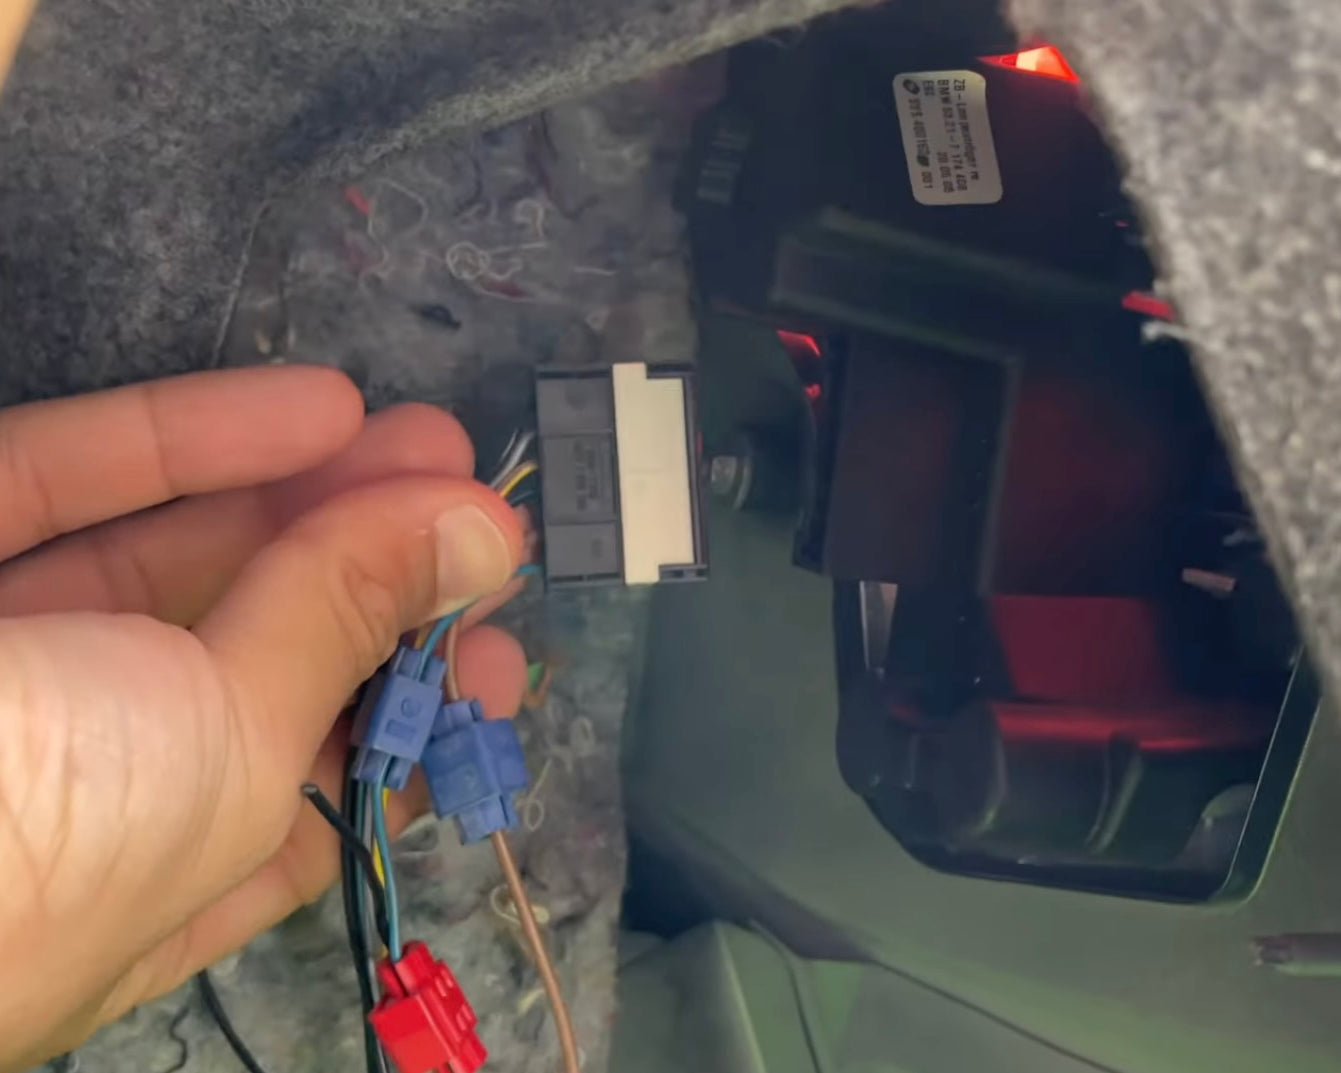
Unplug Passenger-Side Taillight Connector
Unplug the passenger-side taillight connector by pressing in the retention tab and sliding the connector out of place.Unplug the passenger-side taillight connector by pressing in the retention tab and sliding the connector out of place.
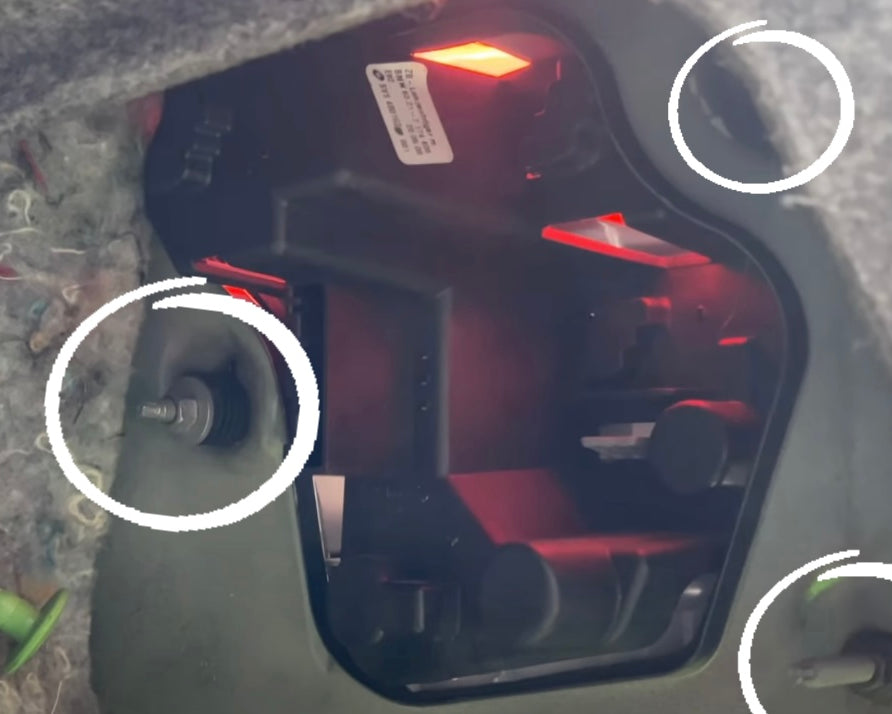
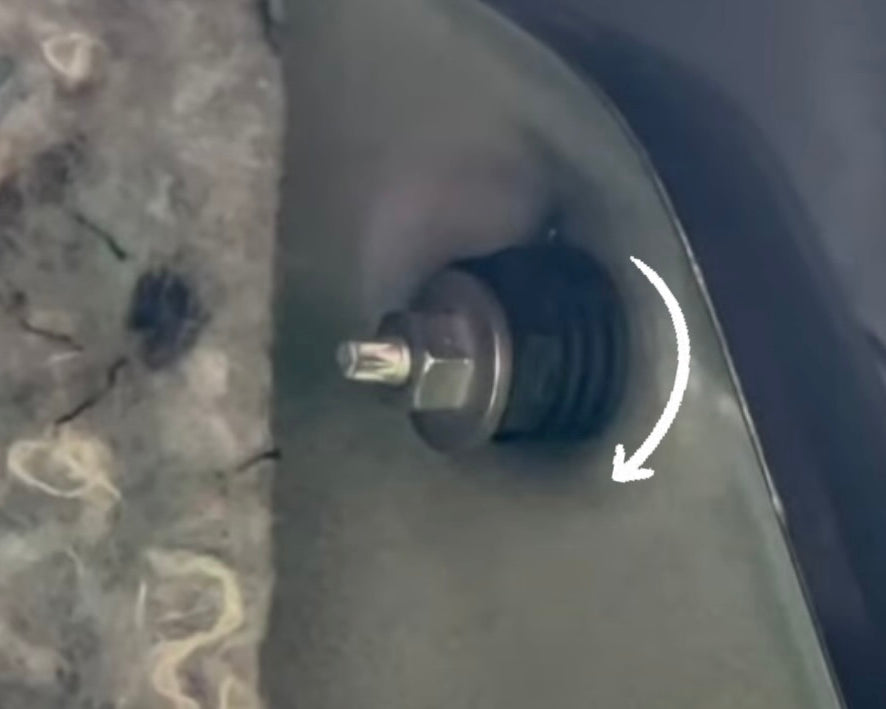
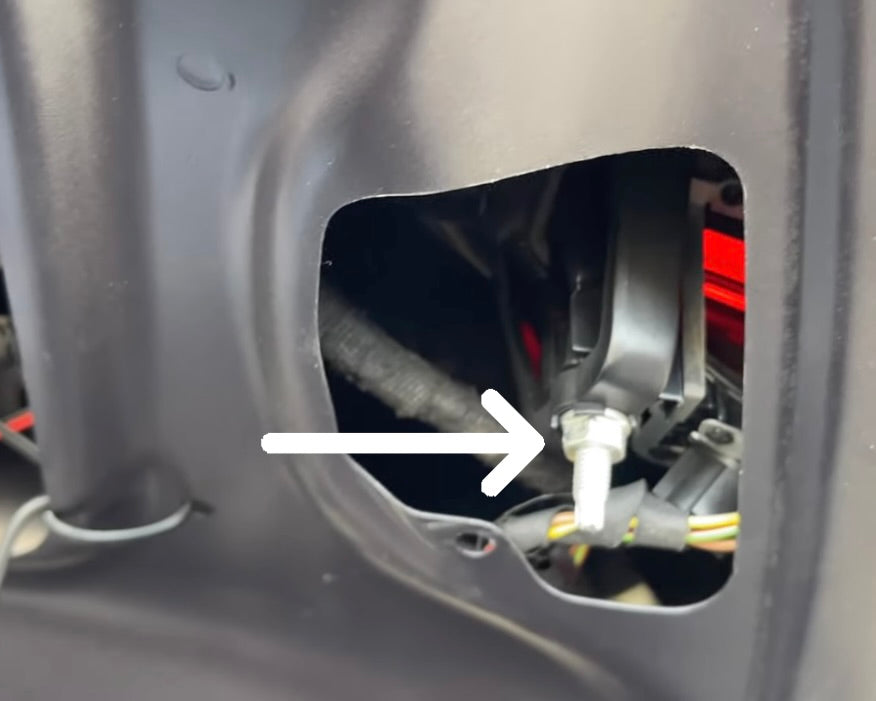
Unscrew Taillight Nuts
Unscrew the taillight retention nuts using a 8MM open-ended wrench. A 8MM deep socket can also be used.
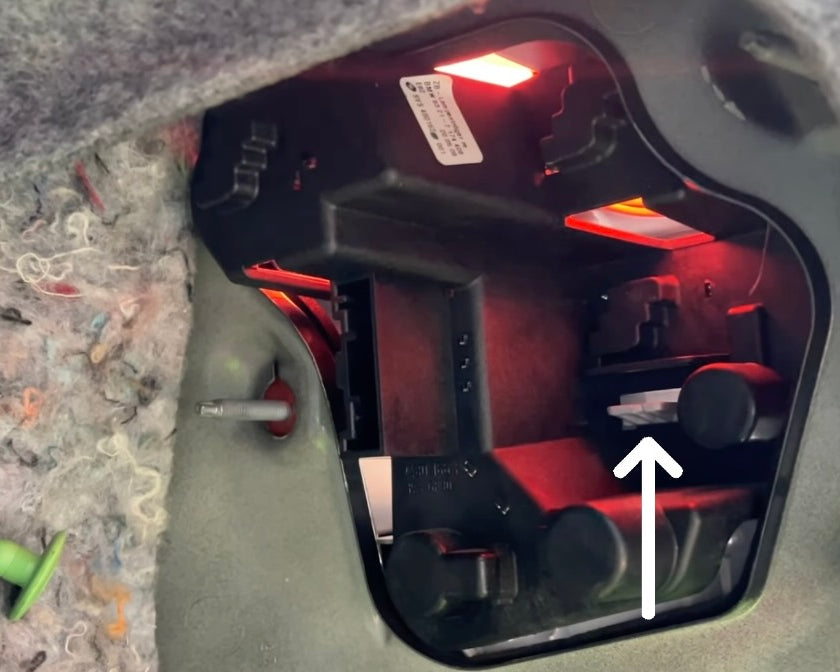
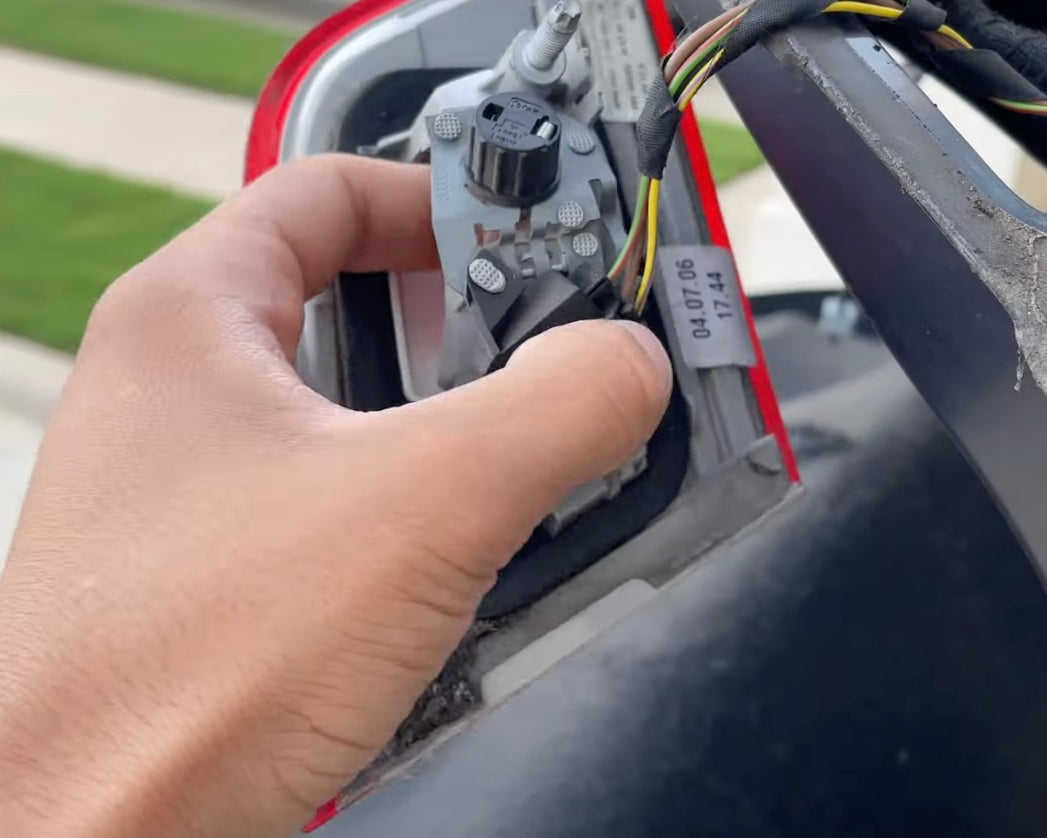
Remove Taillight Bulb Bracket
Remove the taillight bulb bracket by depressing the retention clip upward to loosen it. Once loosened, carefully slide the bracket out of place.
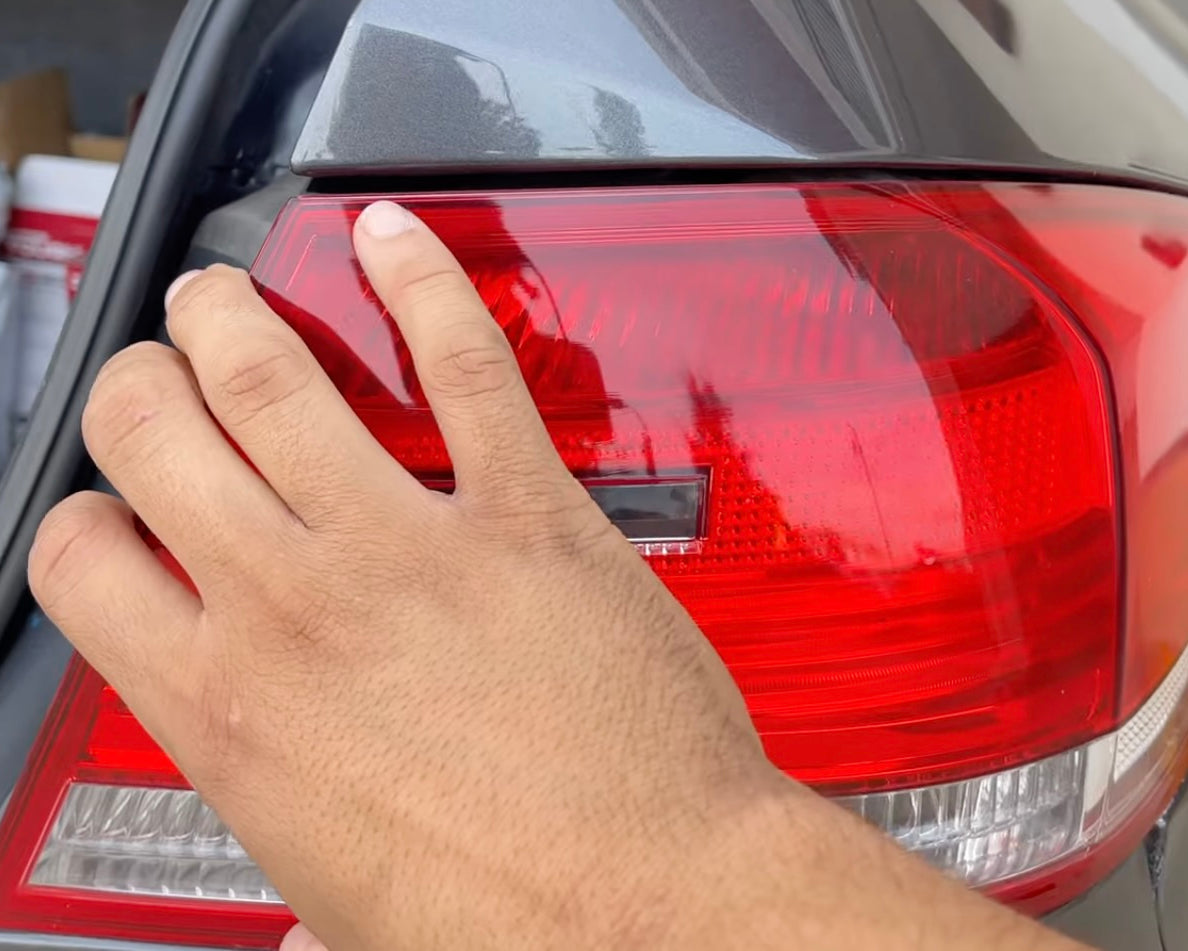
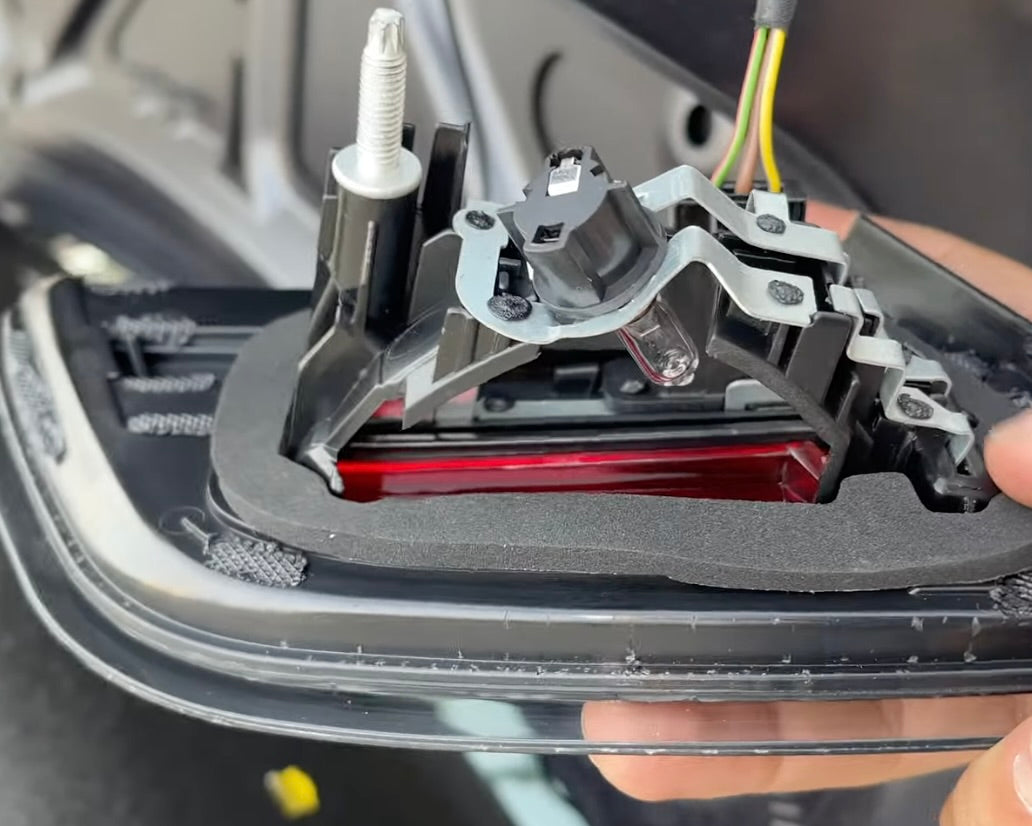
Remove Taillight
Use two hands, pulling from the right and left, to carefully remove the taillight out of place.
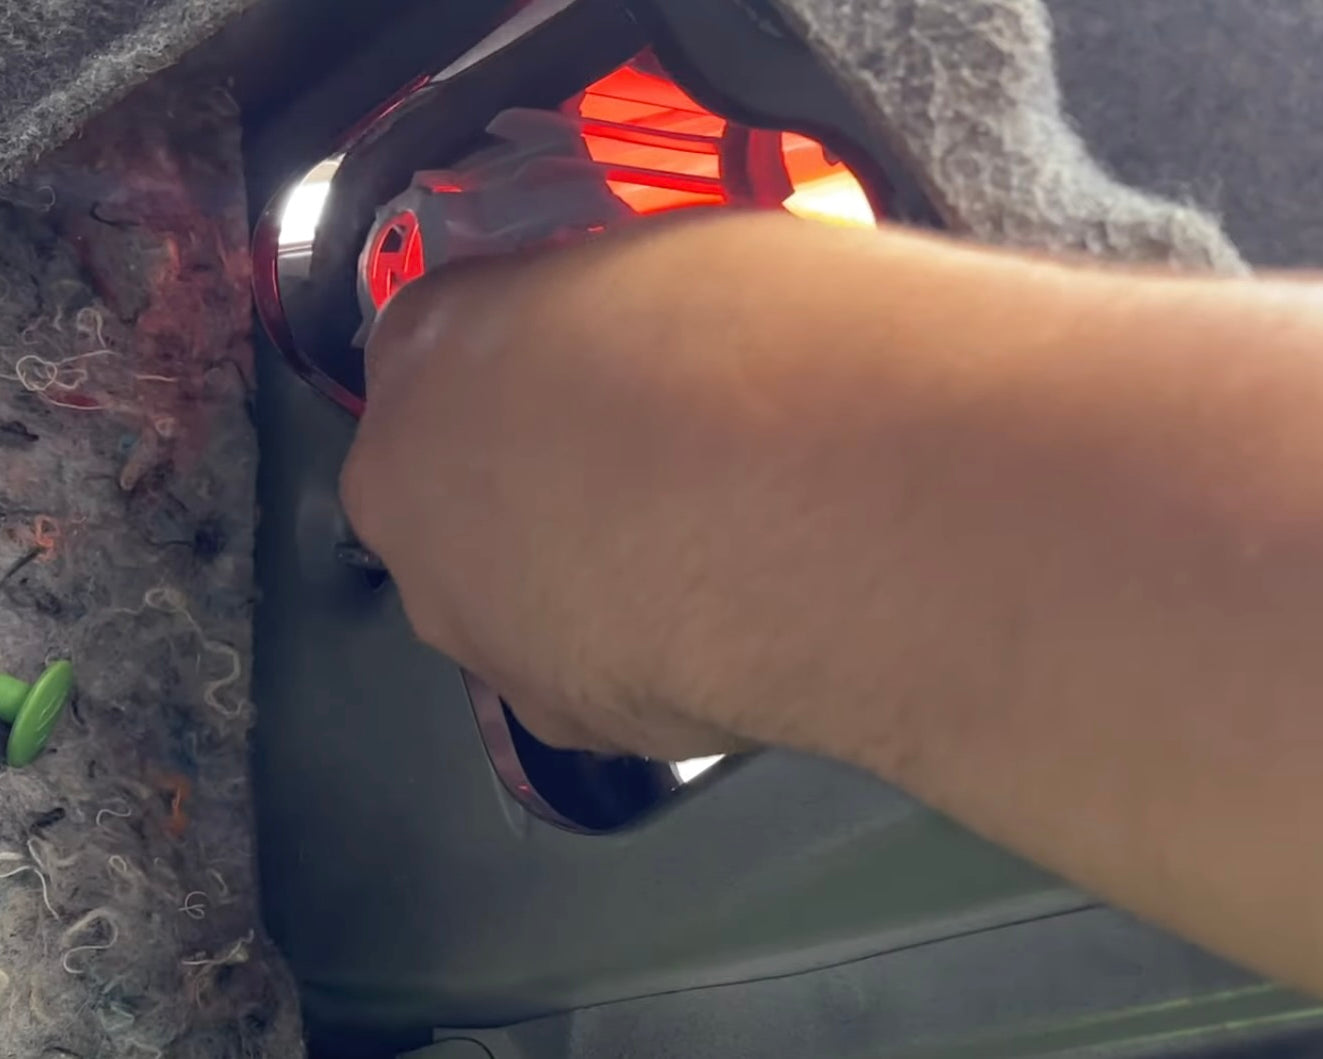
NOTE
To help you remove the taillight, use one hand to push the taillight out from the body of the car. Place the other hand on the backside of the taillight to avoid dropping it.
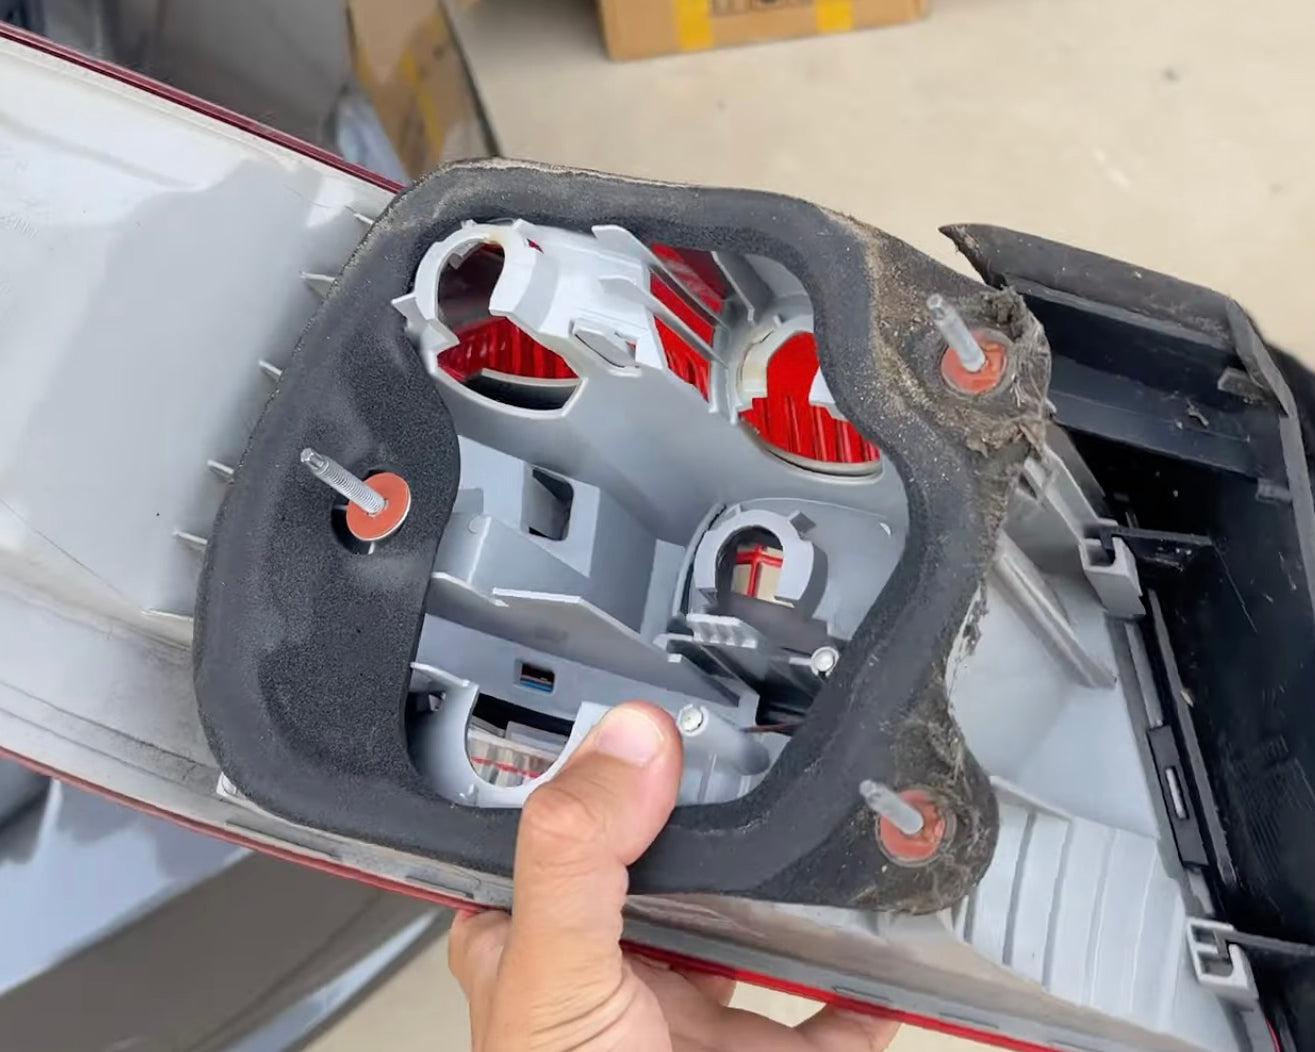
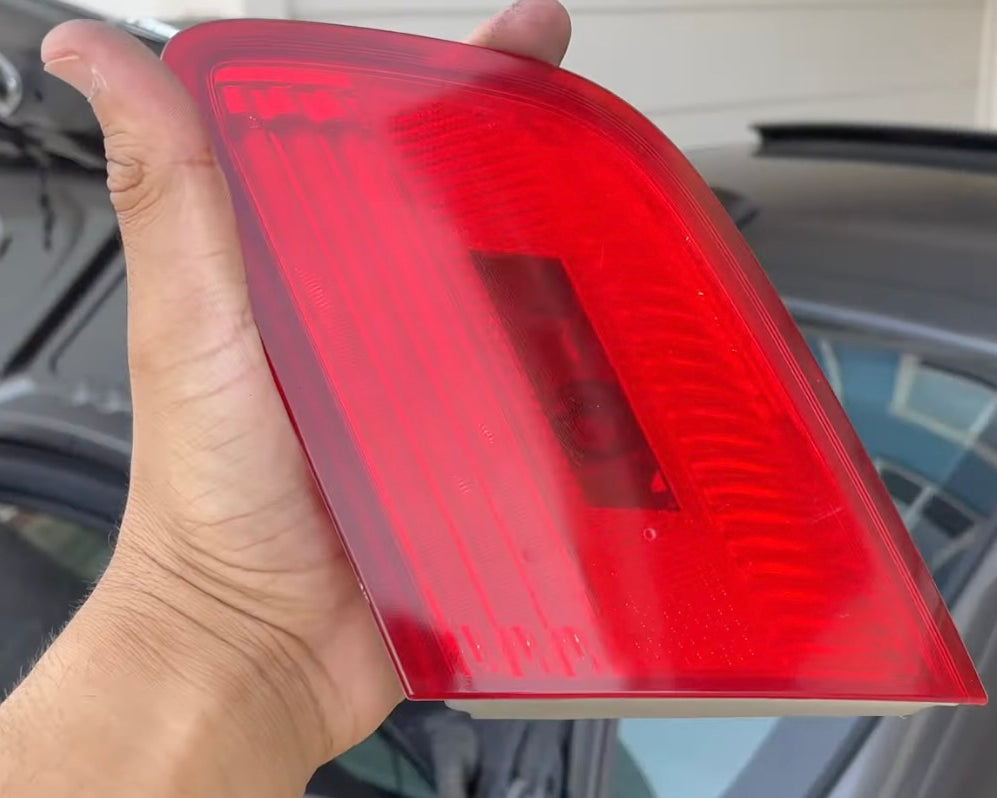
Taillight Removed
Good job, keep on going!
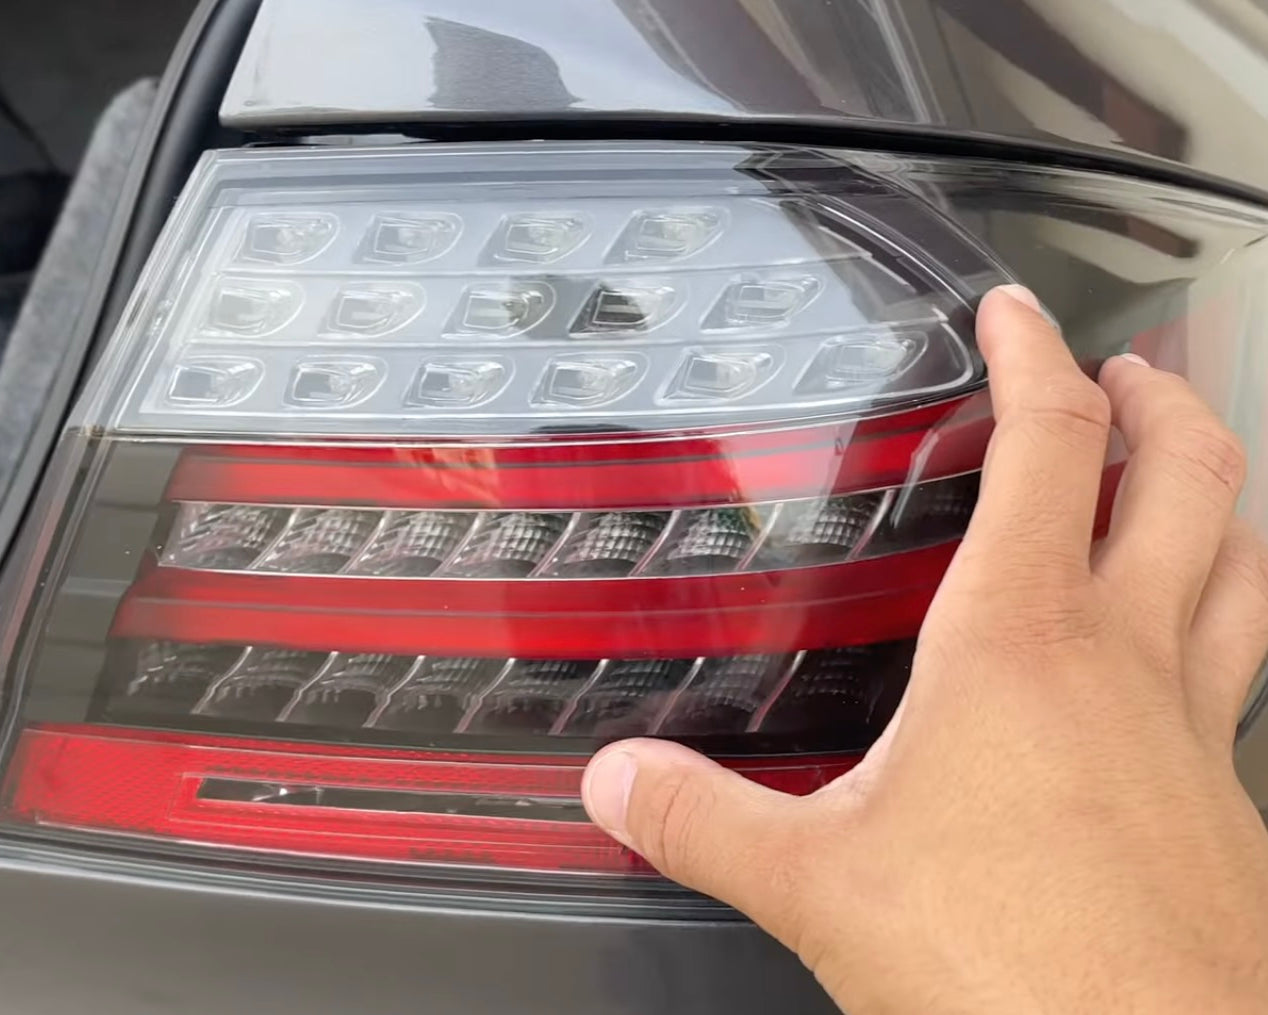
Seat New Taillight
Seat the new taillight into place by carefully sliding it into the body of the vehicle.
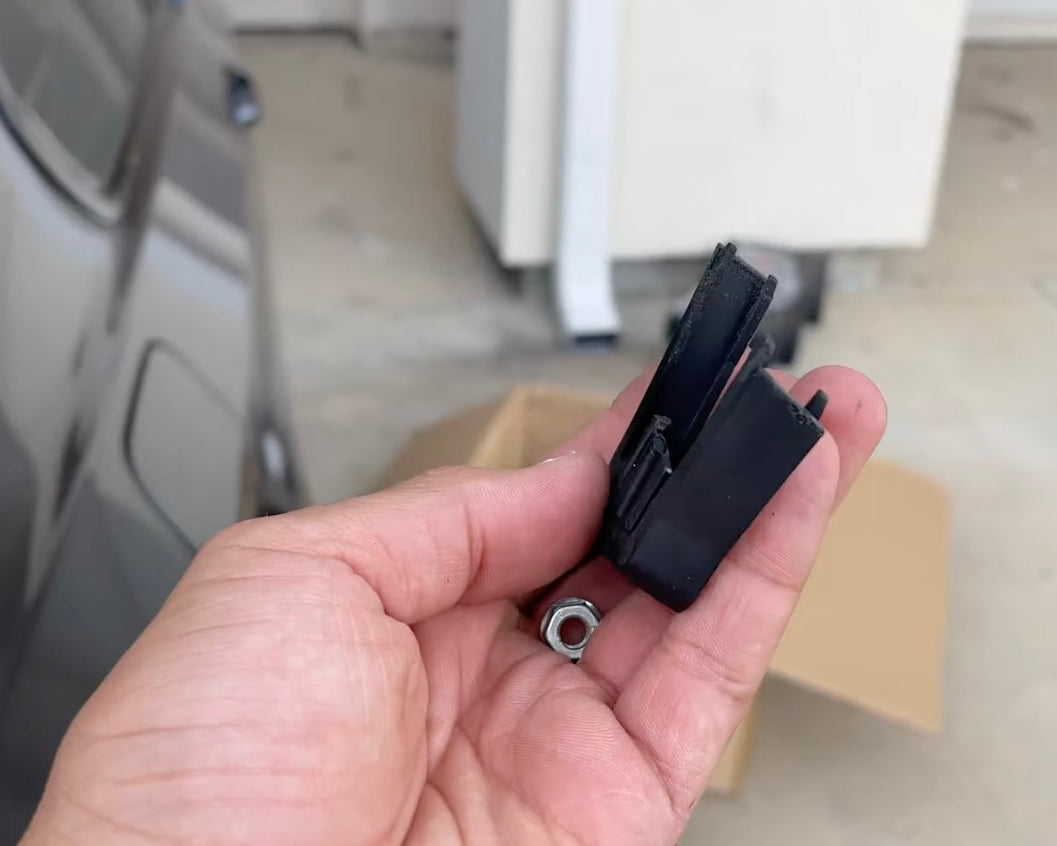
Reinstall Taillight Grommet
Reinstall the black taillight grommet onto the left side of the taillight and hand-screw it into place. This grommet is used to adjust the fitment of the taillight.
Seat the other 8MM nuts into place, and hand-tighten them.
NOTE
To adjust the fitment of the taillight, tighten/loosen the taillight grommet and accompanying 8MM nut clockwise/counter-clockwise.

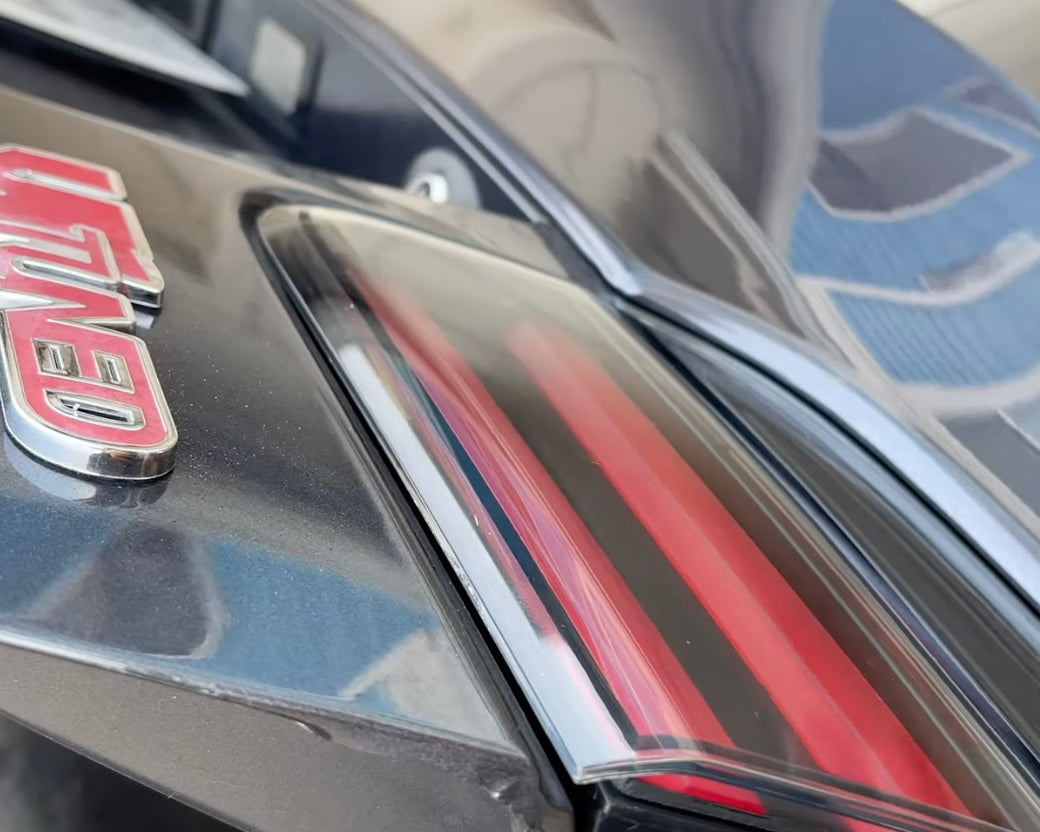
NOTE
While adjusting the fitment of the taillight, keep an eye on this section of the taillight. Over-tightening the fitment grommet can cause the taillight to press against the body of the vehicle and crack.
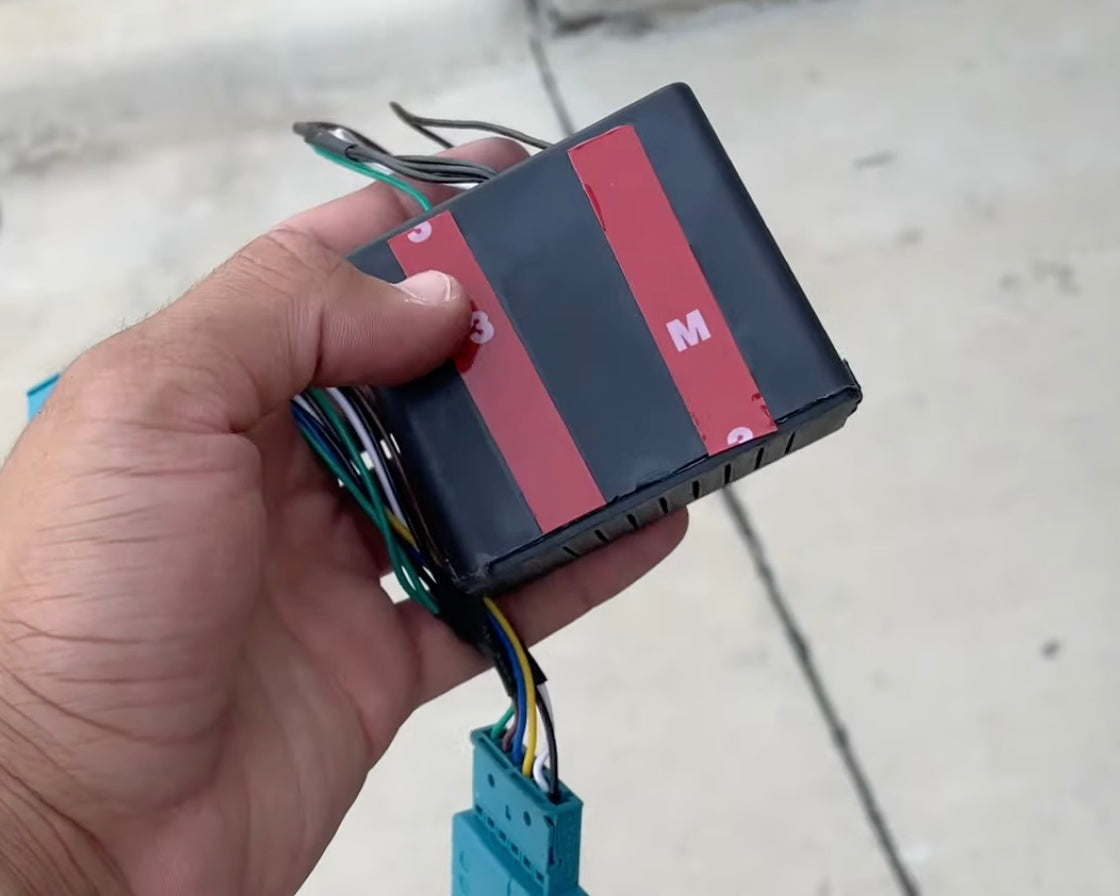
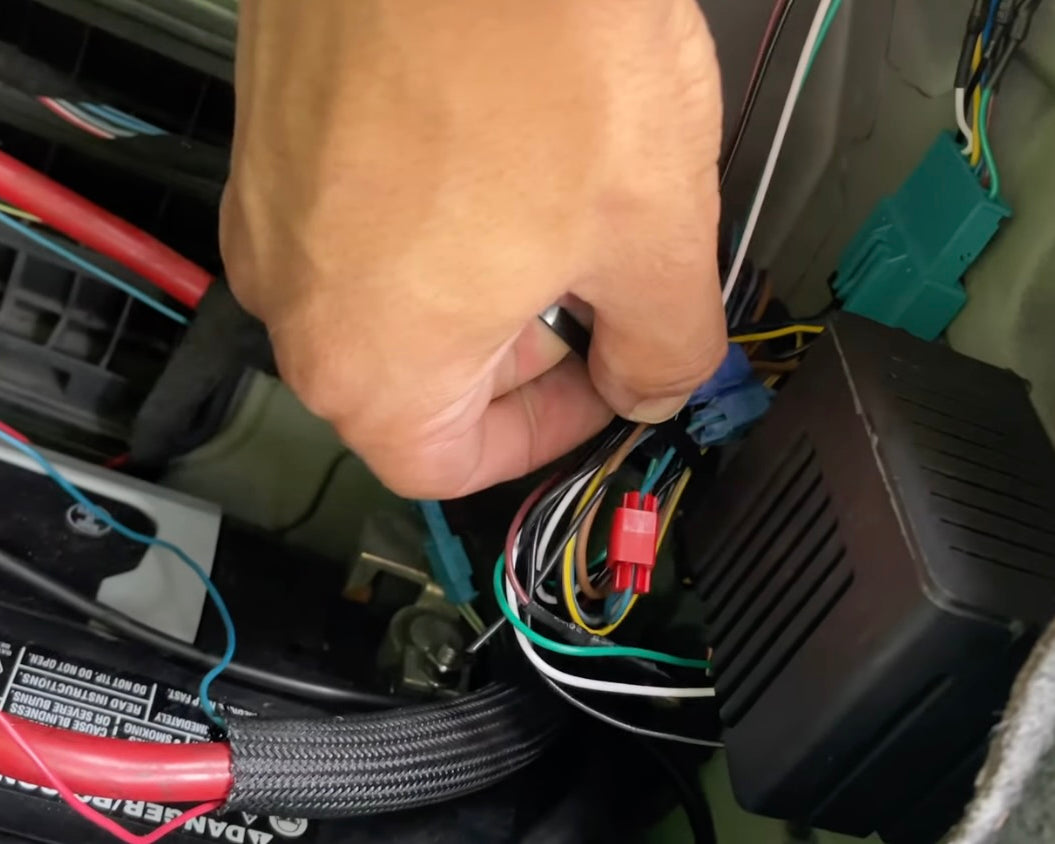
Install Taillight Ballast Box
Install the provided taillight ballast box to ensure no CANBUS error codes occur.
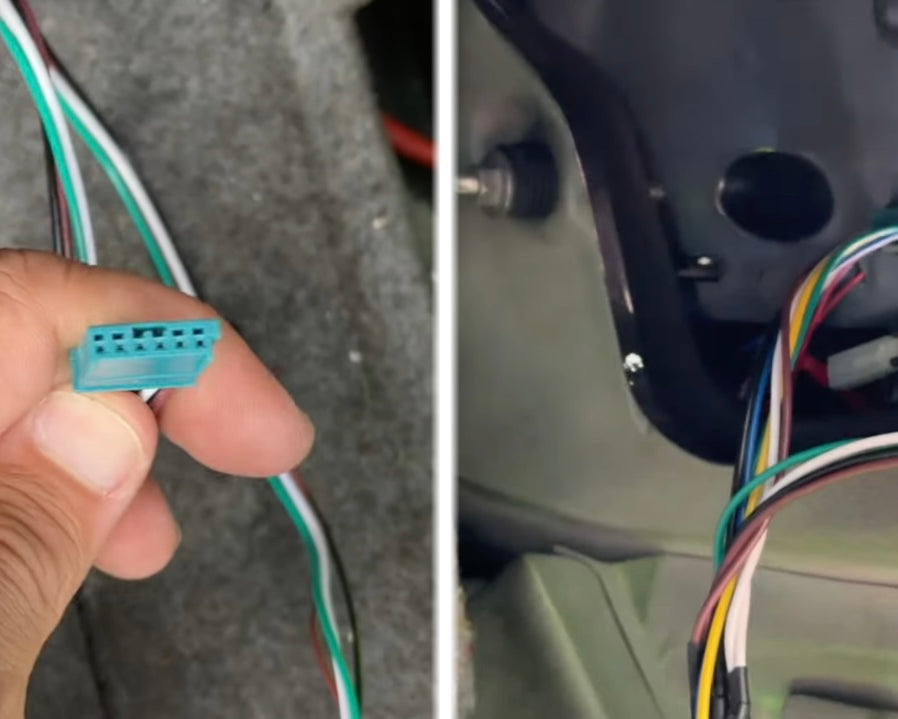
Plug Ballast Connector #1
Plug in the smaller ballast connector to the new taillight.
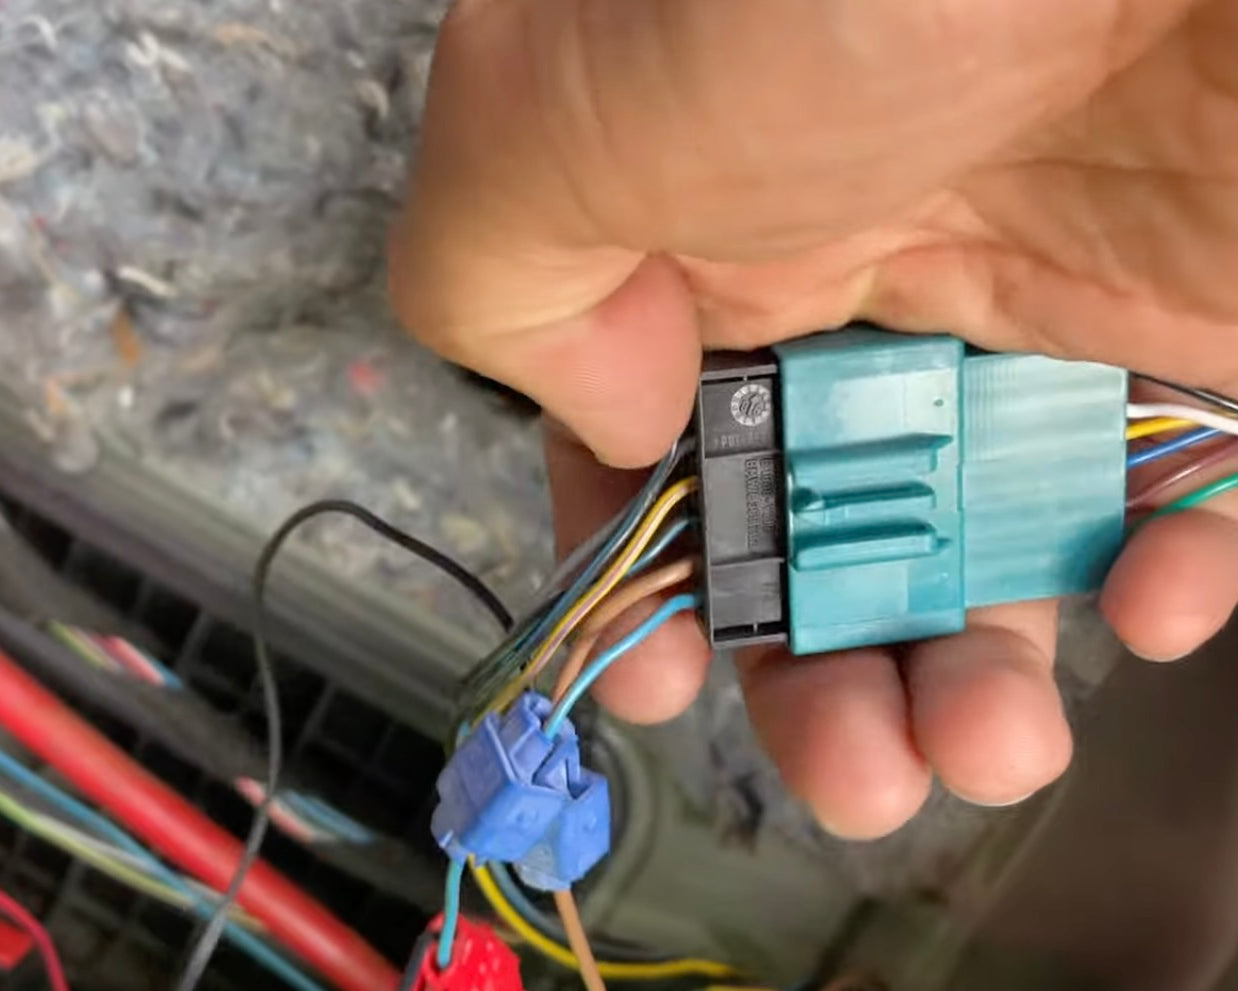
Plug Ballast Connector #2
Plug in the larger ballast connector to the large factory taillight connector.
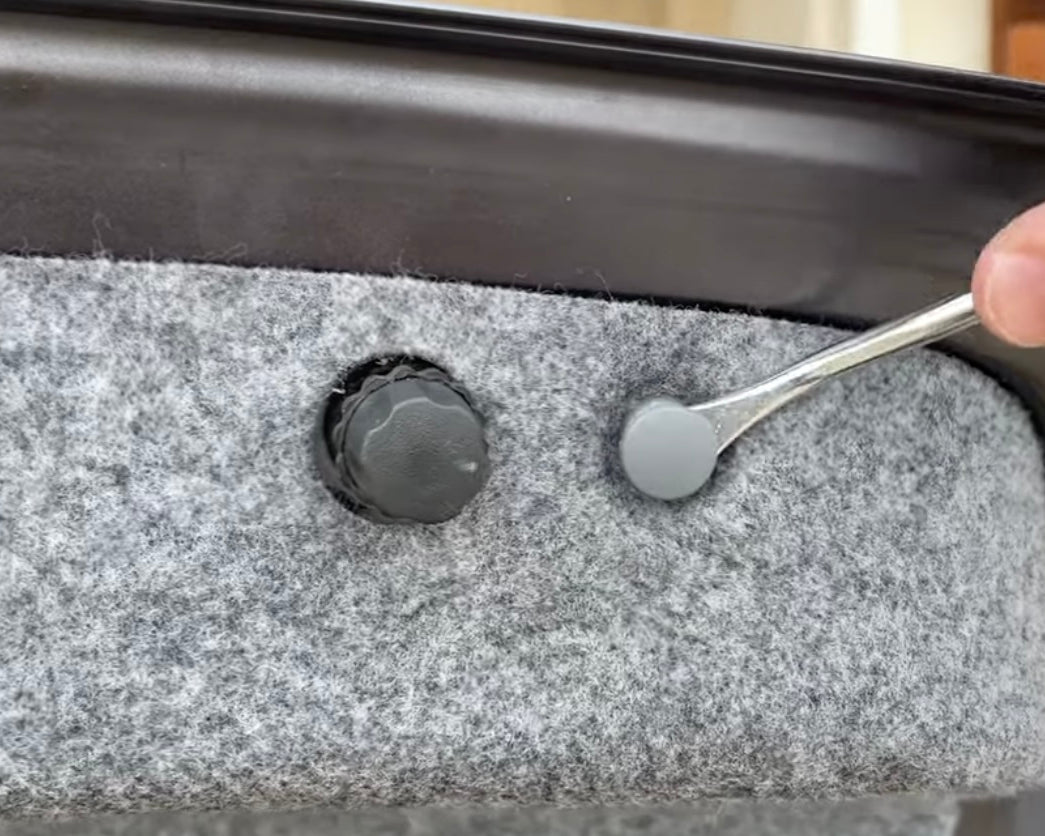
Remove Trunk Liner
Remove the trunk liner by releasing all of the retention clips using a flathead.
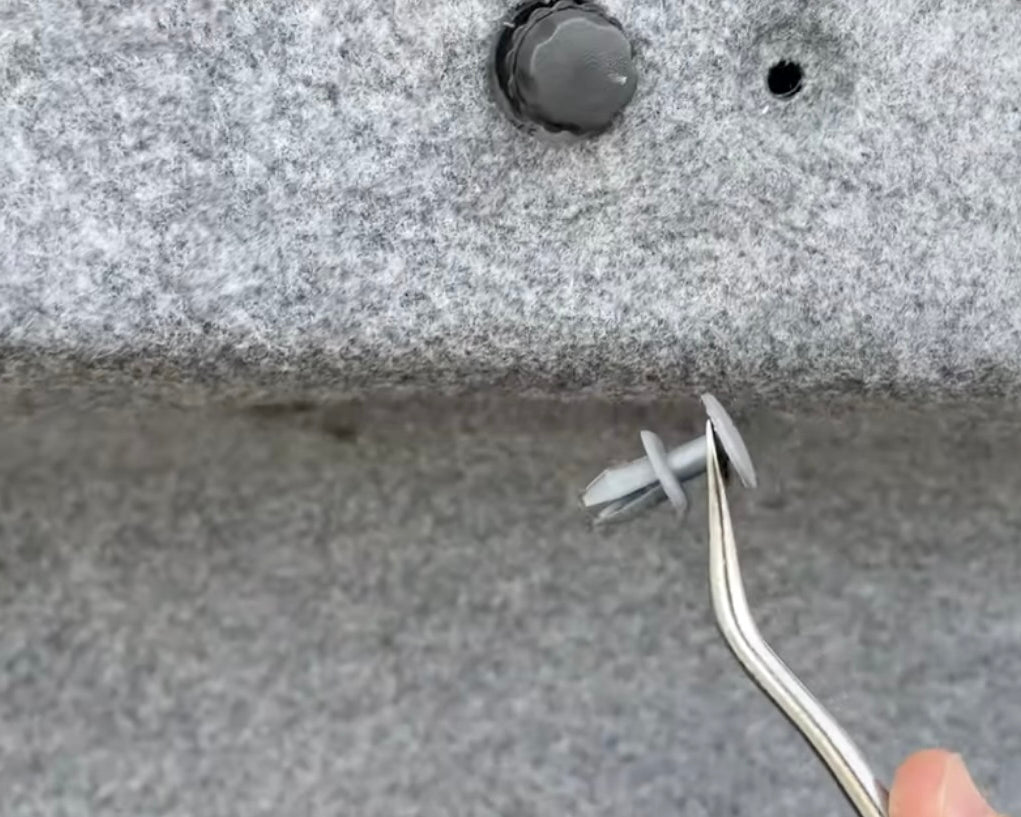
NOTE
Release the clip by using a flathead to slide the head of the clip back.
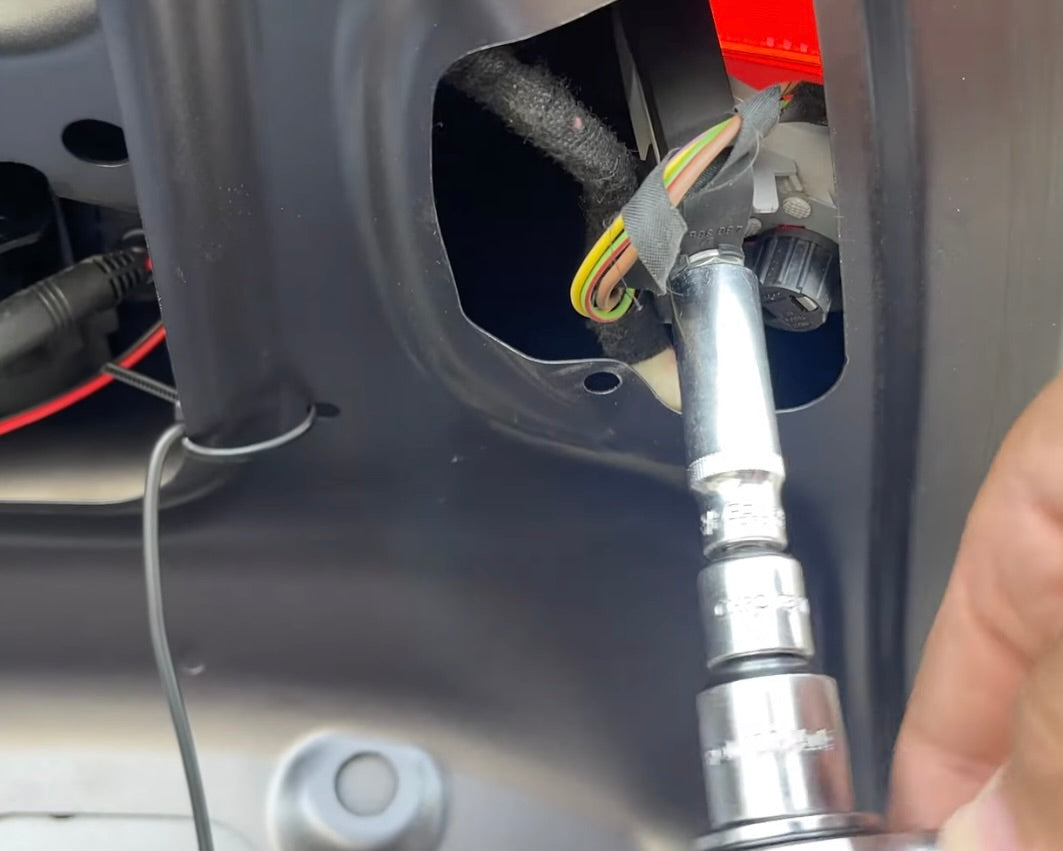
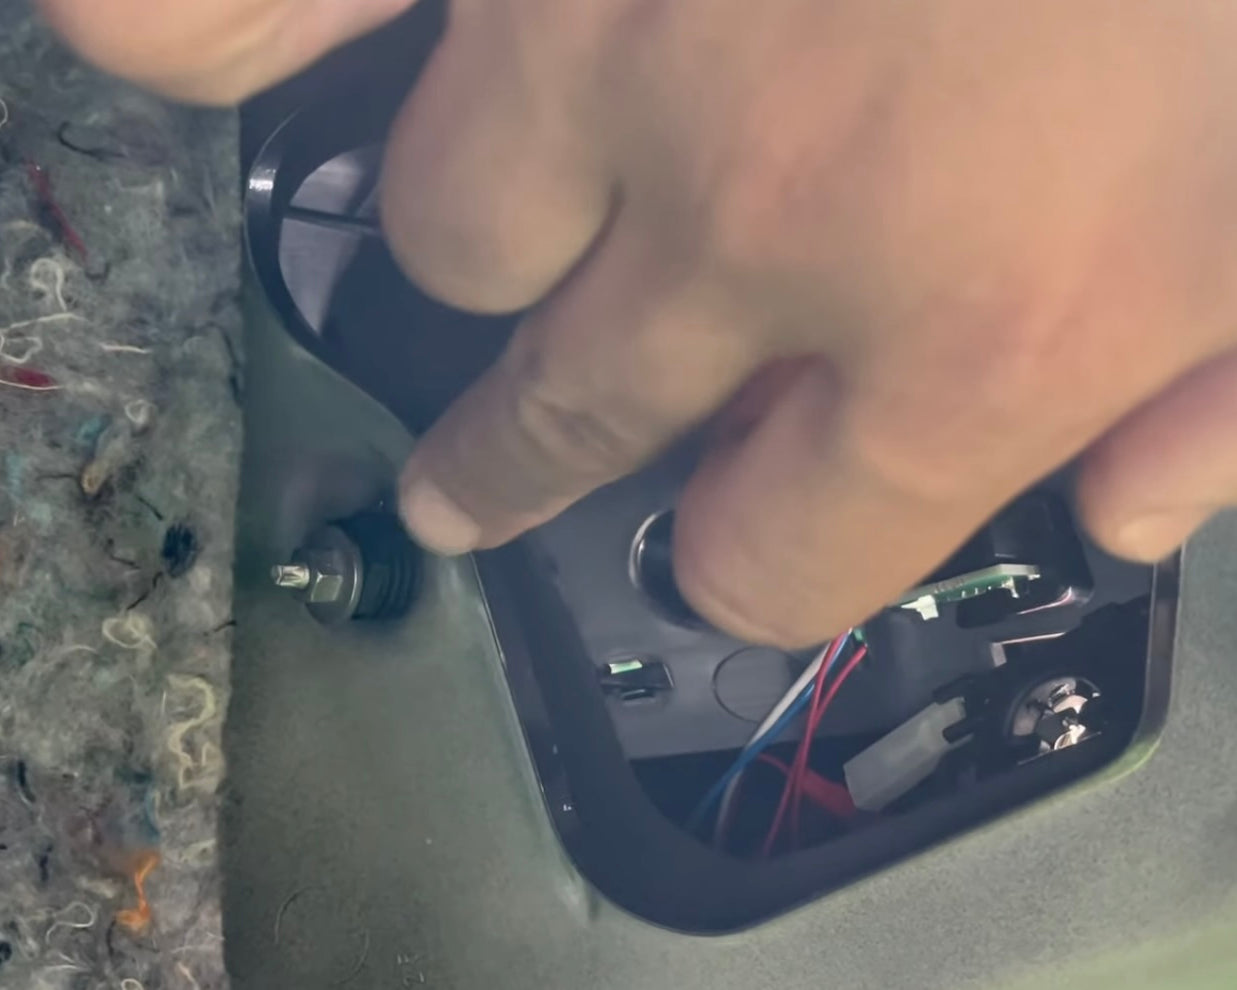
Loosen the Trunk Taillight
Loosen the trunk taillight by using a 10MM deep socket to remove the retention nut.
NOTE
Keep the old trunk taillight hardware in case the old taillights are later re-installed.
Disconnect Trunk Taillight
Carefully disconnect the trunk taillight connector.
Remove Old Trunk Taillight
Remove the old trunk taillight from the body of the vehicle.
Connect New Trunk Taillight
Connect the new trunk taillight.
Align New Trunk Taillight
Install and align the new trunk taillight to the body of the vehicle.
Tighten the 10MM Retention Nut
Tighten the 10MM retention nut on the new trunk taillight assembly.
Replace Driver-Side Taillight
Replace the driver-side taillight the same way the passenger-side one was replaced.
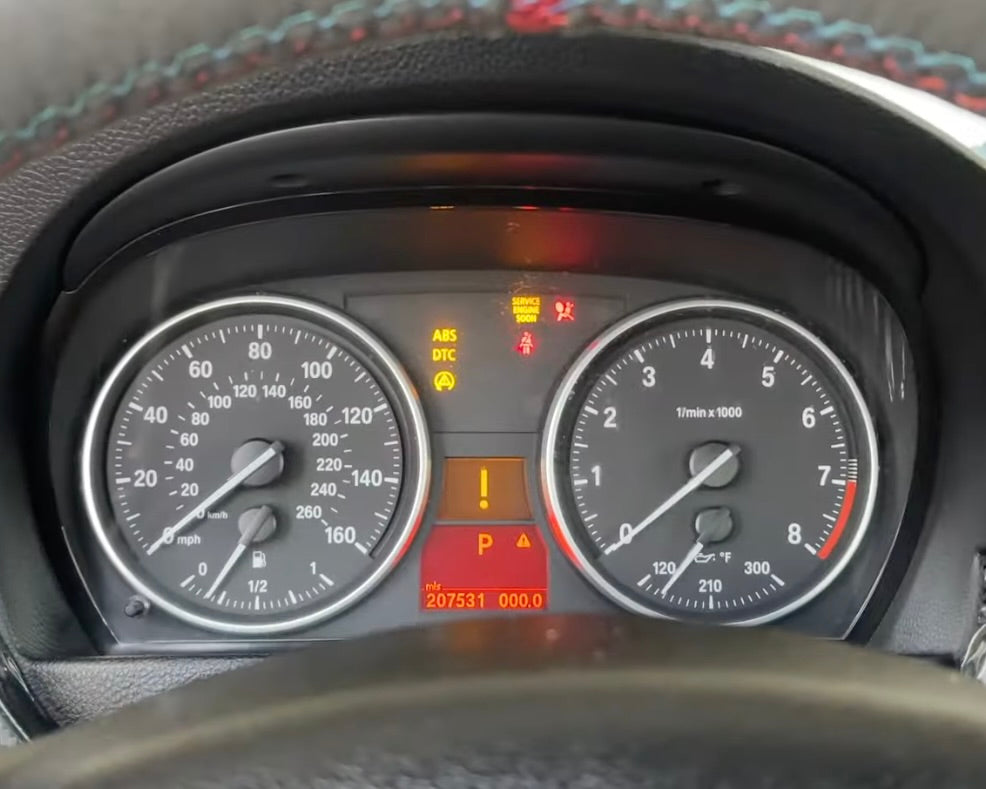
Test New Taillights
Test the new taillights by checking your vehicle for error codes.
Mount Taillight Ballast
With the taillights tested and operational, mount the new taillight ballast by peeling the red protective film from the adhesive tape and stick it to the bare metal of the vehicle.
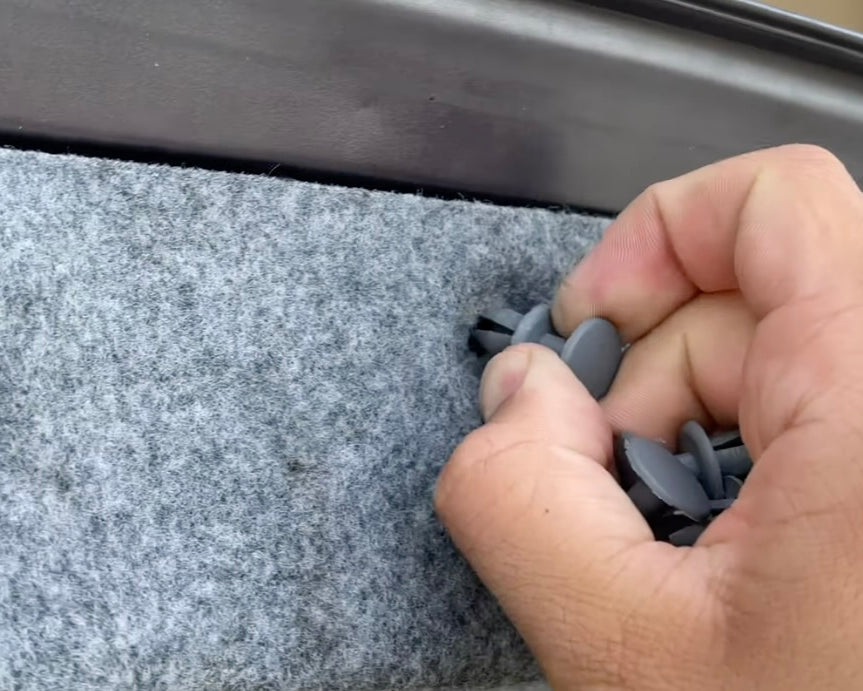
Reinstall Trunk Liner
Reinstall the trunk liner by pressing the retention push clips back into place.
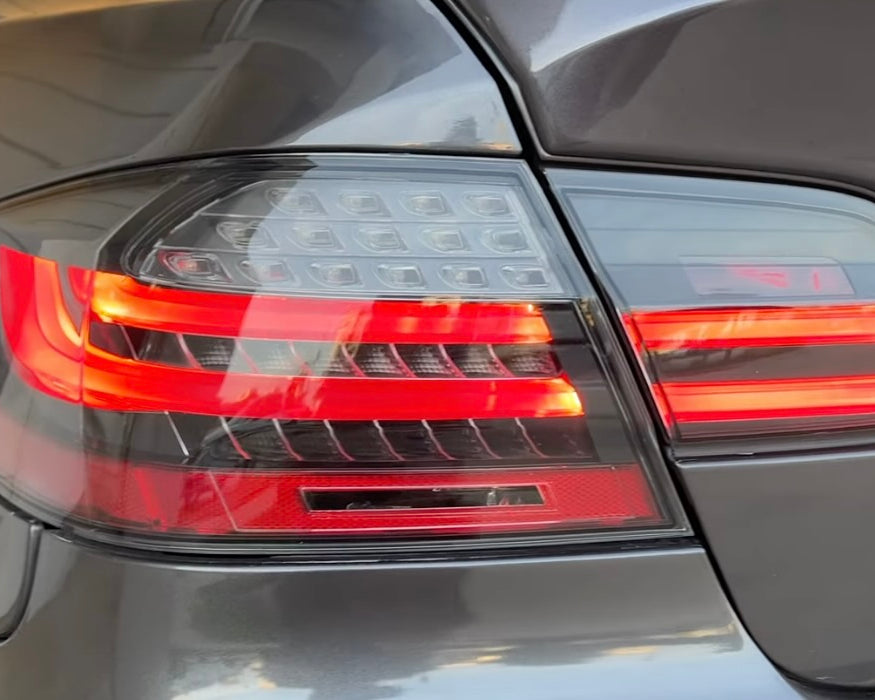
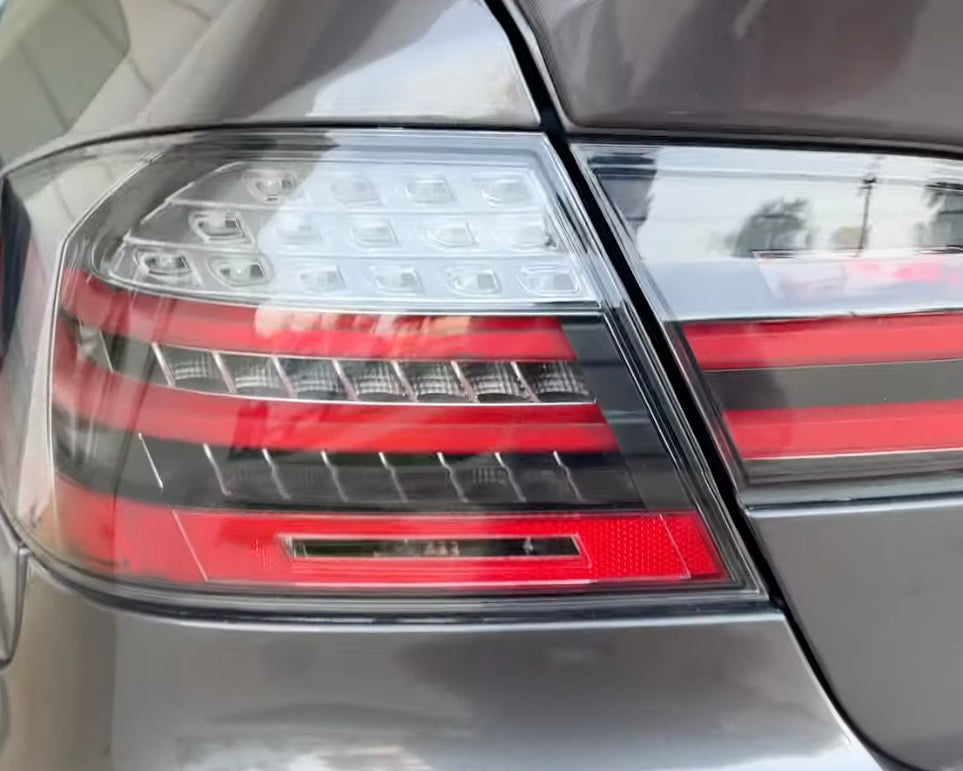
Upgrade Complete
Good job upgrading to the new LCI style taillights! Keep an eye on your vehicle's computer for any error codes.