
Xenon Headlight Bulb Replacement (Low Beam)

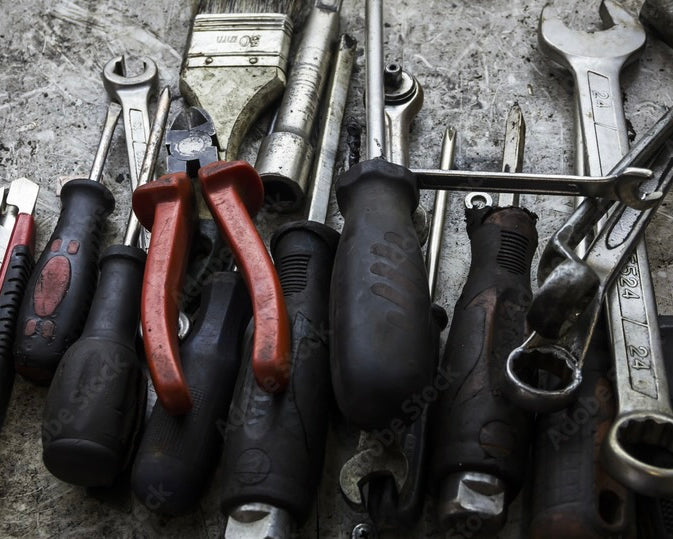
Materials Required
- Floor Jack
- Tire Iron
- 8MM Socket
- 10MM Socket
- Ratchet
- T-30 Screwdriver
Overview
This DIY guide will show you how to remove and replace your BMW's low beam headlight bulbs.
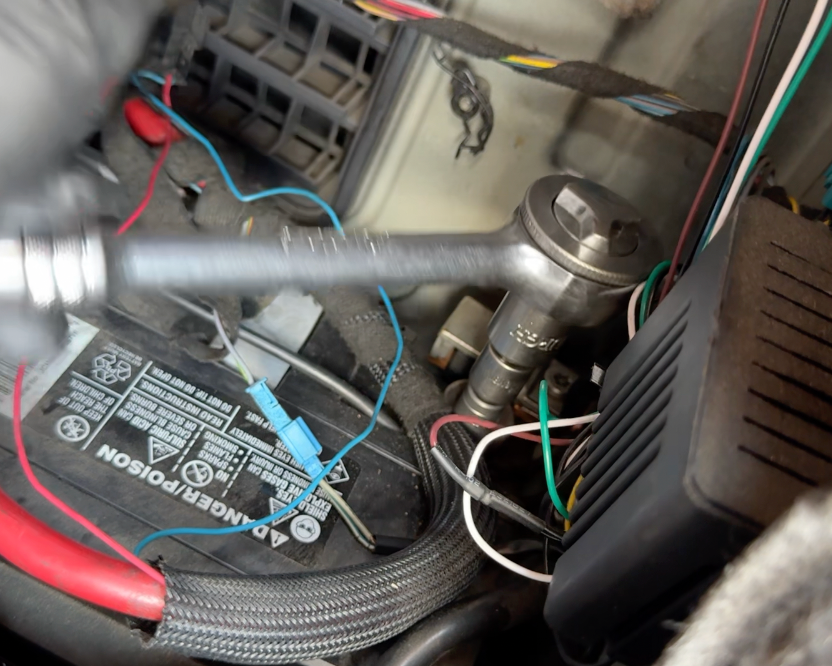
Disconnect Battery
Disconnect the vehicle's battery to ensure safety while conducting this job.
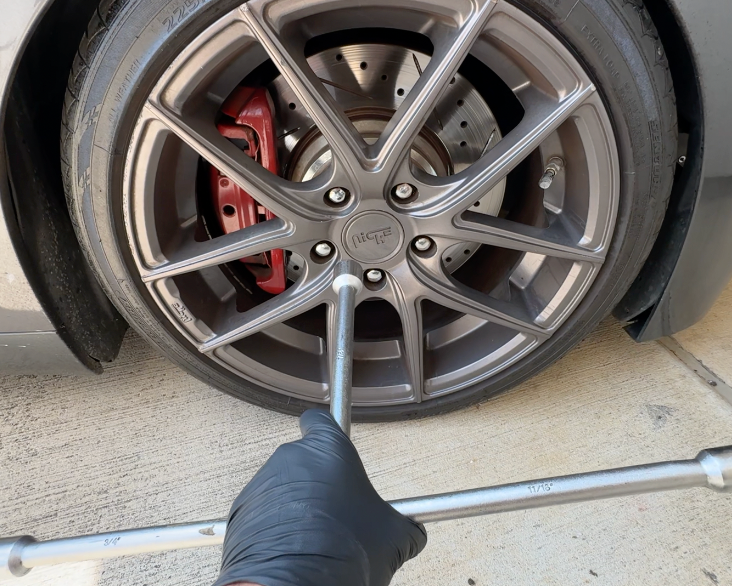
Loosen Lug Nut Torque
Using a tire iron, loosen the torque from the lug nuts, but do not remove them.
Raise Vehicle
Raise vehicle by using a floor jack on the side jack points. Use of jack stands is highly recommended.
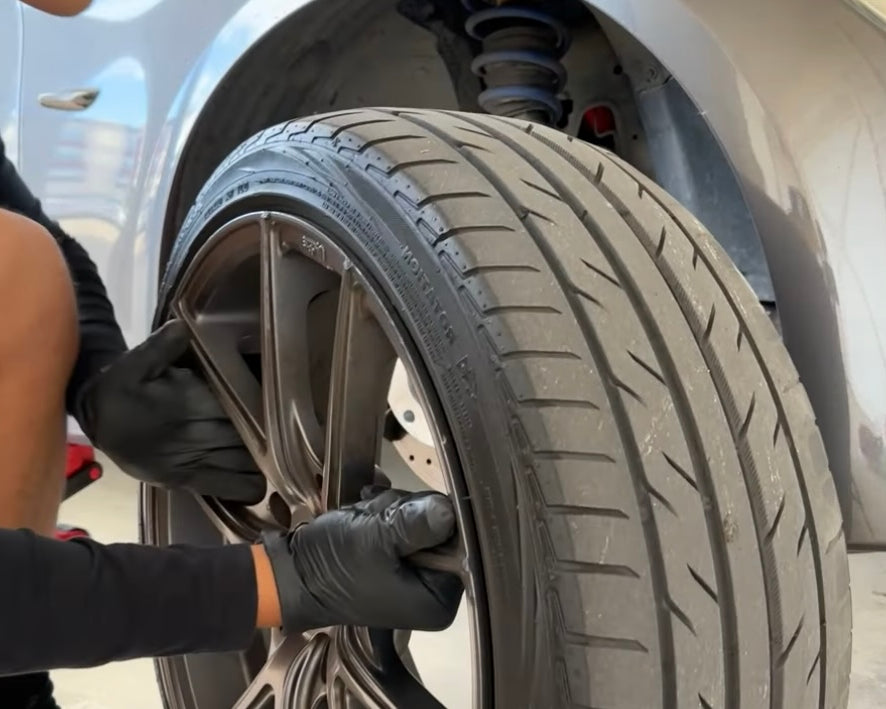
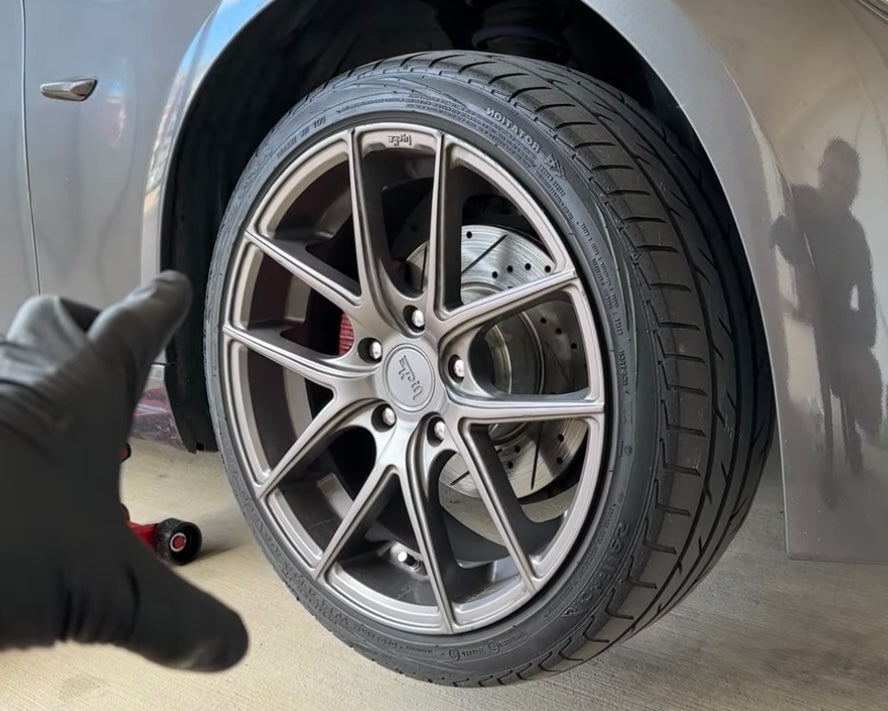
Remove Wheel
Remove the vehicle's wheel being extremely careful not to put any part of your body underneath the car.
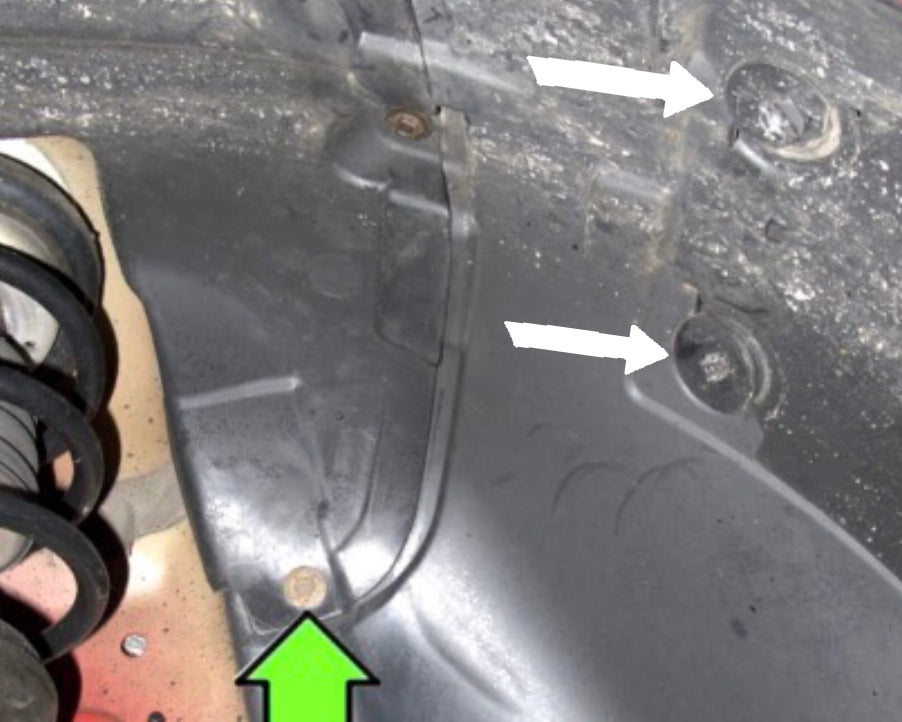
Remove Front Fender Liner Screws
Remove the front fender liner cover that protects the headlight bulbs by loosening the retention screws (white arrows). If your fender liner doesn't have the cover, remove all of the 8MM fender liner screws and the one 10MM nut that holds the liner in place.
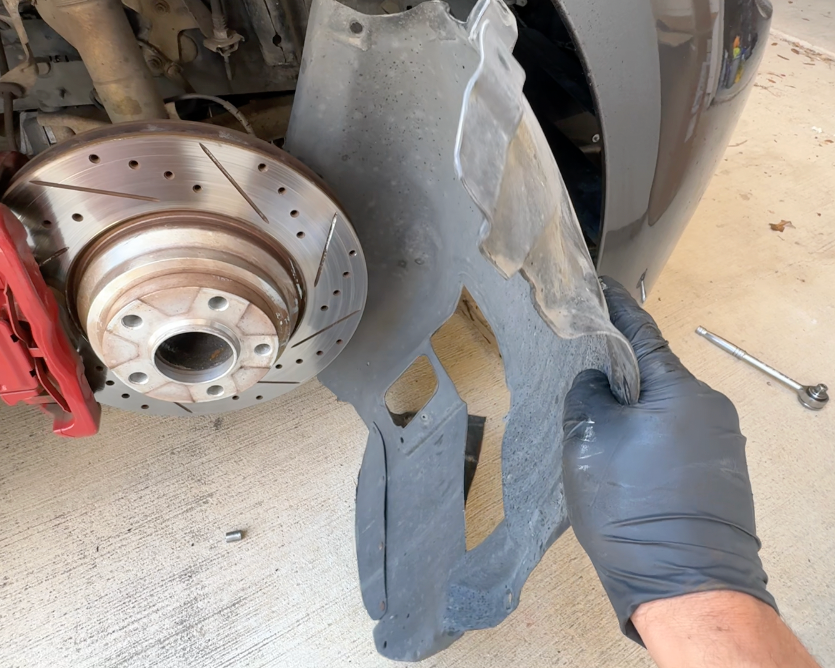
Remove Fender Liner
With all retention screws removed, pull the fender liner from the vehicle.
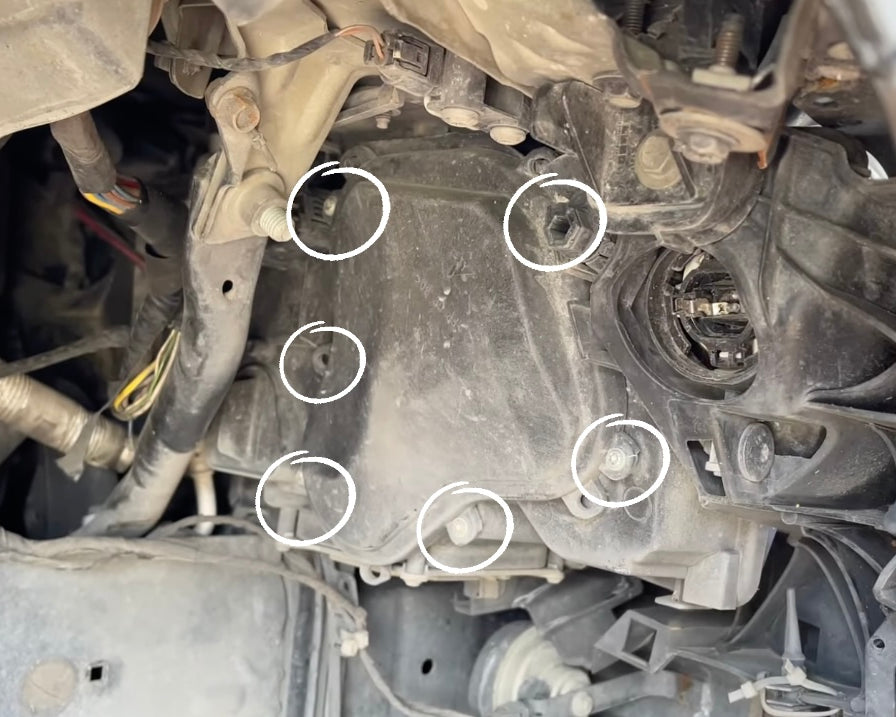
Remove Headlight Bulb Cover
Remove the headlight bulb cover by removing the six T-20 screws.
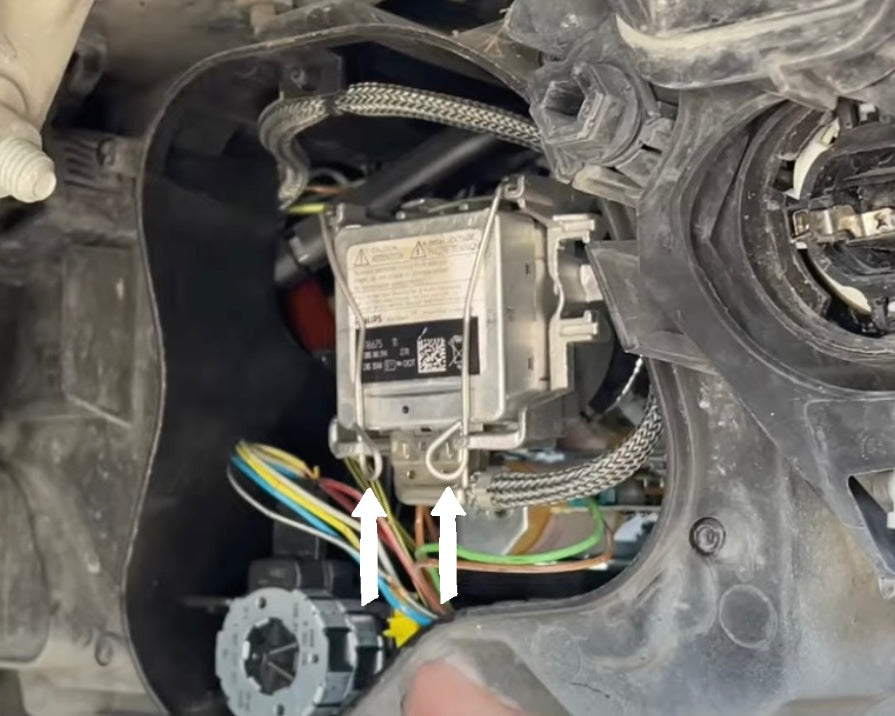
Unclip Headlight Bulb
Unclip the headlight bulb by pressing the metal retention clips to the inside until they dangle freely.

Pull Out Headlight Bulb
Pull the headlight bulb from the headlight assembly.
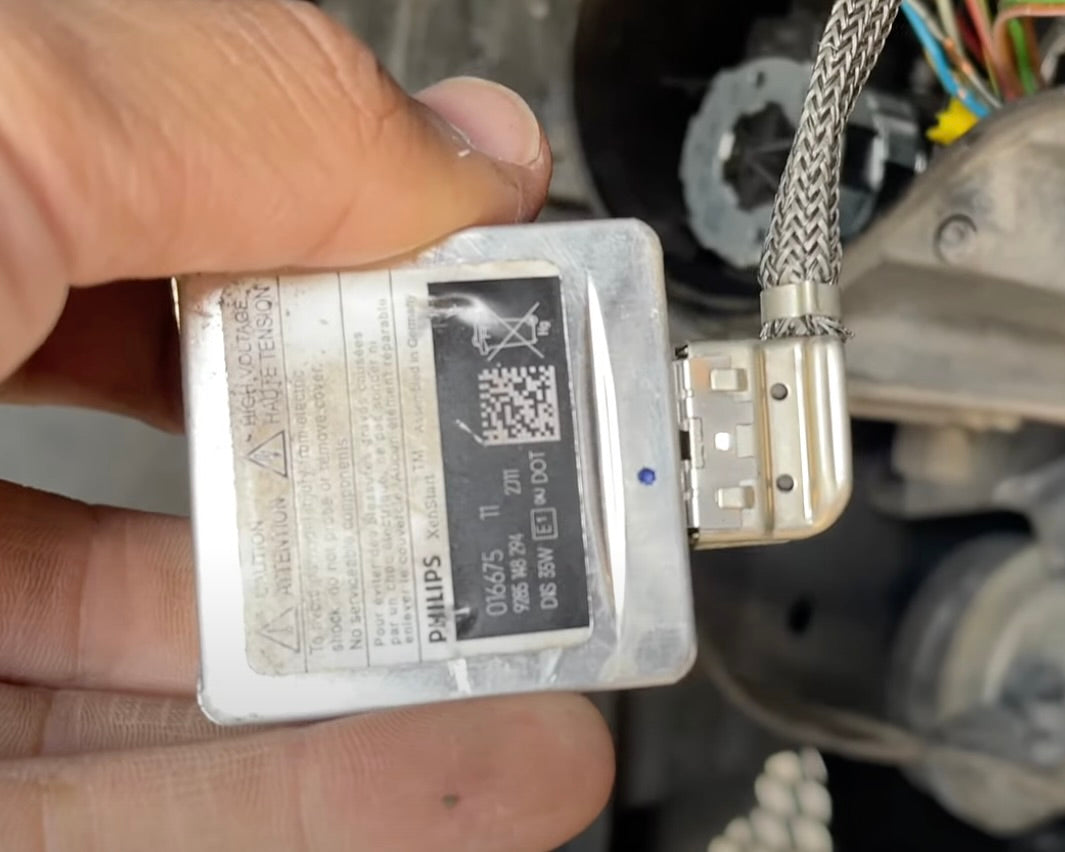
Unplug Old Headlight
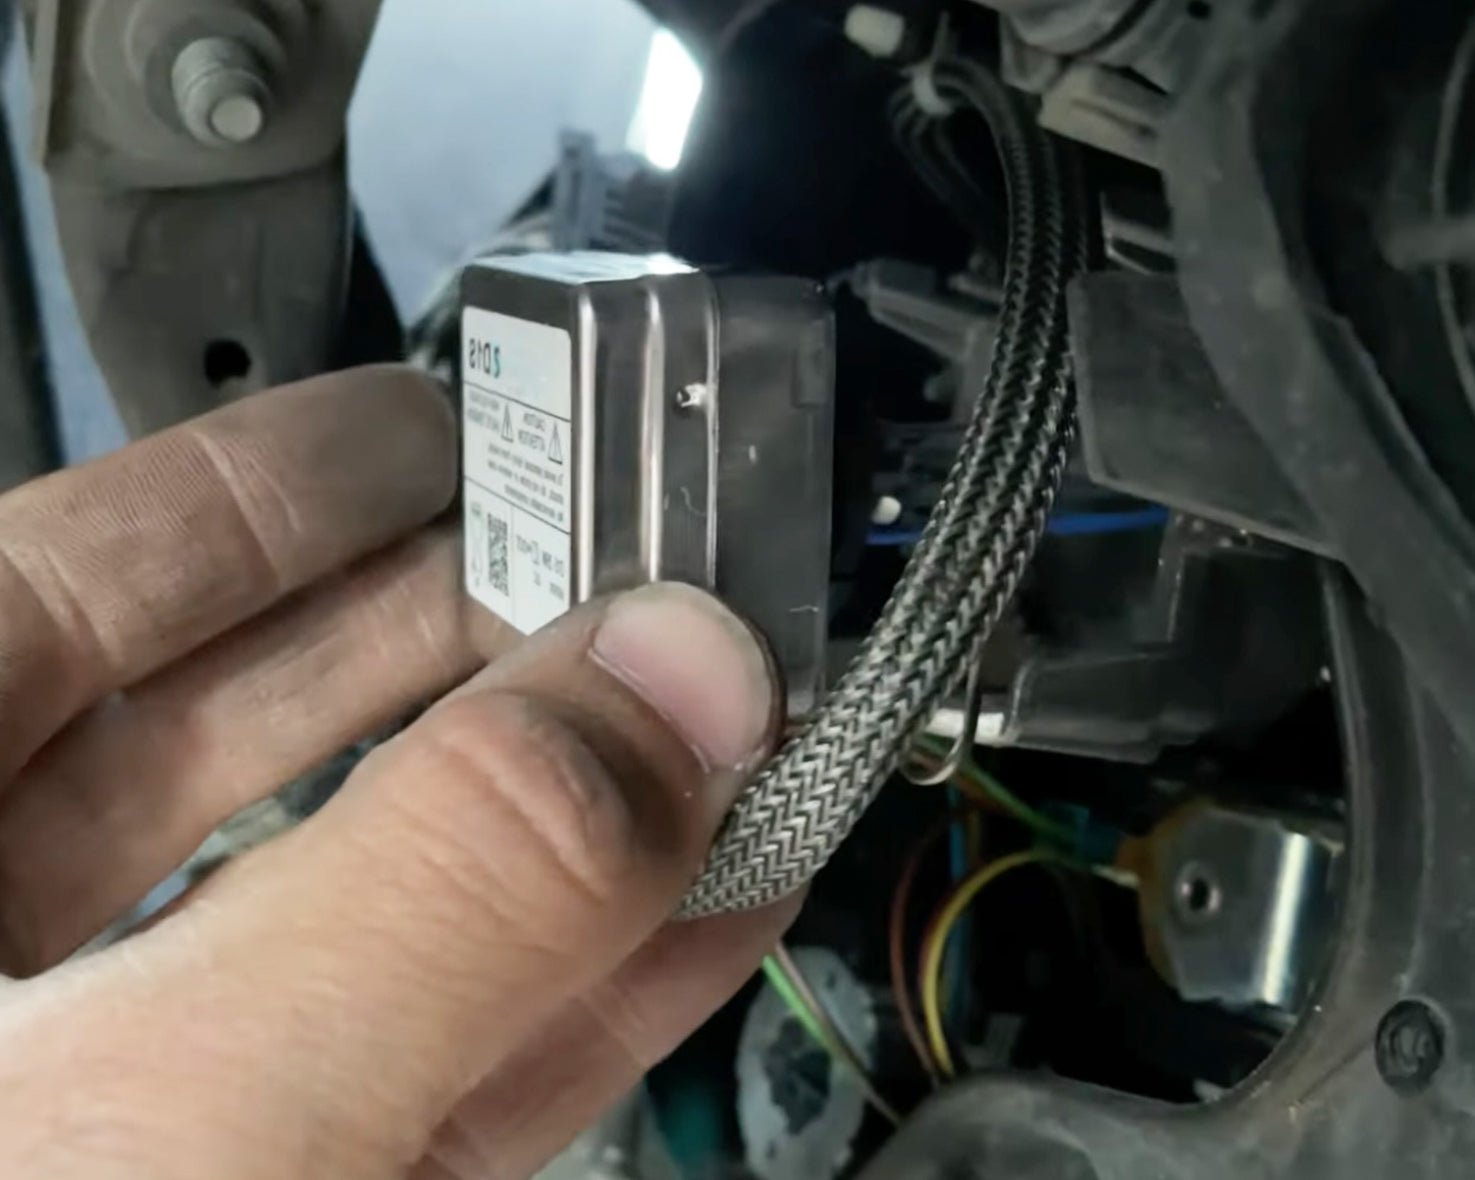
Unplug headlight bulb connector.
NOTE
For BMW's with the xenon headlight assembly, xenon D1S bulbs must be used. Click here to purchase our recommended headlights.
Plug In New Headlight Bulb
Insert the new sway bar end link into place. Do not bend the end link to make it fit, instead lift/lower the suspension knuckle with the jack.
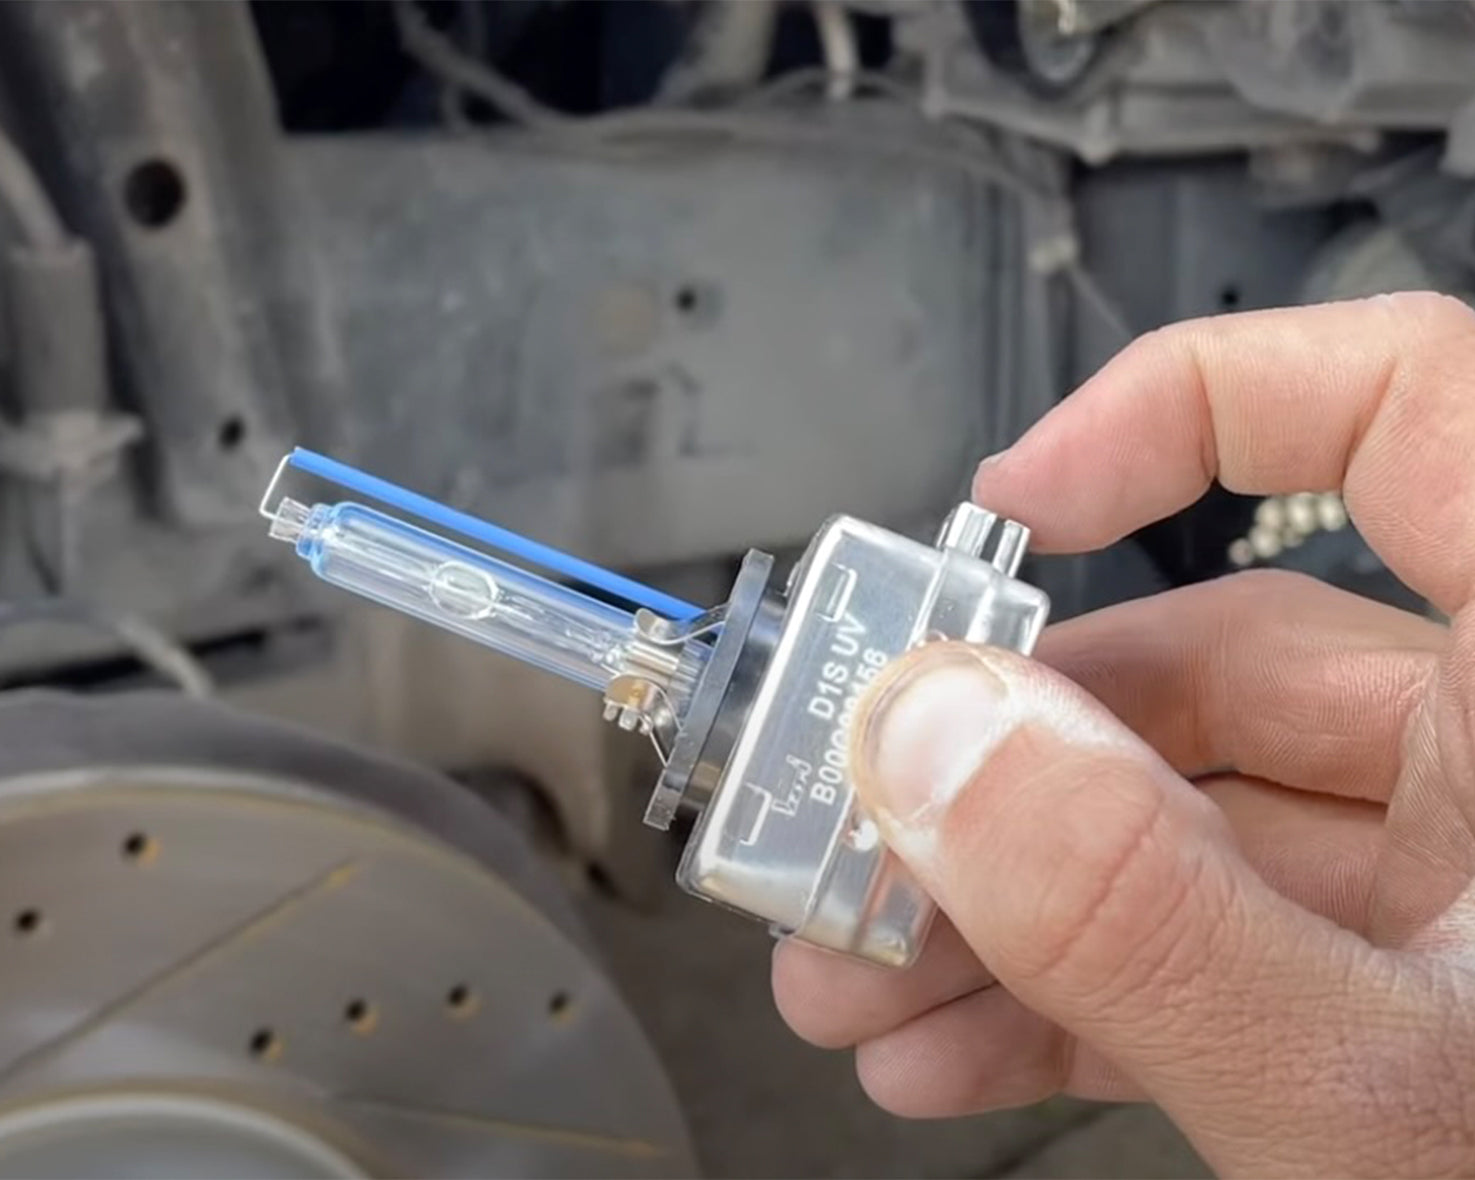
Insert New Headlight Bulb
Carefully insert the new headlight bulb ensuring not to touch or damage the bulb element.
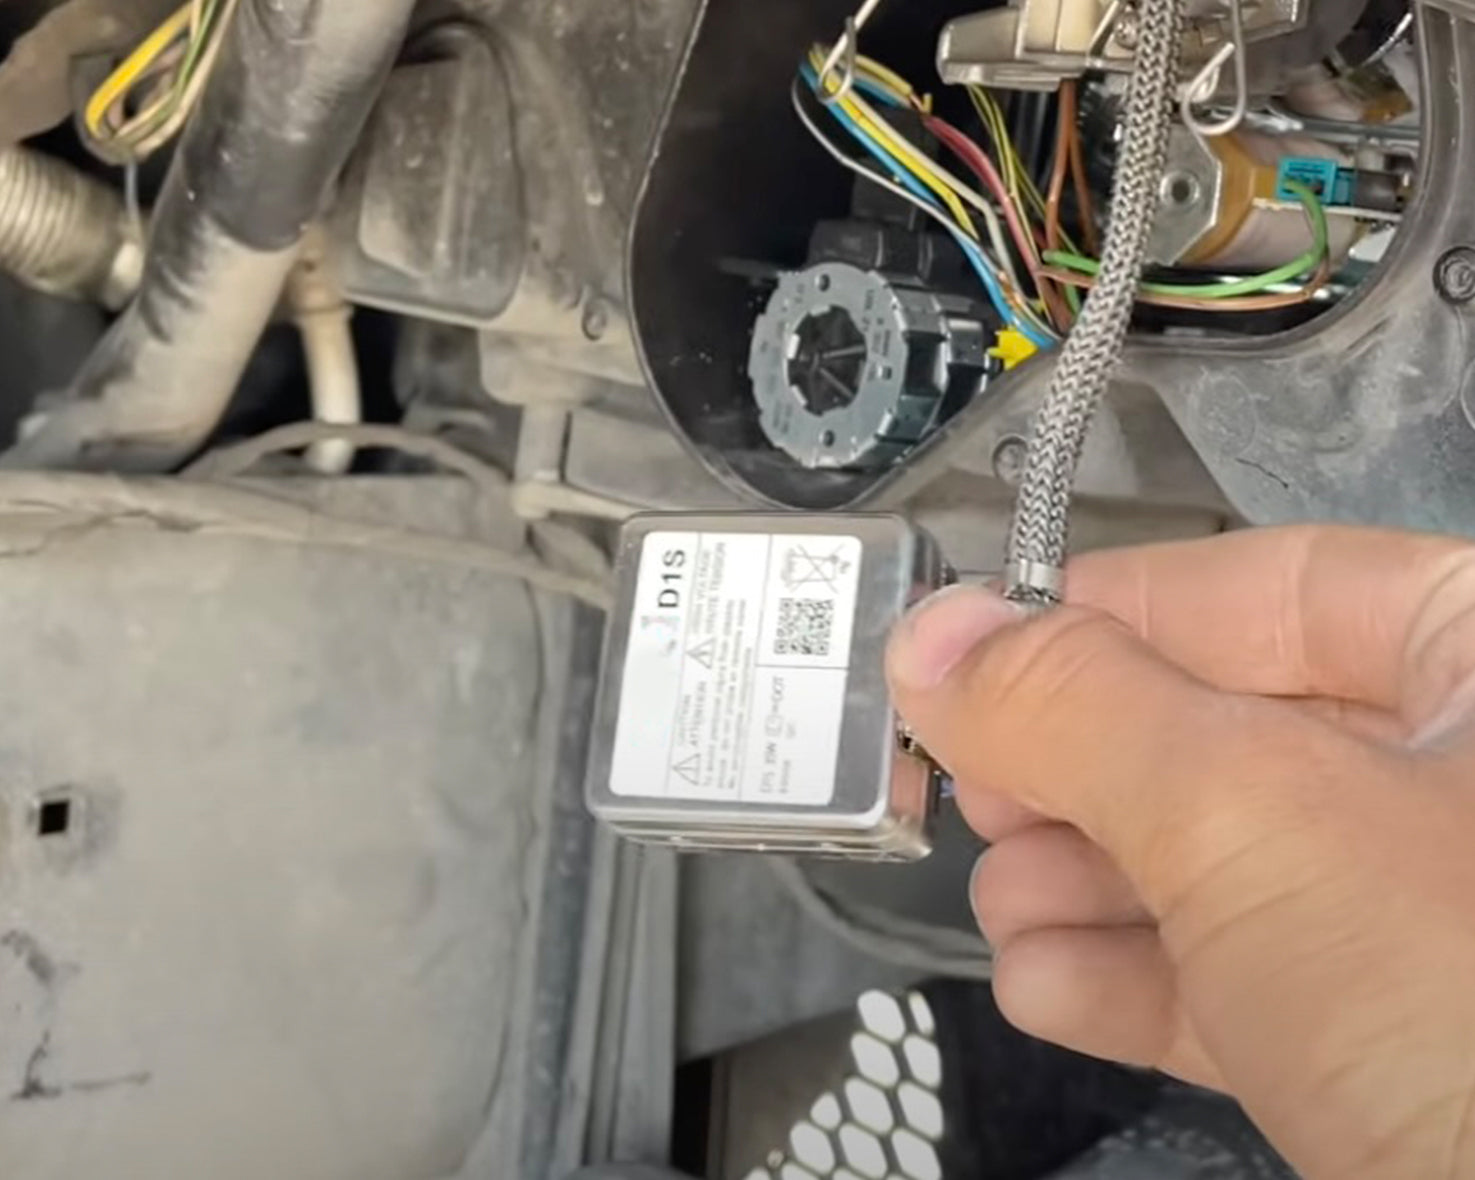
Clip New Headlight Bulb
Clip the new headlight bulb in place by latching the metal retention clips to the hooks.
NOTE
Do not reinstall the ballast screws yet. It's best to leave the ballast hanging in place and test it before putting everything back together, in case it doesn't work when you test it.
NOTE
As stated before, it is highly recommended to replace both bulbs at the same time. If only one bulb is replaced, it's very likely the other bulb will short out.
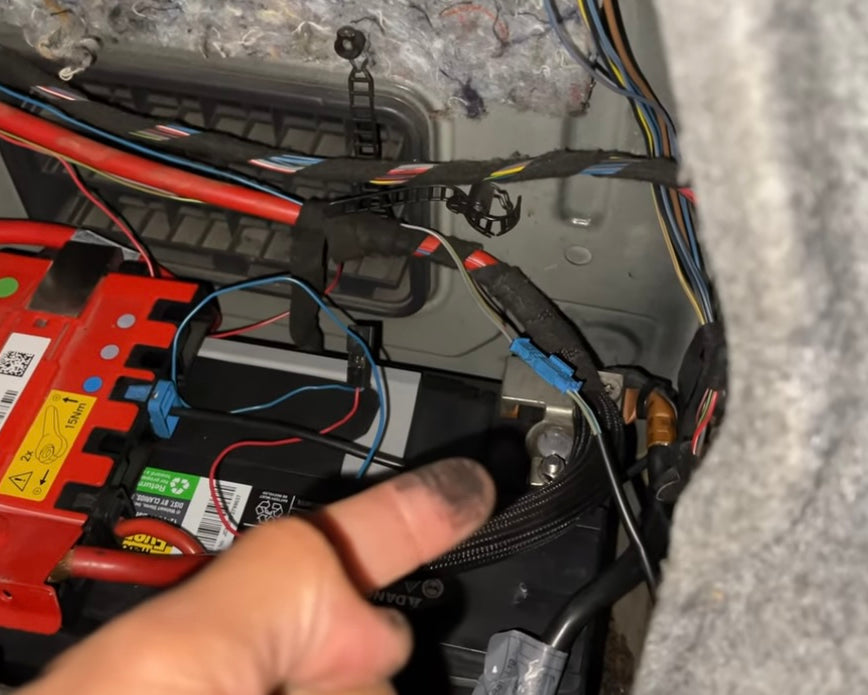
Re-connect Battery
Re-connect the battery to test the new headlight bulbs.
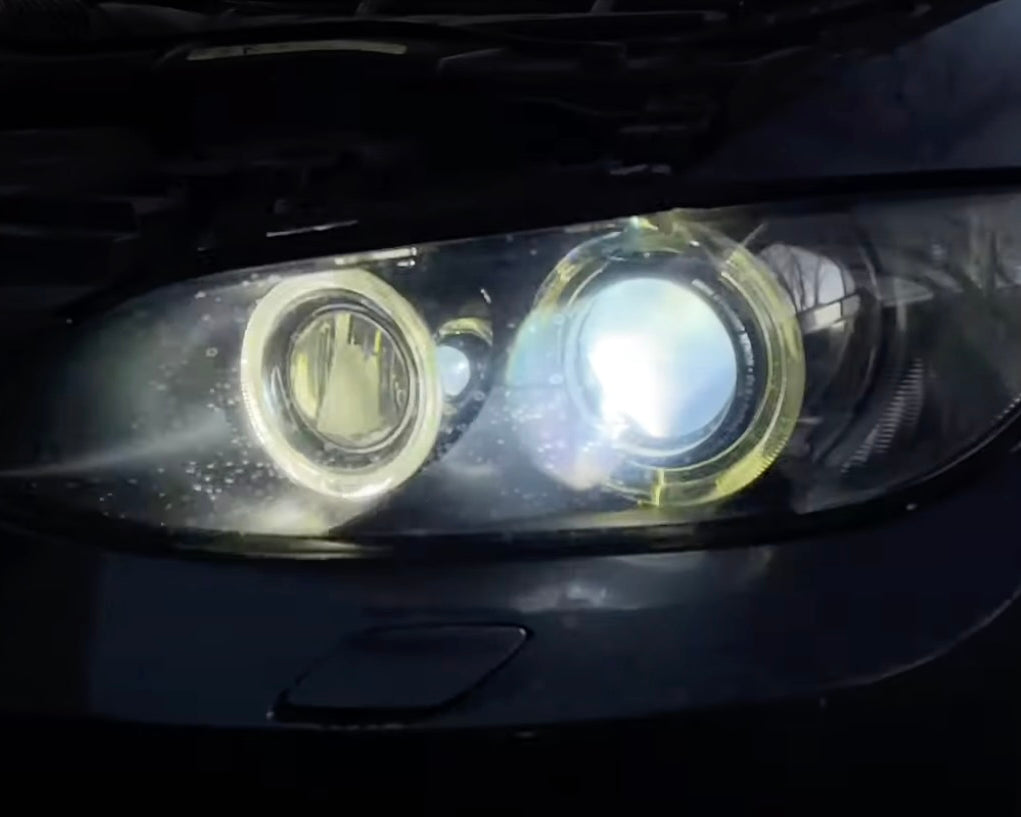
Test New Headlight
Test the new headlight by inserting the key into the ignition and turning the headlight knob to the on position. Ensure no error codes pop on the dashboard. If headlights don't work, check the ballast and troubleshoot further.
Re-Installation
Now that the new headlight bulb(s) is verified to work, re-install the headlight cover(s), fender liner, and wheel the same way it was removed.
Repair Complete
Good job replacing your headlight bulb(s)! Keep an eye out for any flickering or error codes that may point to deeper issues.