
Timing Chain Tensioner Bolt Replacement

Materials Required
- 27MM Socket
- 10MM Socket
- Ratchet
- New Timing Chain Tensioner
- Microfiber Towel
- Motor Oil
- Flathead Screwdriver
Overview
Over time, the timing chain tensioner can weaken, allowing the chain to develop slack. This slack often leads to chain slap and rattle, a common issue on BMW E-Chassis models. In this guide, we’ll replace the tensioner to correct the problem before considering more invasive repairs such as a full timing chain or guide replacement.
Start w/ Cold Engine
Ensure you conduct this DIY on a vehicle with a cold engine.
Disconnect Battery
Disconnect the vehicle's battery to ensure safety while conducting this job.

Open Hood
Open your vehicle's hood by pulling the latch.
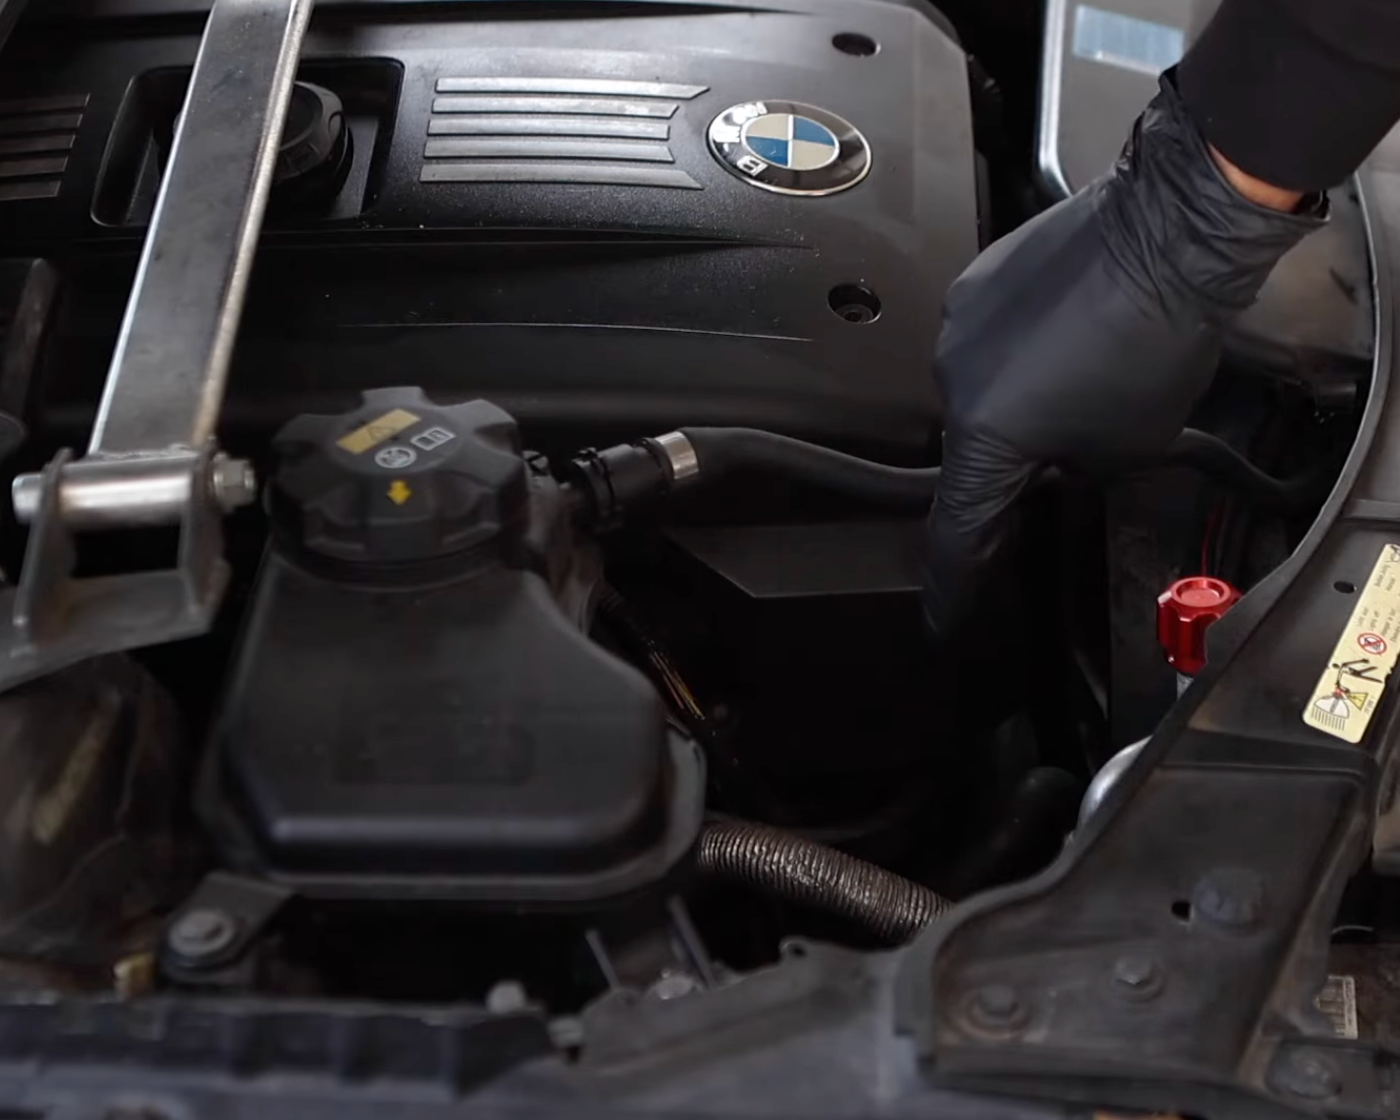
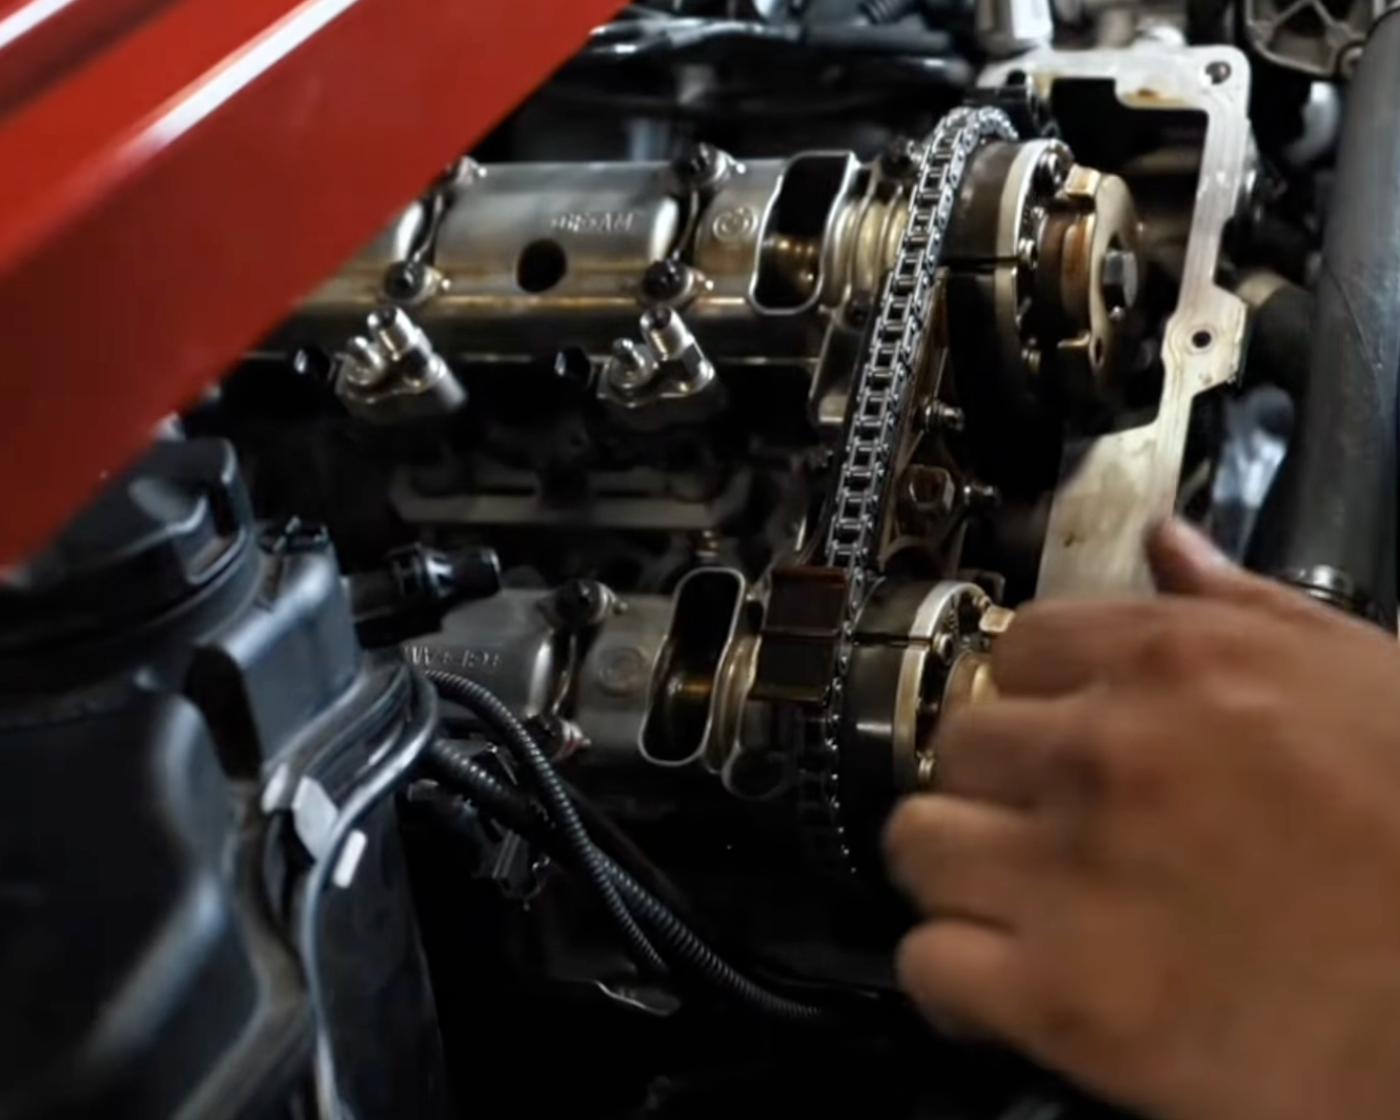
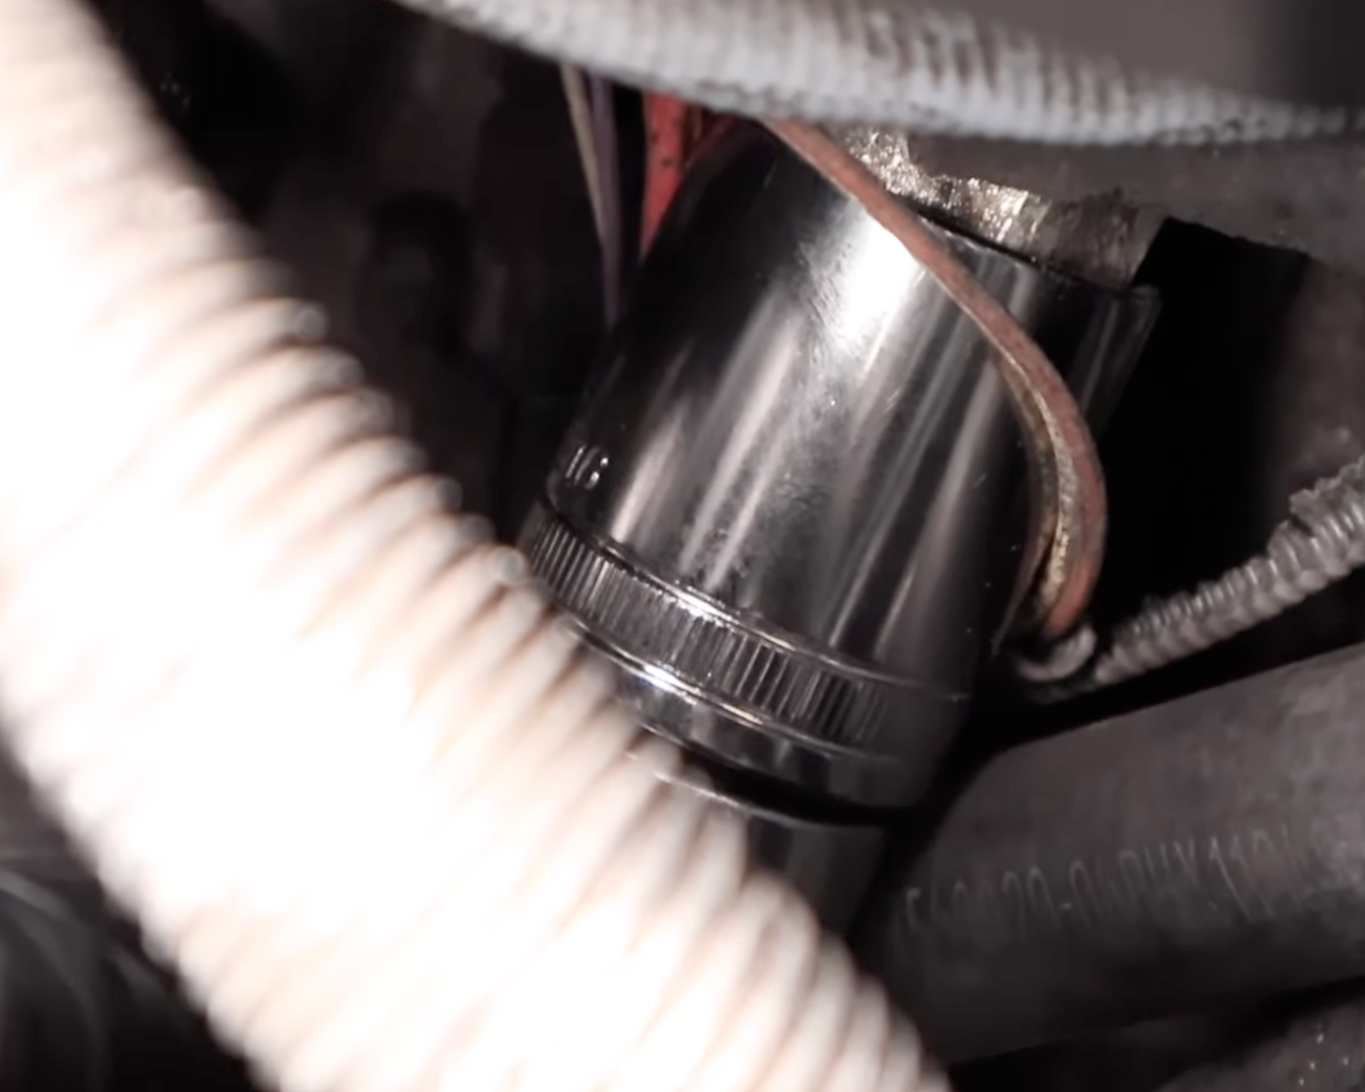
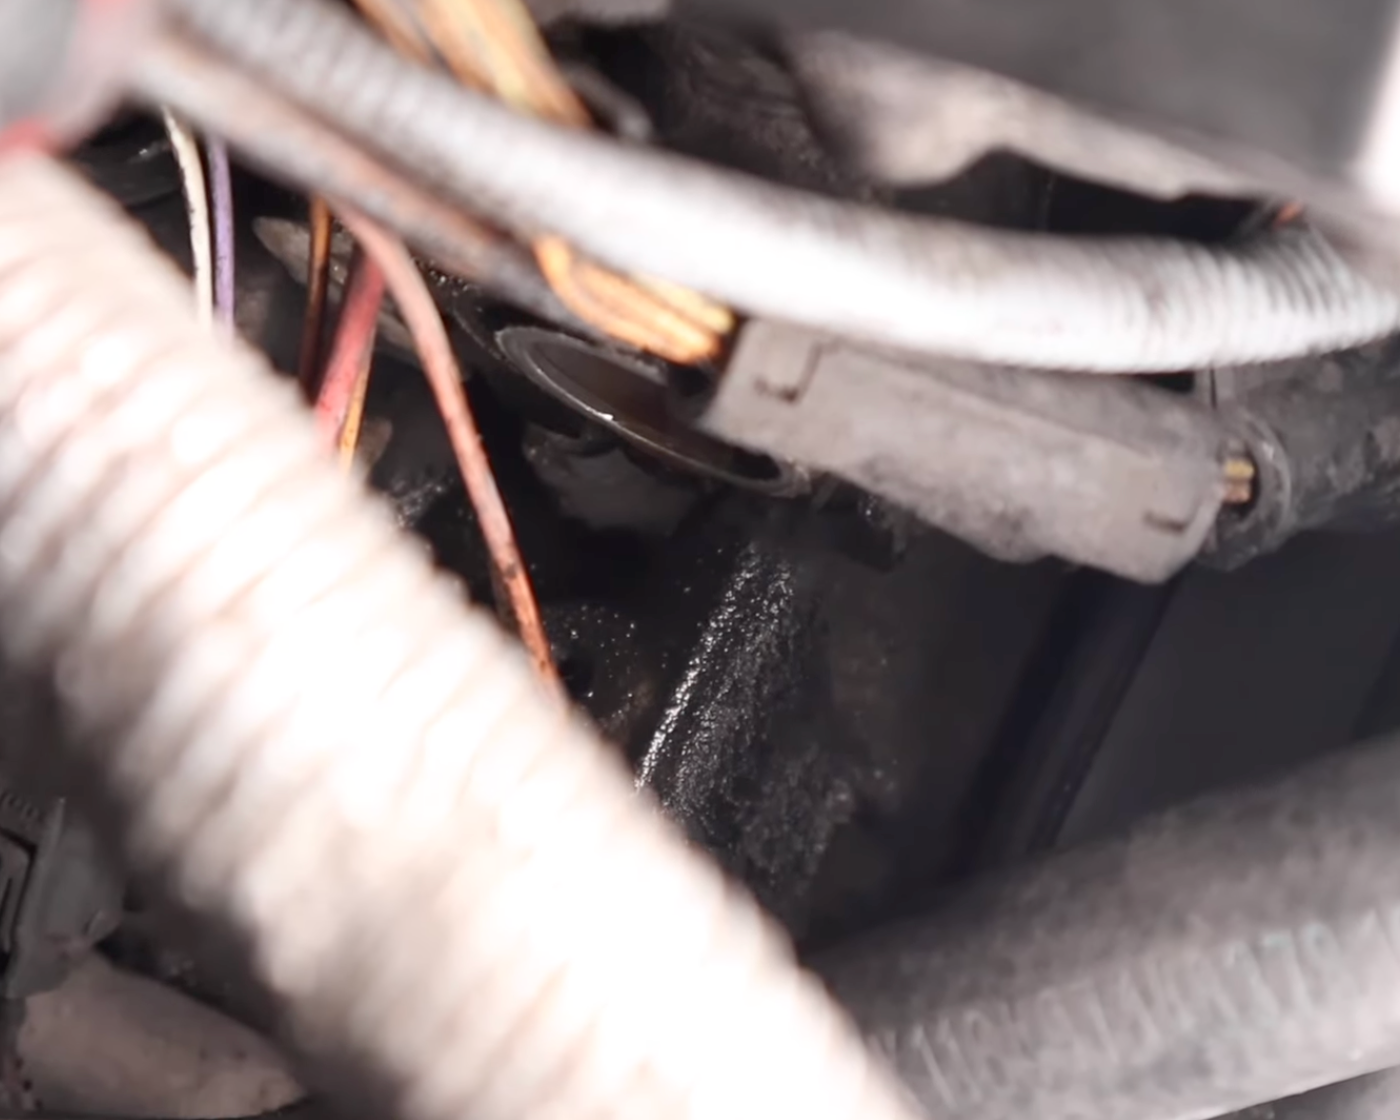
Locate Tensioner
The timing chain tensioner is located on the lower passenger side of the engine, mounted externally for easier access during replacement.
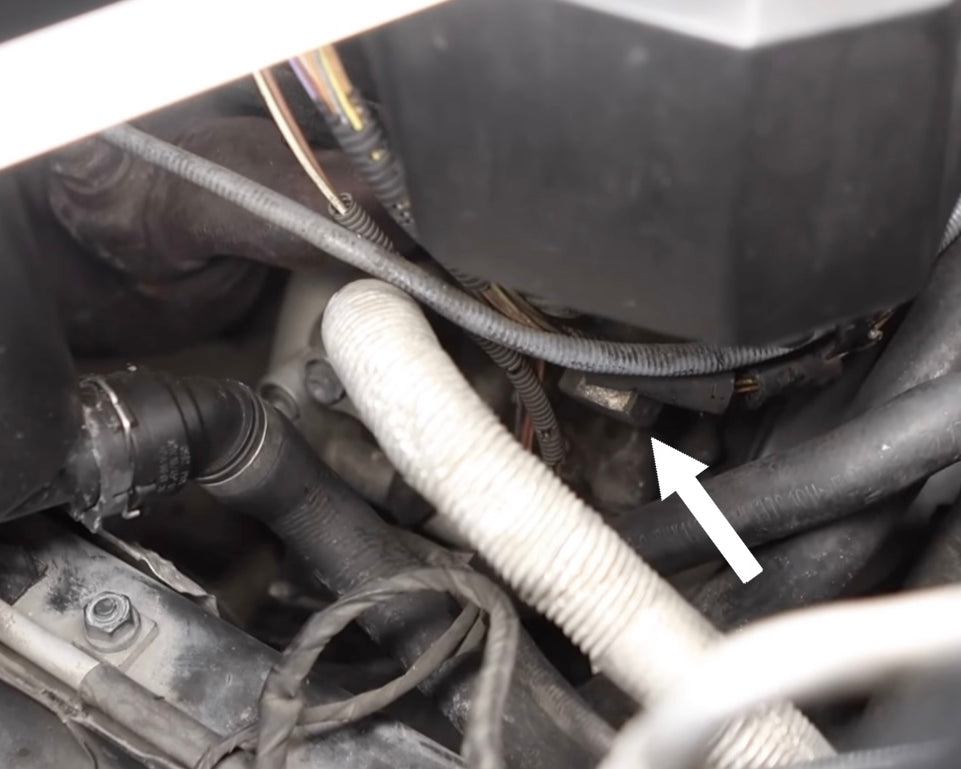
Tensioner Location
As shown in the photo above, the timing chain tensioner (indicated by the white arrow) protrudes outward and resembles a large bolt.
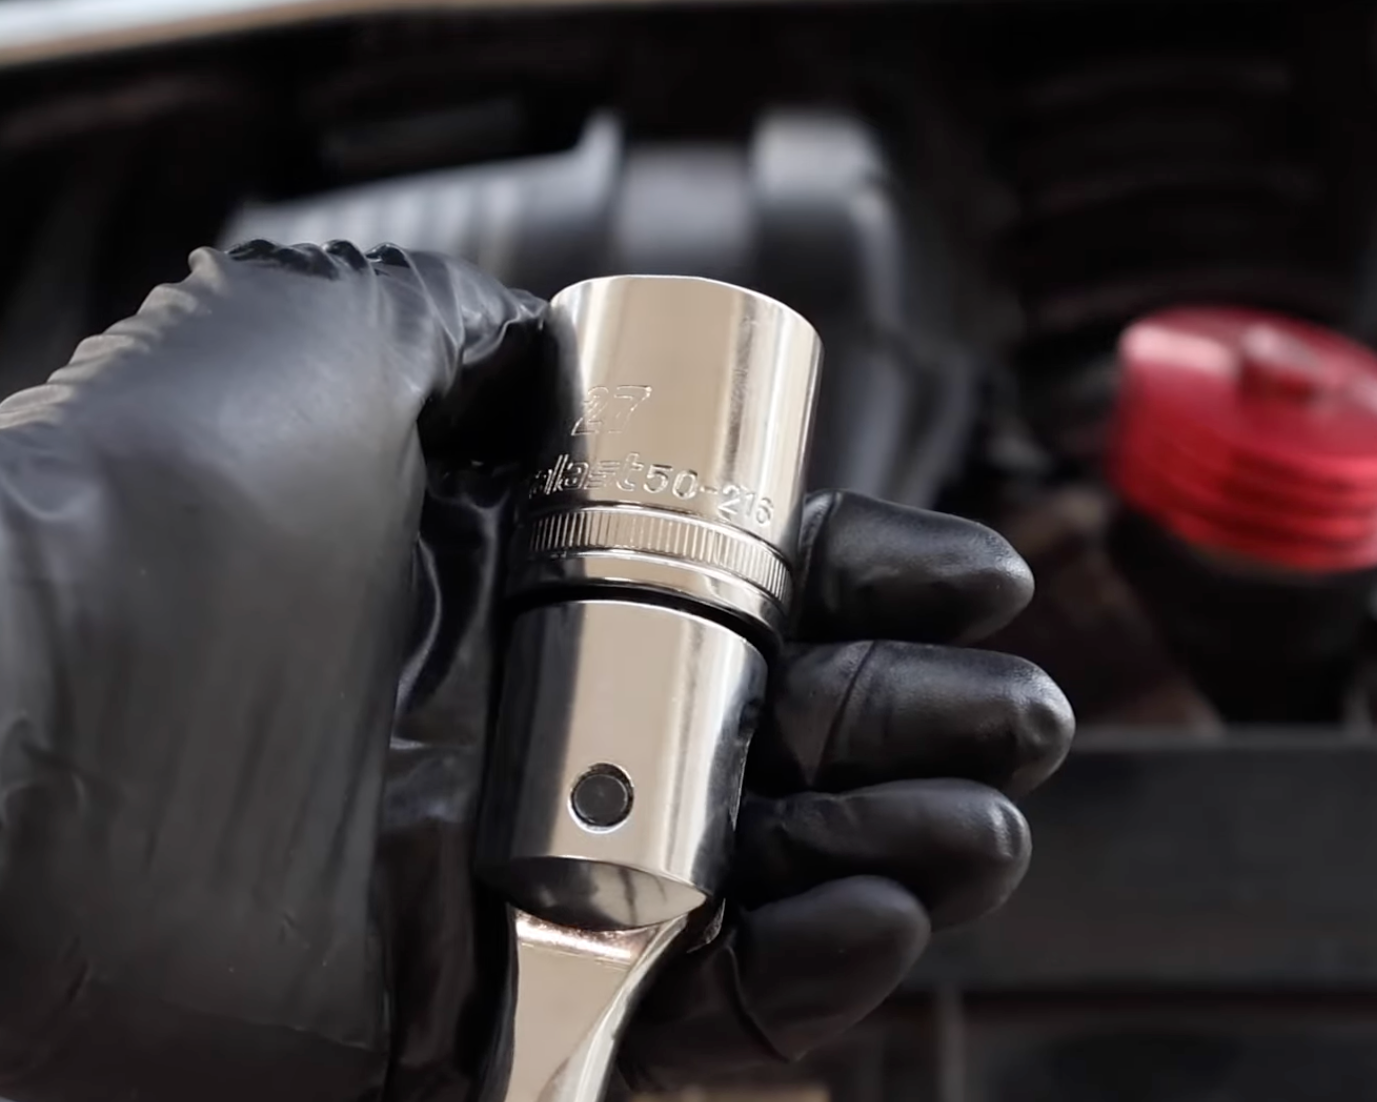
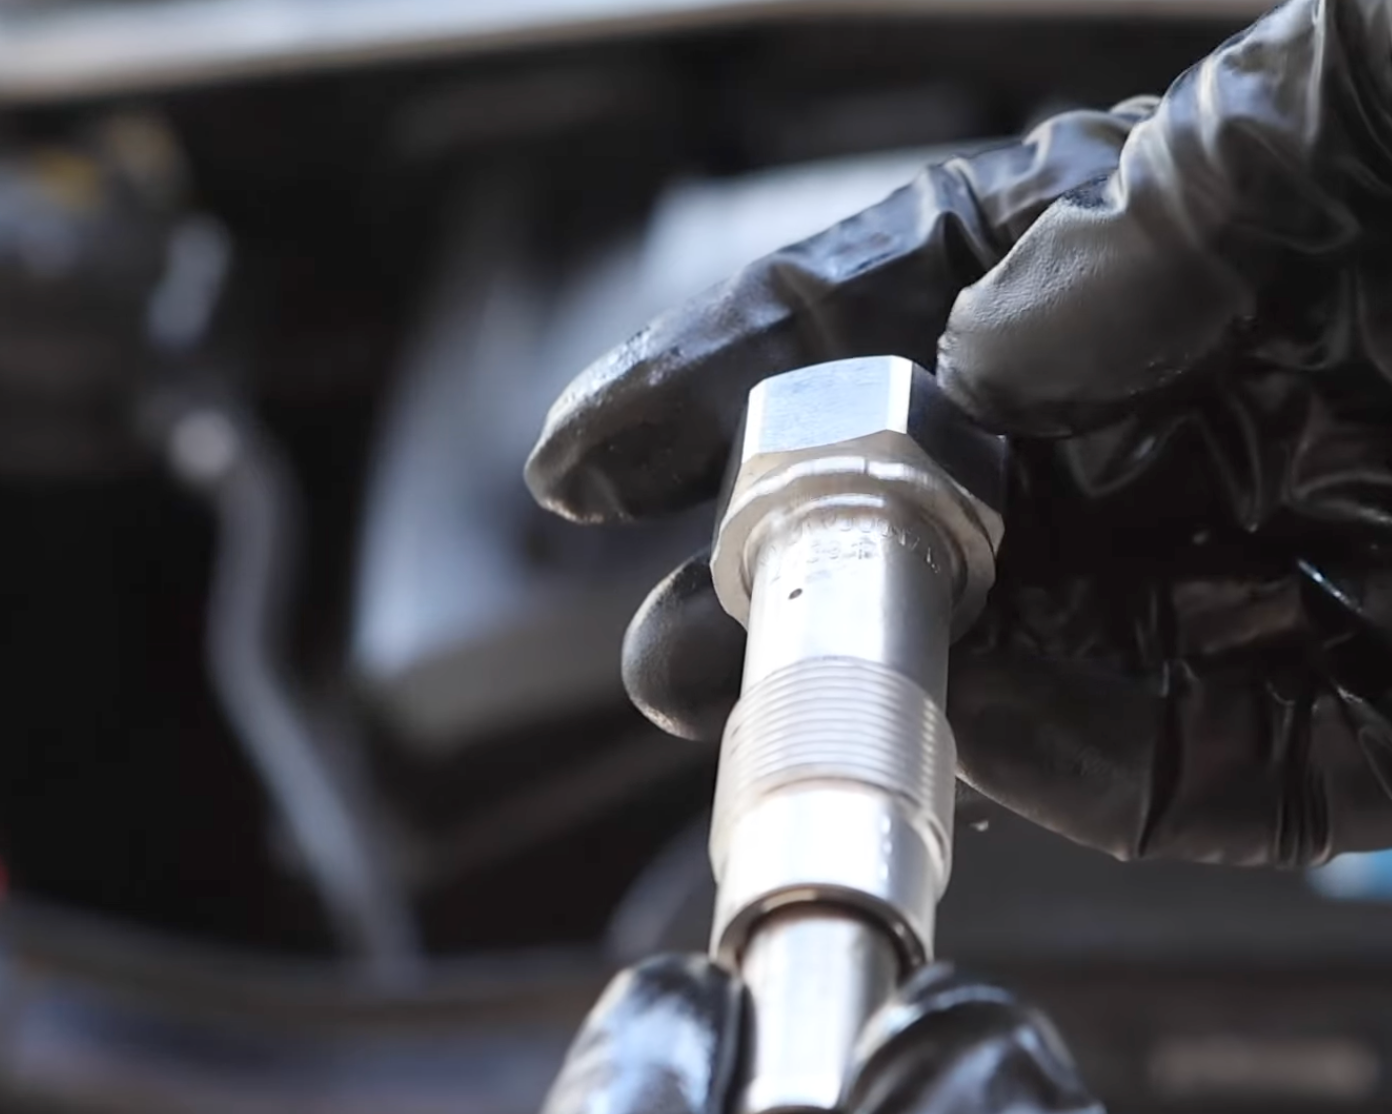
Verify Size
On this N5X engine, the timing chain tensioner requires a 27mm socket for removal. Always verify the exact size for your specific model, as it may vary.
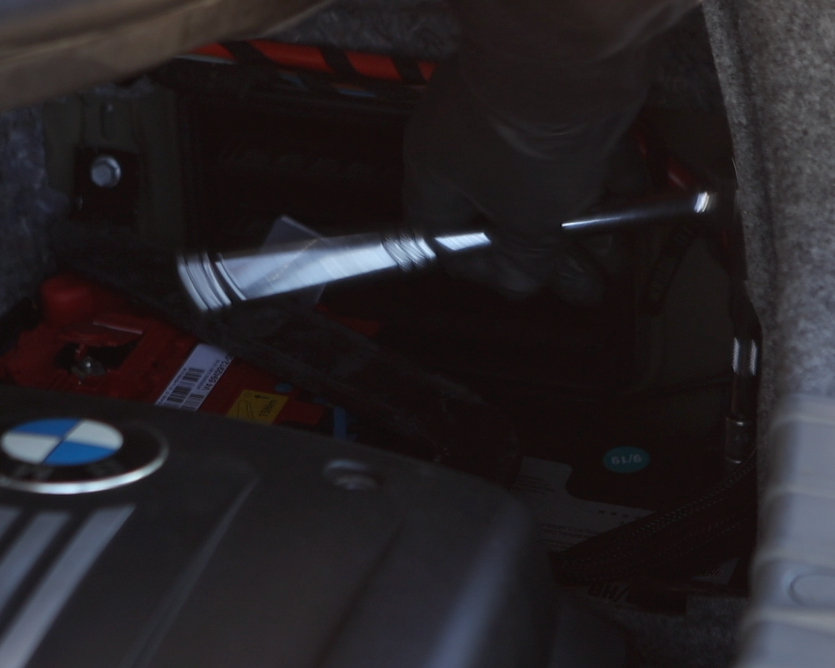
Loosen and Move Expansion Tank
To access and remove the timing chain tensioner, the expansion tank must first be moved aside. On N5X engines, this is done by loosening and removing the two 10mm bolts securing the tank. Once removed, carefully shift the tank out of the way to create enough clearance for a ratchet or breaker bar to reach the tensioner. There's no need to disconnect the coolant lines.

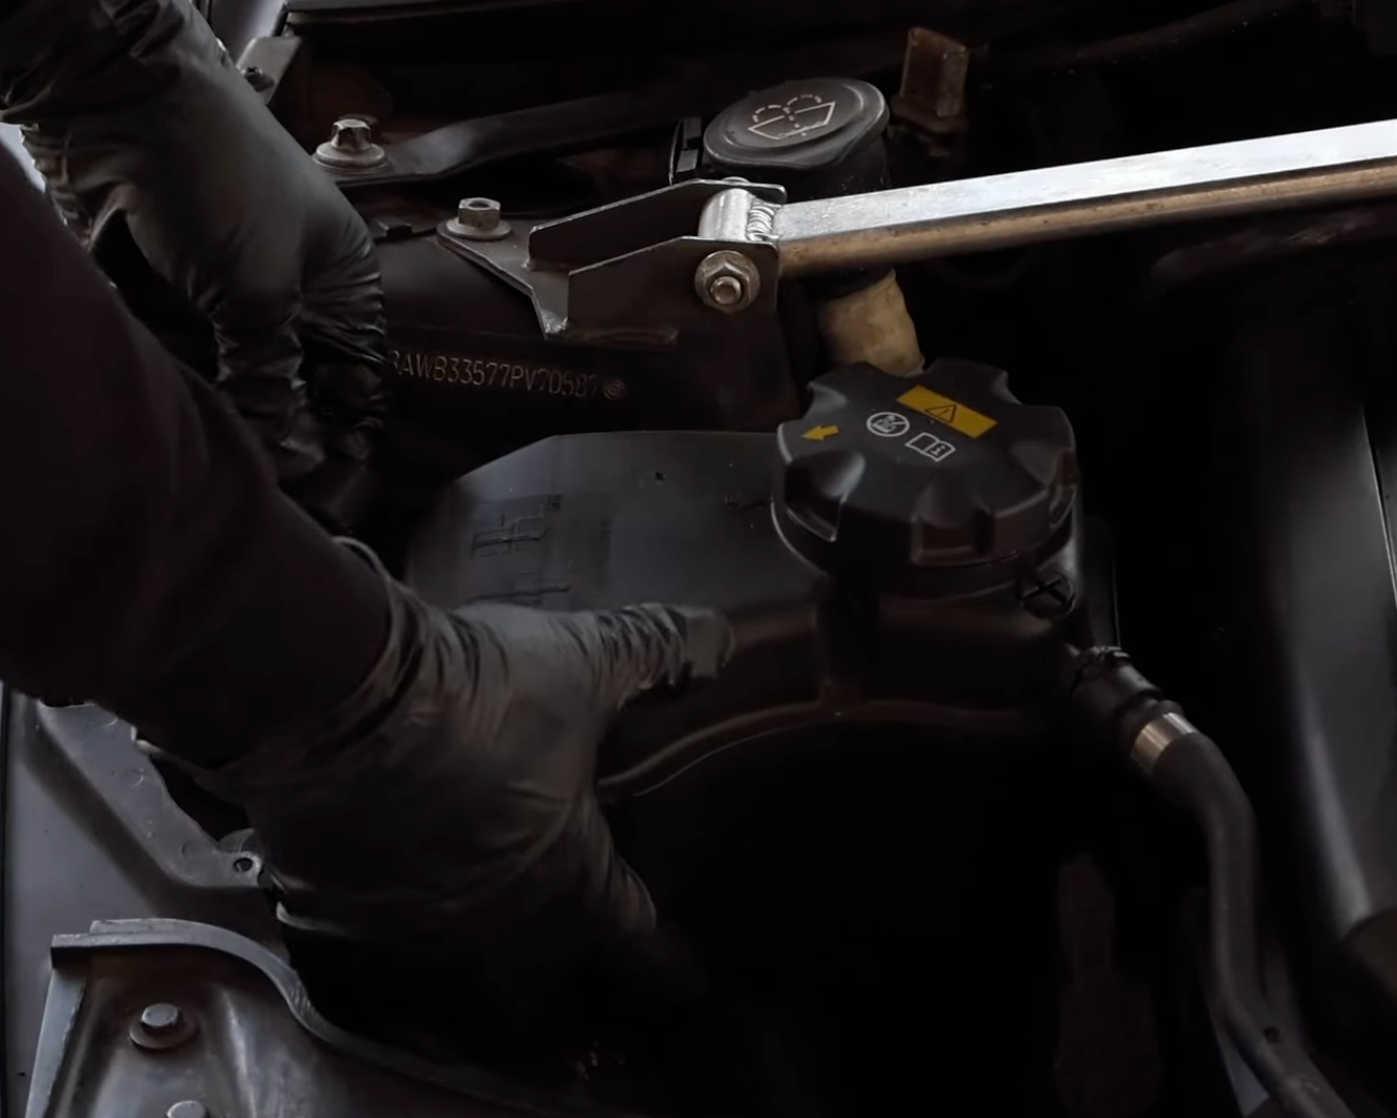
Loosen Tensioner
With the expansion tank moved aside, use a breaker bar or large ratchet to loosen the tensioner bolt by turning it counterclockwise.
NOTE
Ensure the socket is fully seated over the tensioner bolt to prevent stripping. The socket should fit snugly and cover the bolt completely before applying force.
Place Microfiber Towel
Place a microfiber towel beneath the tensioner bolt to catch any excess oil that may drip onto surrounding components, as oil will begin to escape once the tensioner is backed out.
Pull Tensioner From Engine
Pull the timing chain tensioner straight out from the engine until it is fully removed.
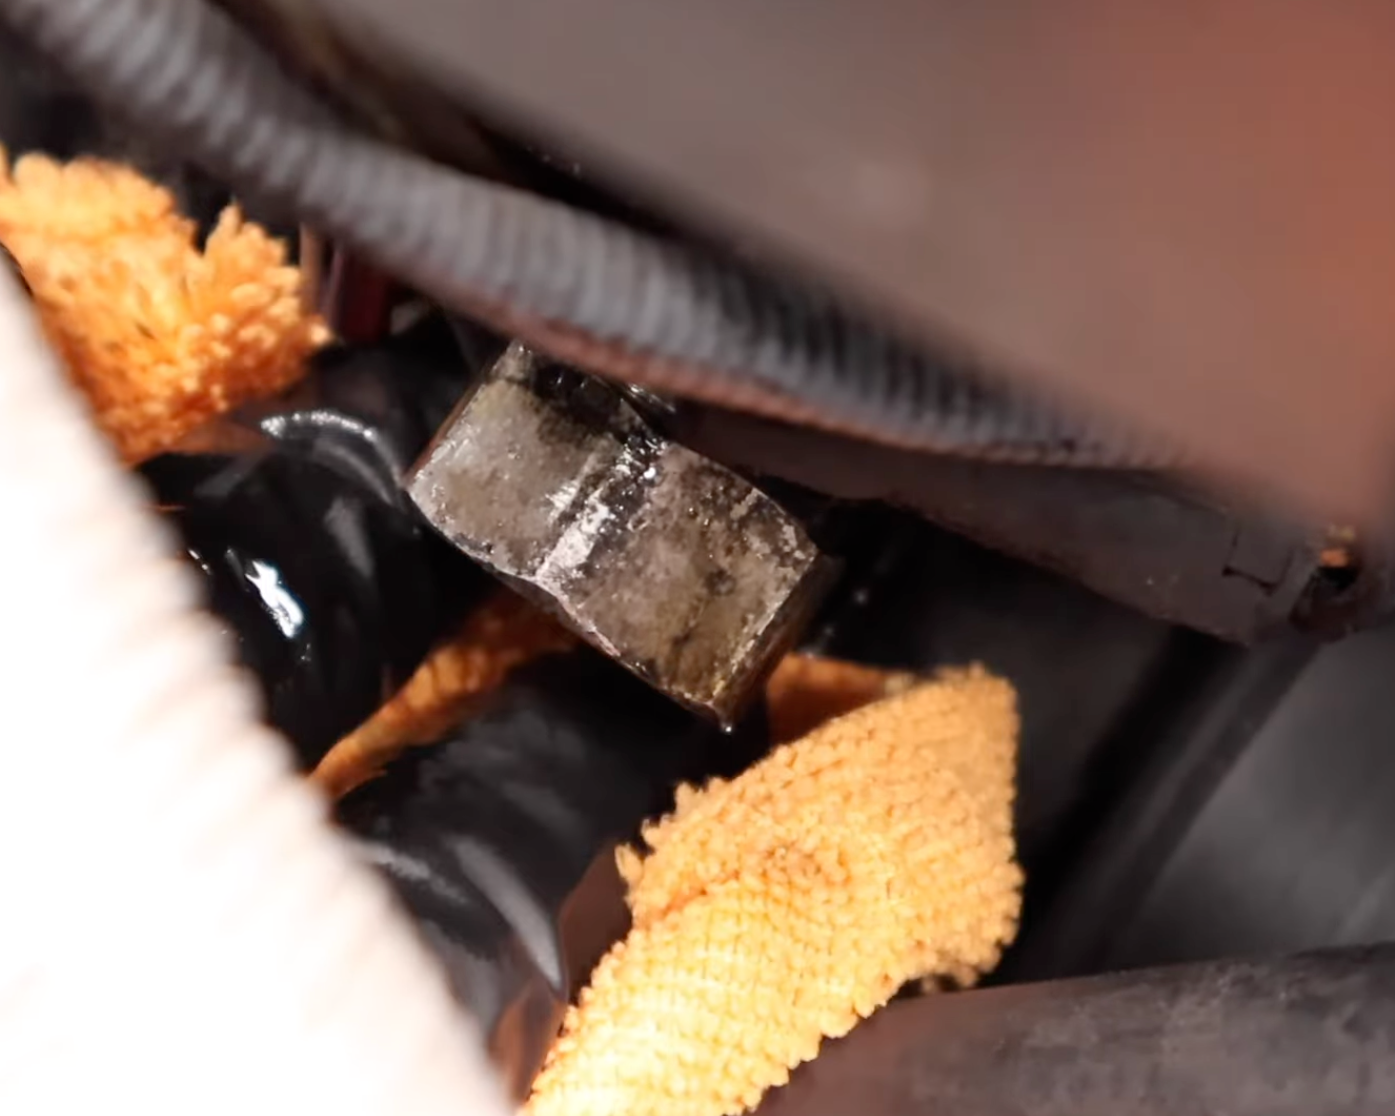
Inspect Old Tensioner
Inspect the old tensioner for signs of wear that may indicate deeper engine issues. Look for scraping, metal shavings on the piston, scratches, or missing pieces. This particular tensioner appears to be in fair condition, but when pressing down on the metal piston with moderate force, you can feel it has weakened over time, which contributes to chain slack.
NOTE
A common occurrence after removing the timing chain tensioner is the O-ring crush gasket remaining stuck to the engine face. If it doesn’t come out with the tensioner, carefully pry it off the engine surface using a flathead screwdriver.

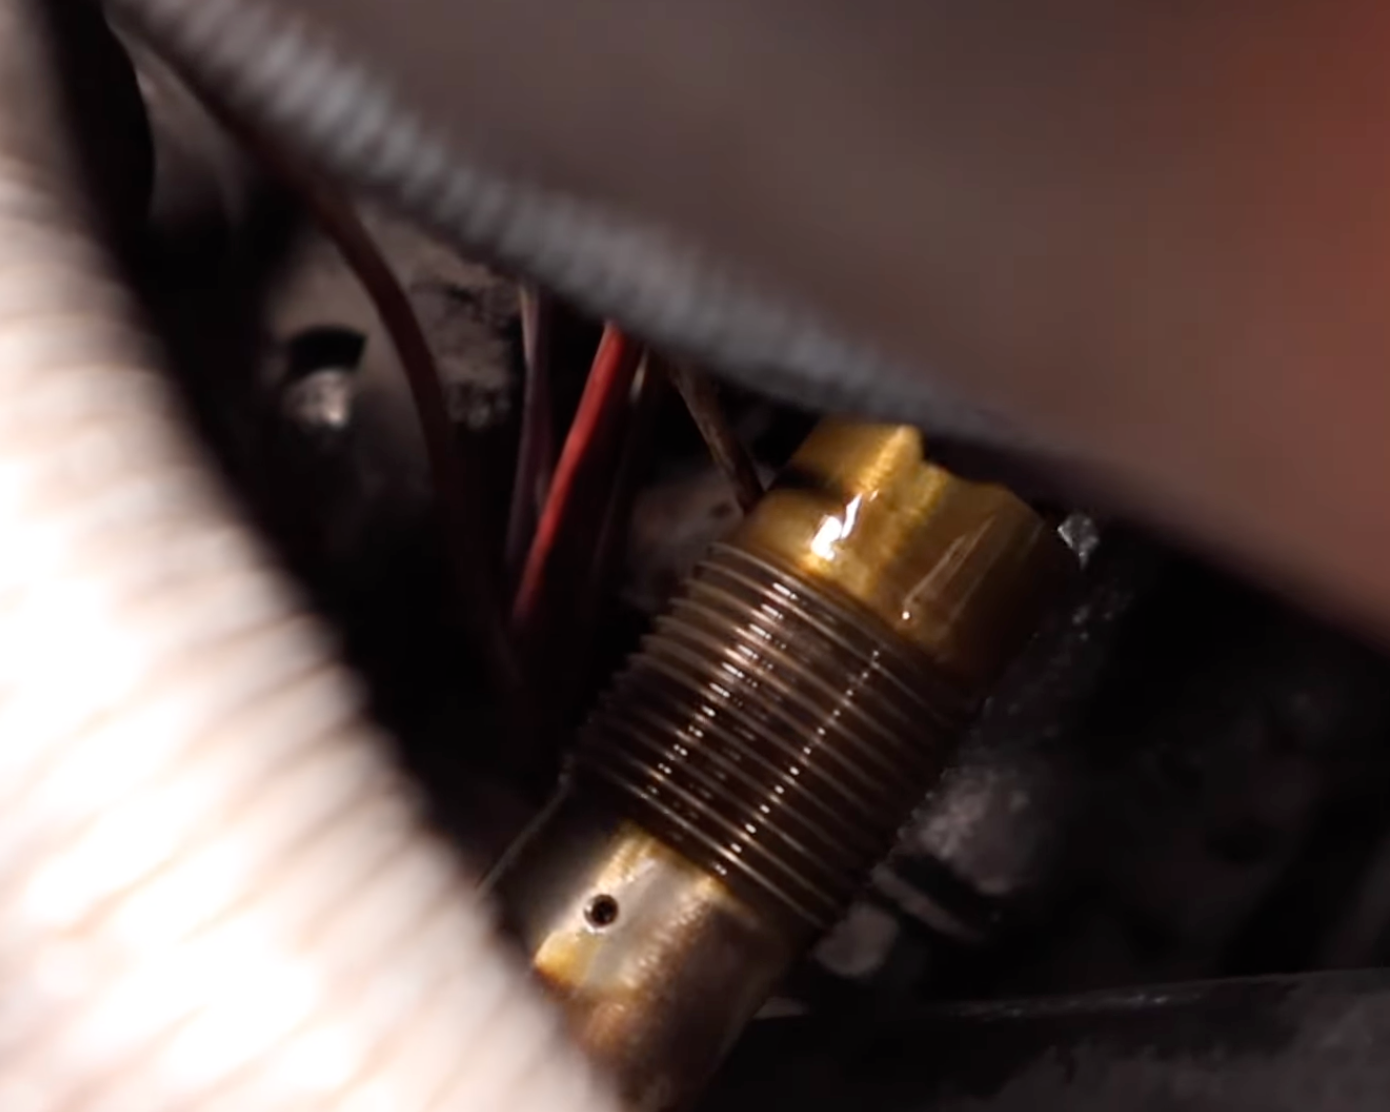
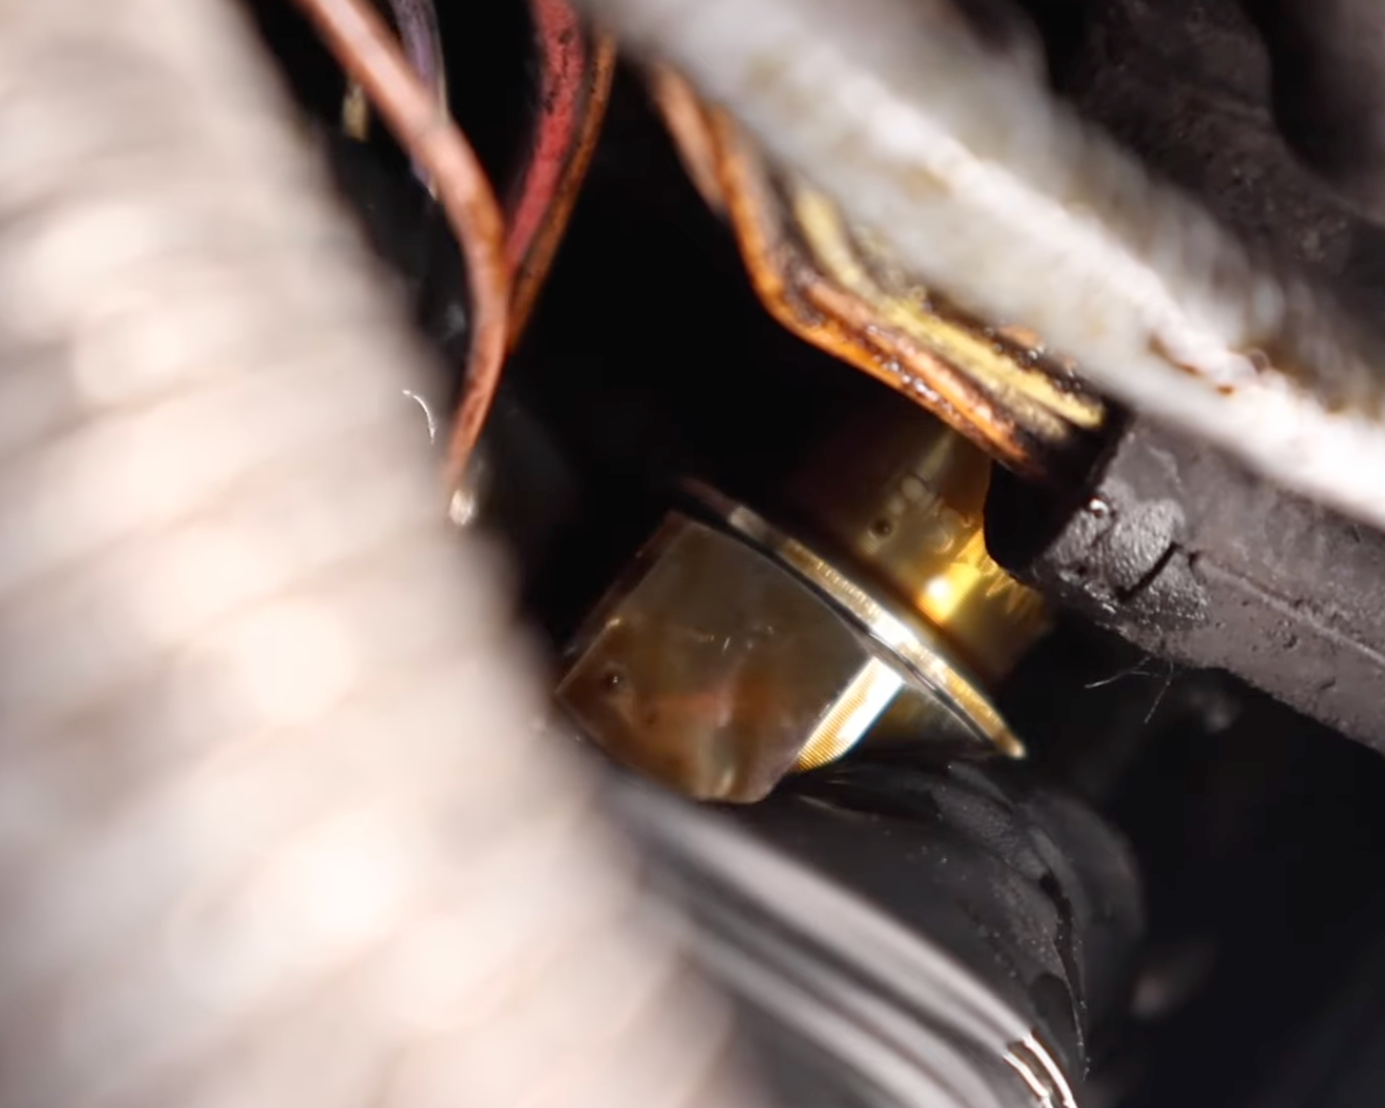
NOTE 2
This is how the engine surface should appear once the crush gasket has been removed.
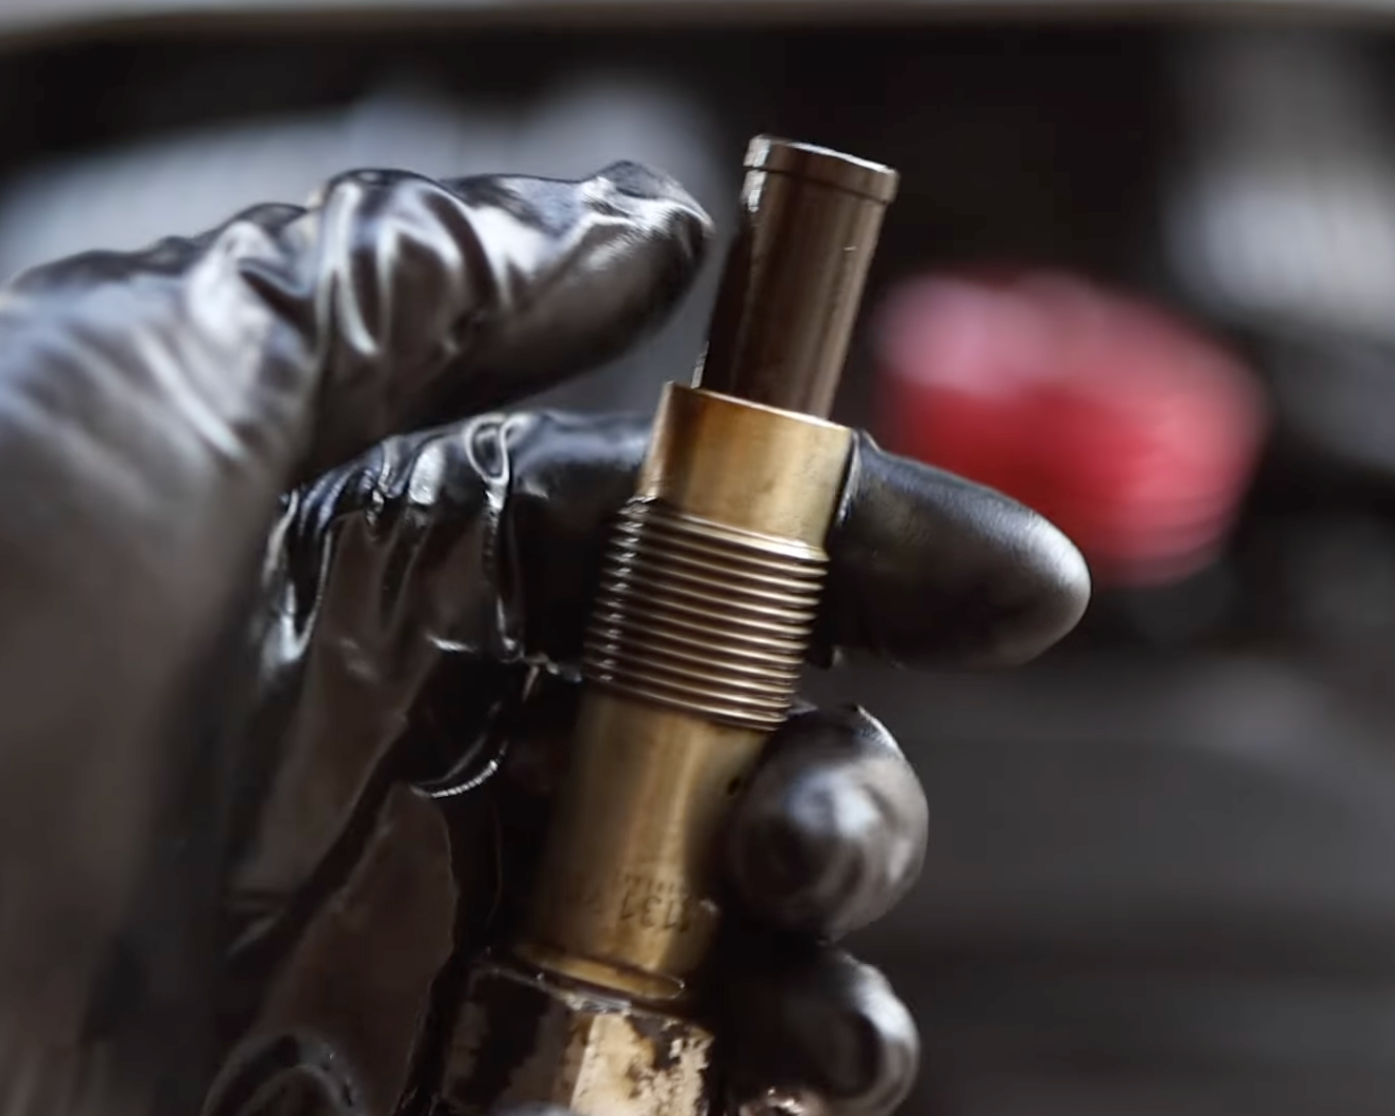
Prepare New Tensioner
Prepare the new timing chain tensioner by installing a fresh crush gasket and confirming the assembly is clean and free of any debris.
For BMW's using part number 11317584723, purchase our factory-fit replacement tensioner here.
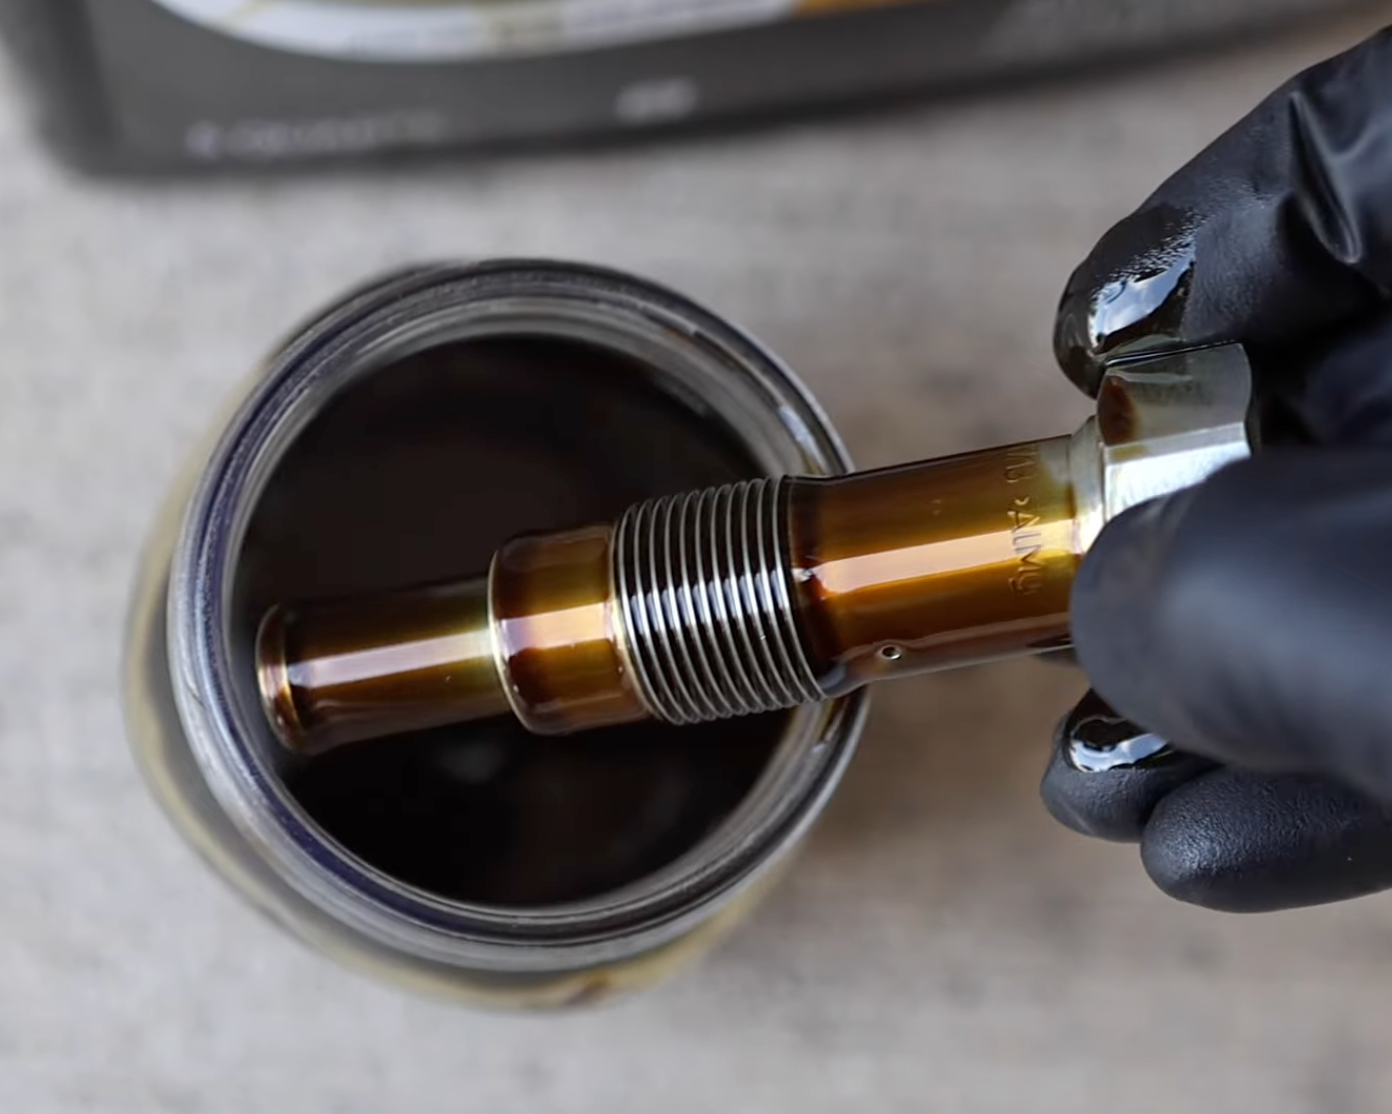
NOTE
It’s crucial to soak the new timing chain tensioner in motor oil for at least 10 minutes with the piston side facing downward. This process removes air, fills the tensioner with oil, and ensures it can properly pressurize upon installation. Doing so also provides lubrication that minimizes the risk of damage from a dry start. Remove the crush gasket, place it to the side, then soak the tensioner.

Reinstall Crush Gasket
With the tensioner properly soaked in oil, reinstall the crush gasket.
Hand-Thread New Tensioner
Hand-thread the new timing chain tensioner clockwise into the engine, making sure the threads seat correctly and do not cross-thread.
Torque Tensioner
Torque the new timing chain tensioner to 50 Nm (approximately 36–37 ft-lbs). For added security on higher-mileage engines where components may have worn over time, tightening to 40 ft-lbs is recommended.
Move Expansion Tank Back
Clean the mating surface for the intake camshaft sensor with a microfiber towel. This ensures the new sensor and O-ring seat properly, creating a secure seal.
Reconnect Battery
With the new tensioner torqued in place and all components moved back properly, reconnect your BMW's battery.

Test Start Engine
With the new tensioner installed fully, test start the vehicle and allow to idle for at least 60 seconds to check for irregularities. It's perfectly normal for the vehicle to run a bit off for the first few moments.
Check For Leaks
Using a flashlight, carefully and diligently check the tensioner area for any leaks. If no leaks are detected, job well done.
DIY Complete!
Great job replacing your timing chain tensioner! This repair is the least invasive and most cost-effective way to address timing chain slap and rattle. It may take a few days of driving for the rattle to completely subside. If the noise persists, a more involved procedure such as timing chain or guide replacement may be necessary.